Trail and Bridge Construction

Construction Techniques

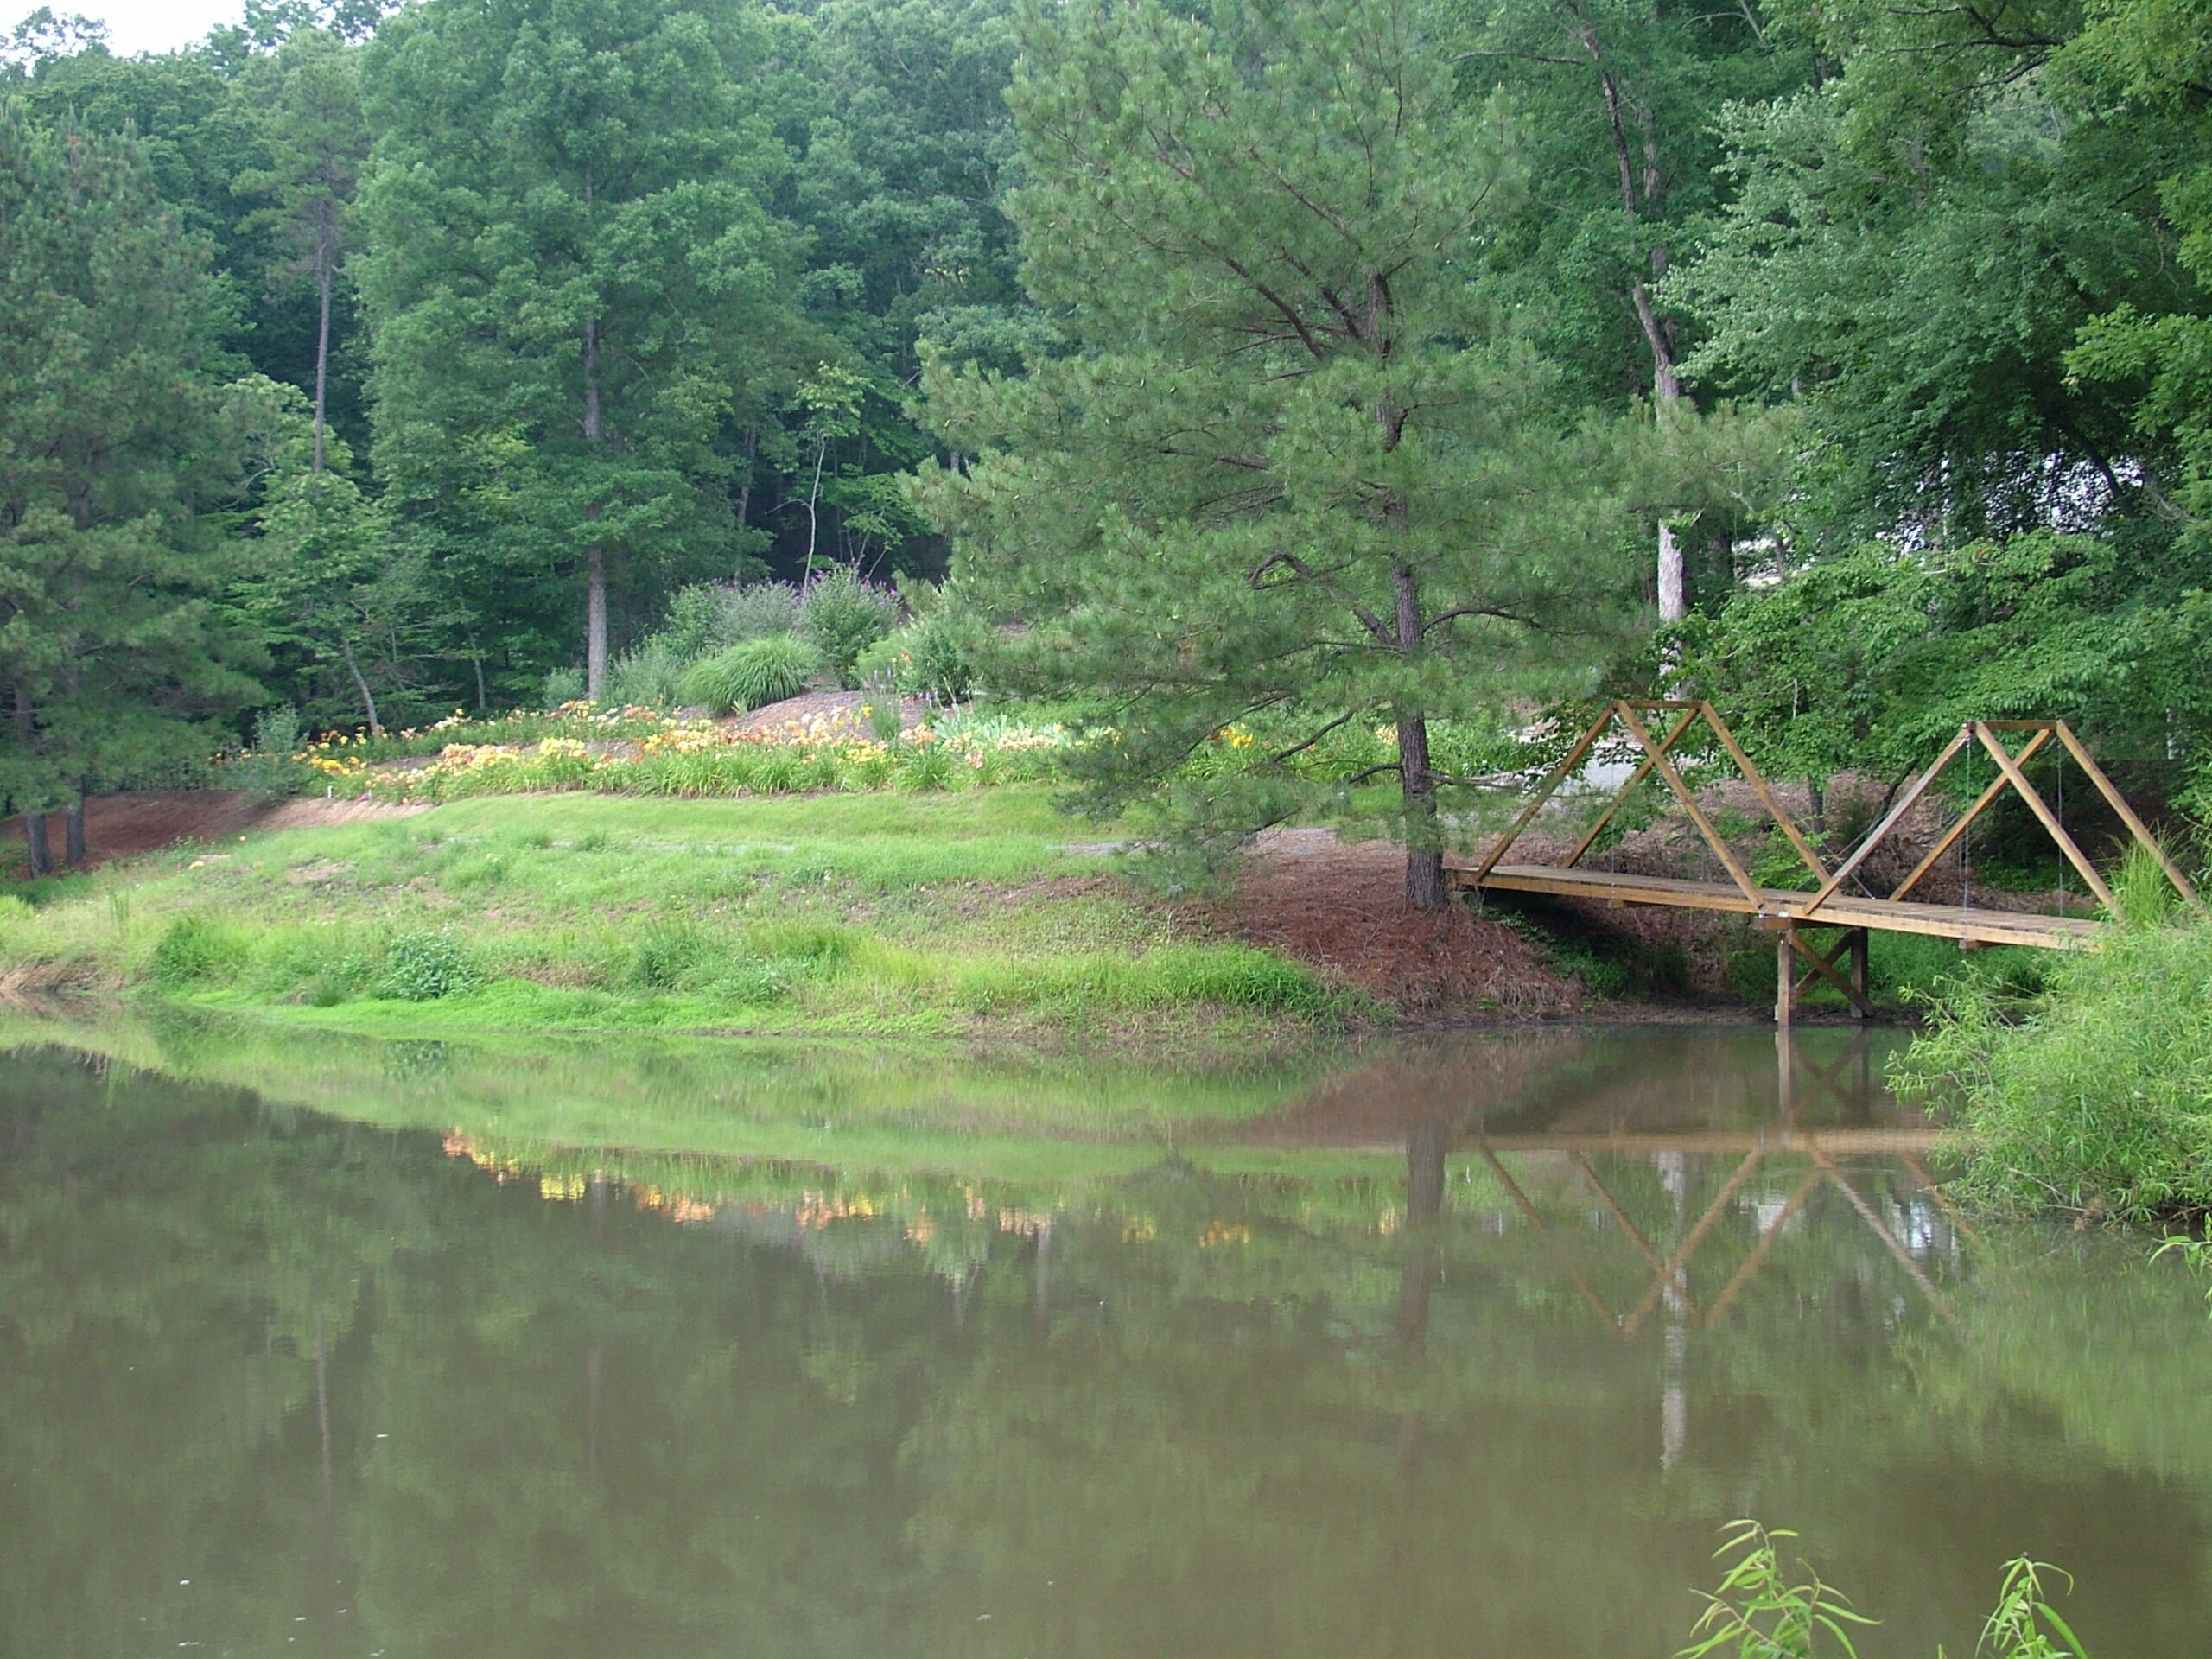
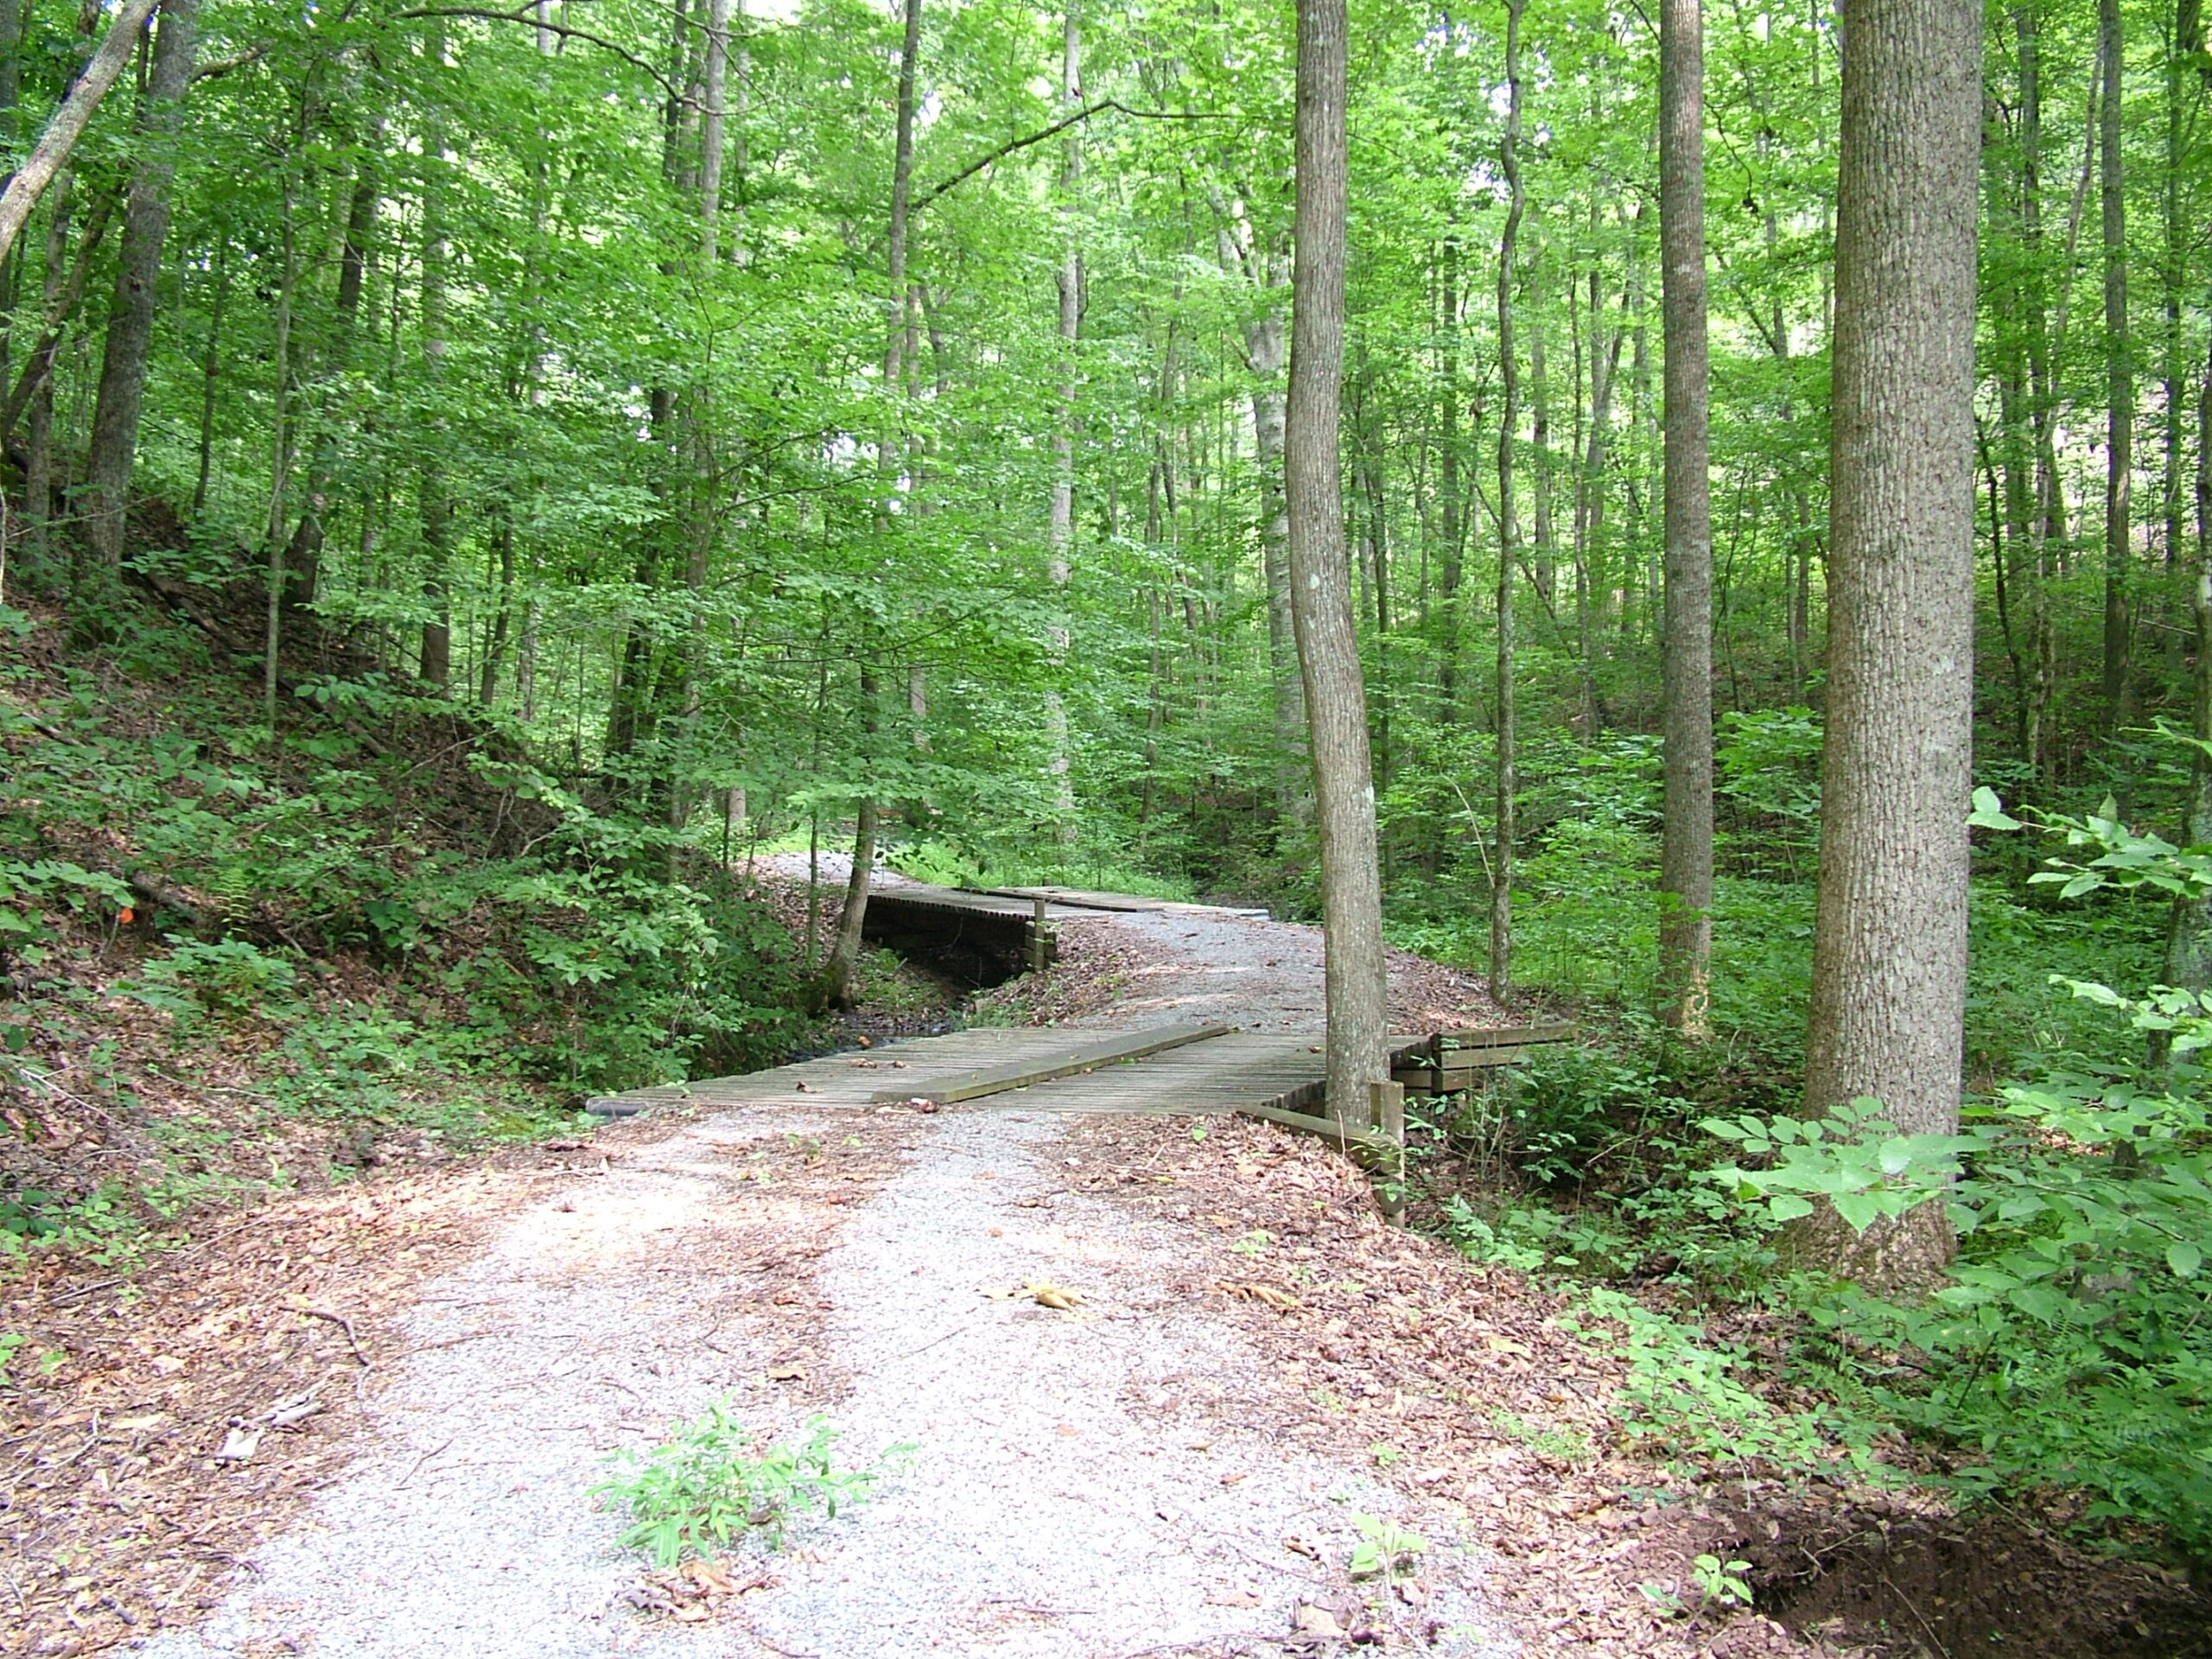
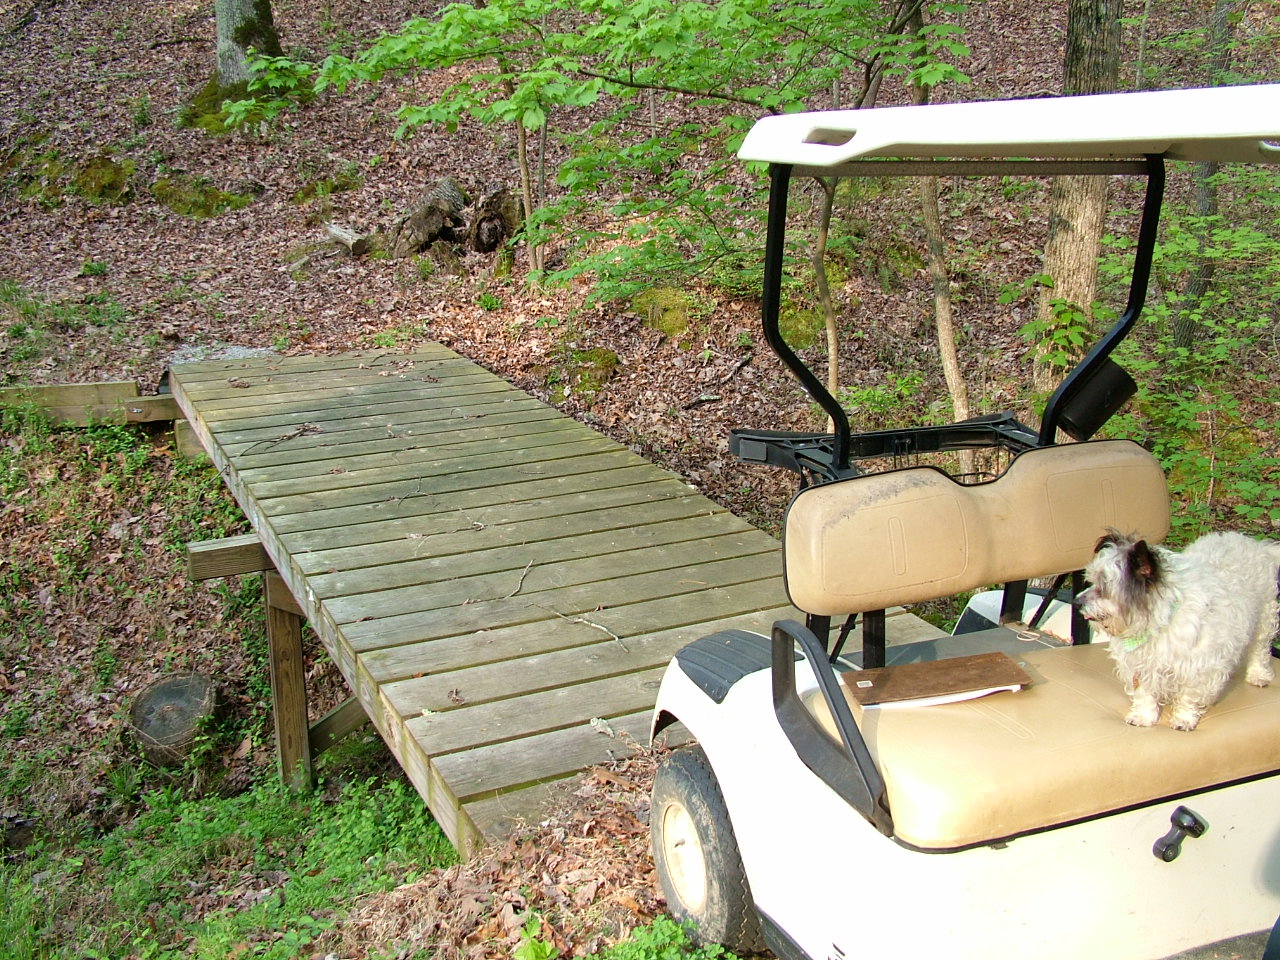
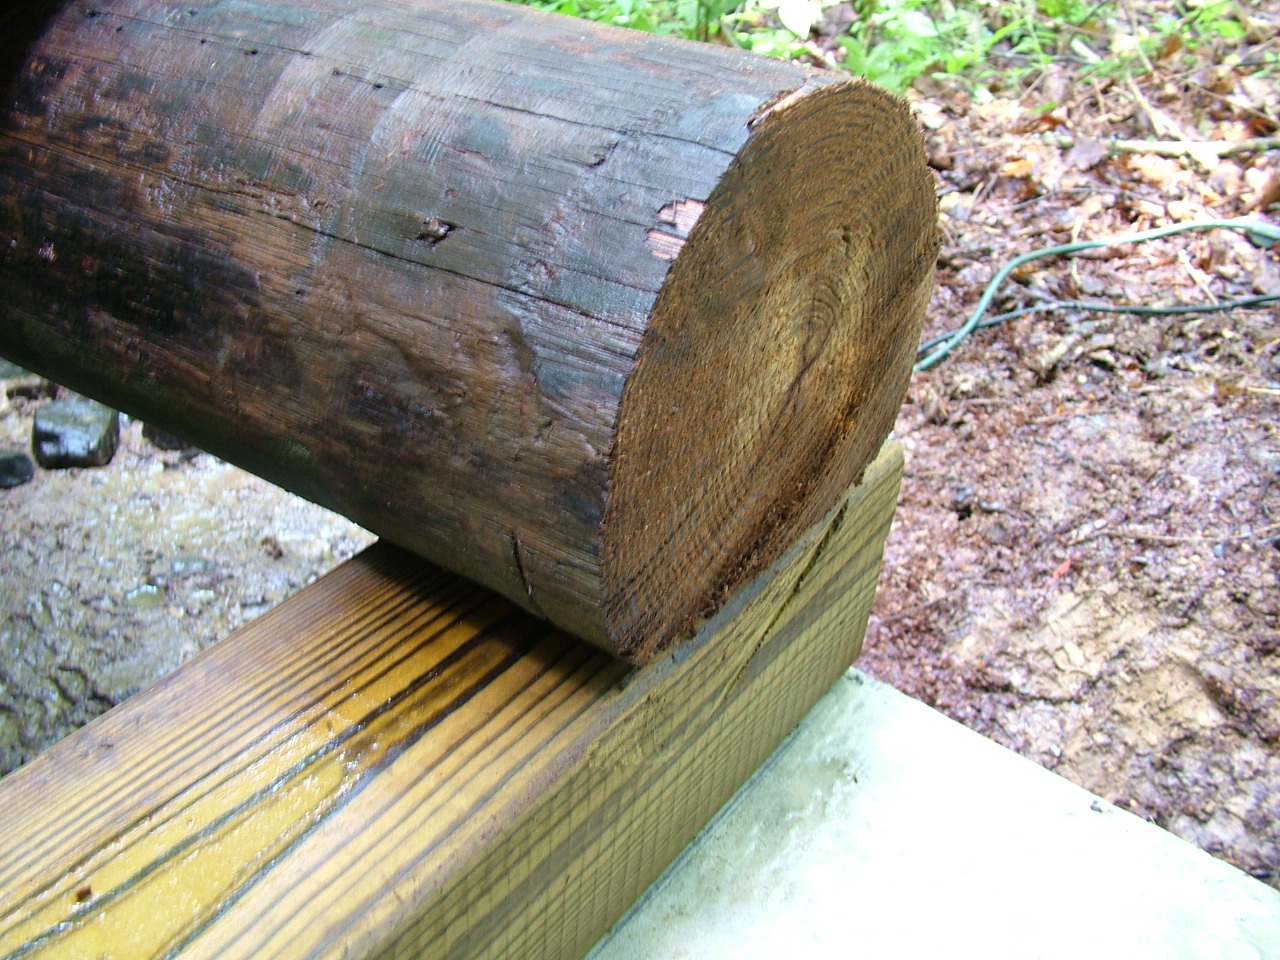
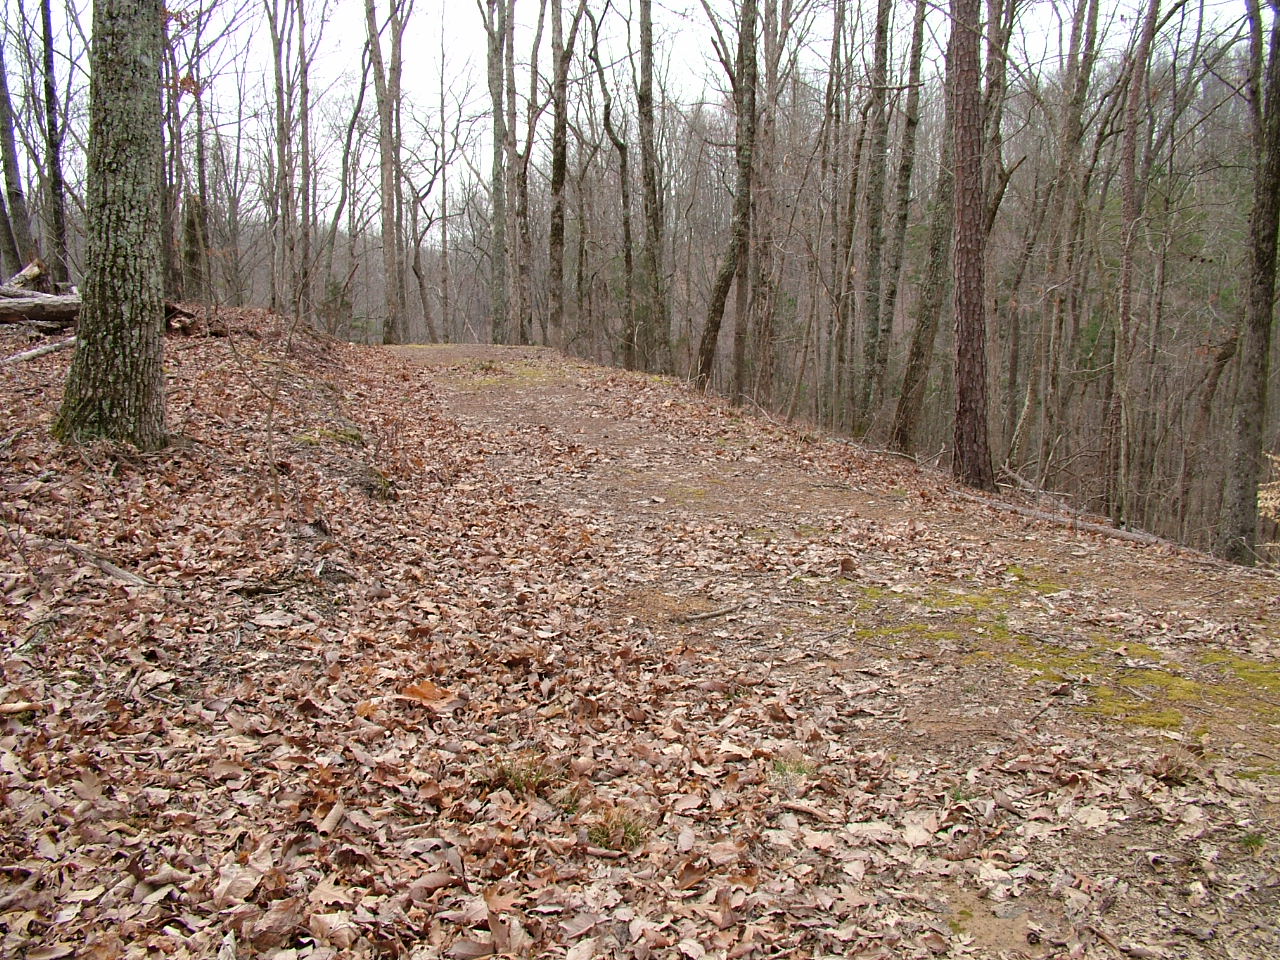
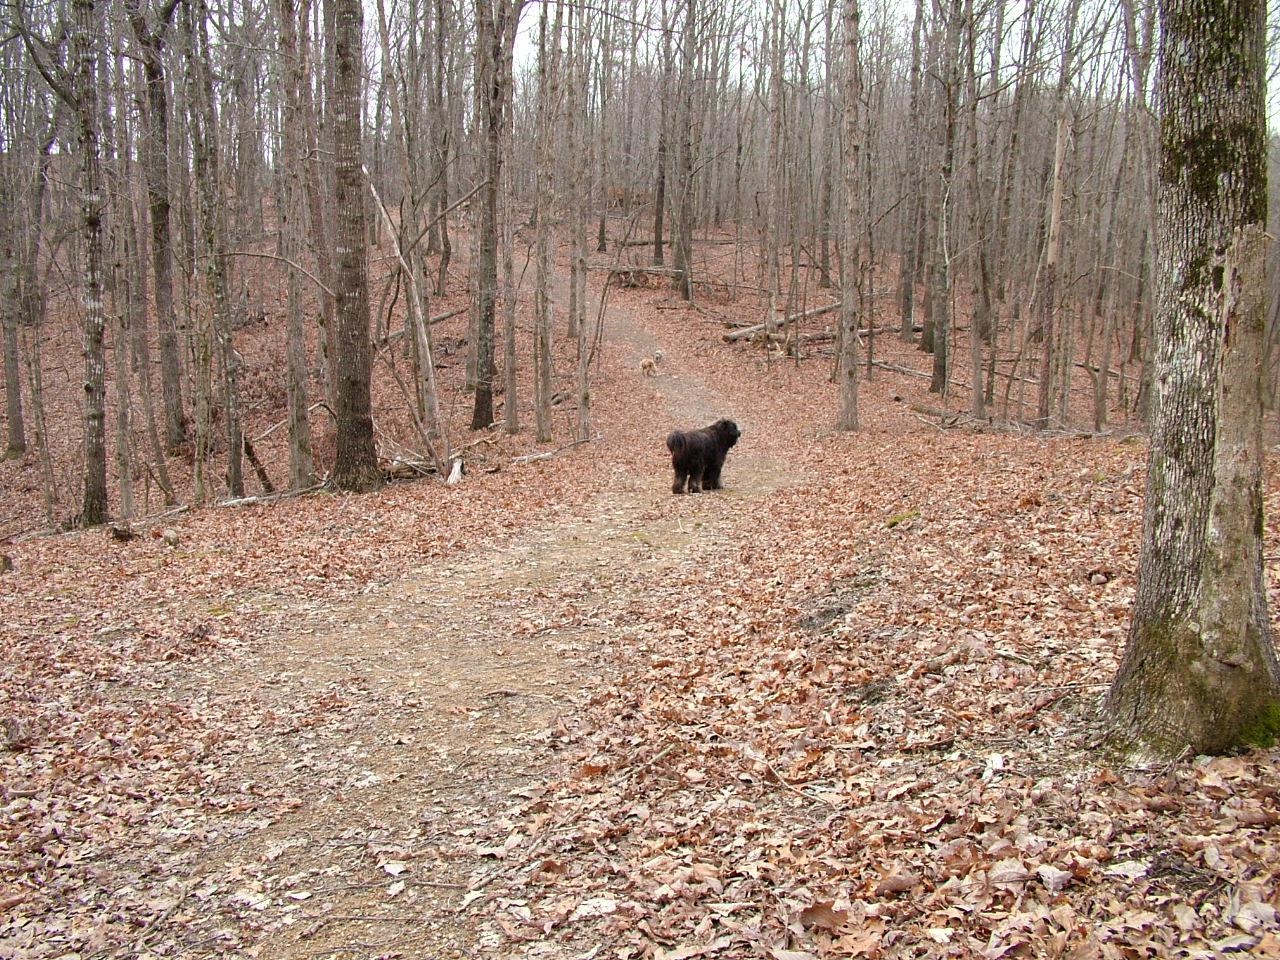
To protect all of our areas from erosion, only well-designed trails have been used to access them.  Around 8 miles of trails have currently been placed throughout the area.  Most of these travel through the protected forest areas but about one mile or more are in the developed Garden areas.  Several bridges have also been constructed to cross creeks and the lake as necessary.  These bridges were all built with treated poles, timbers, and lumber.  Copper abutments were used to protect the ends of the bridges from soil contact.

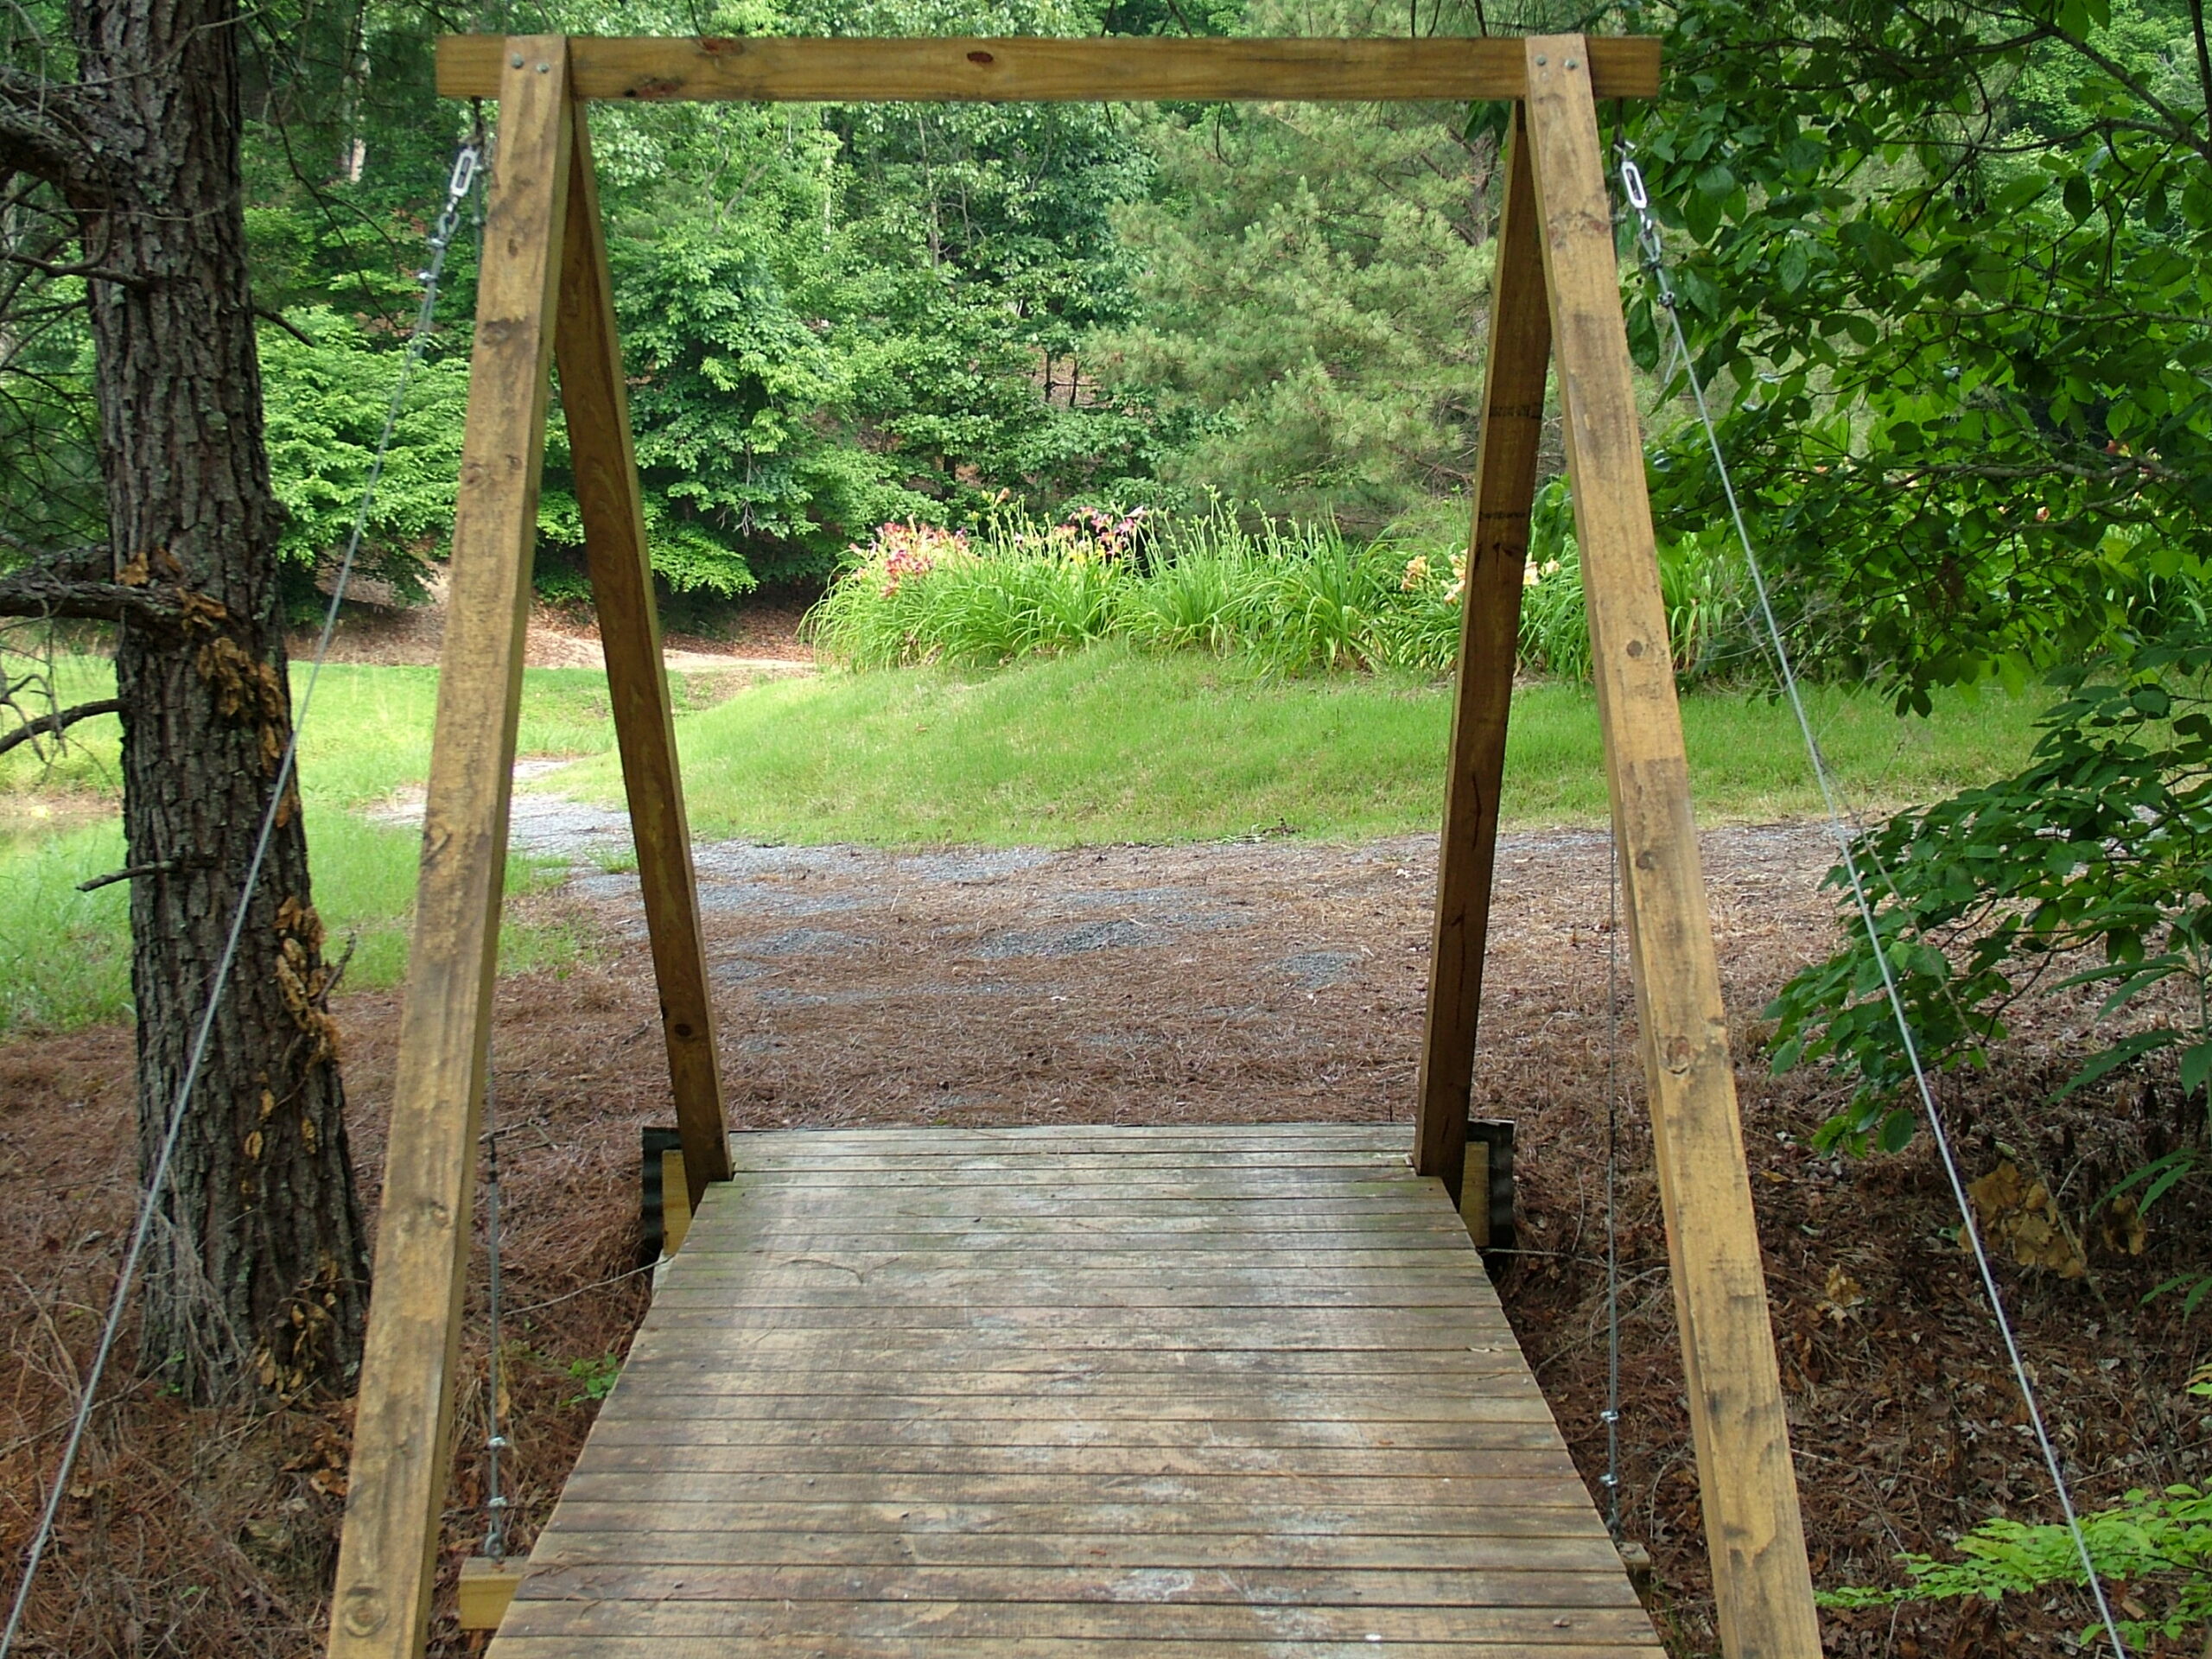
Suspension Bridge on Vicki Lynn Nature Trail
Twin Bridges on Fred Lee Rhyne Nature Trail
Foot bridge near head of Moonshine Creek and still site
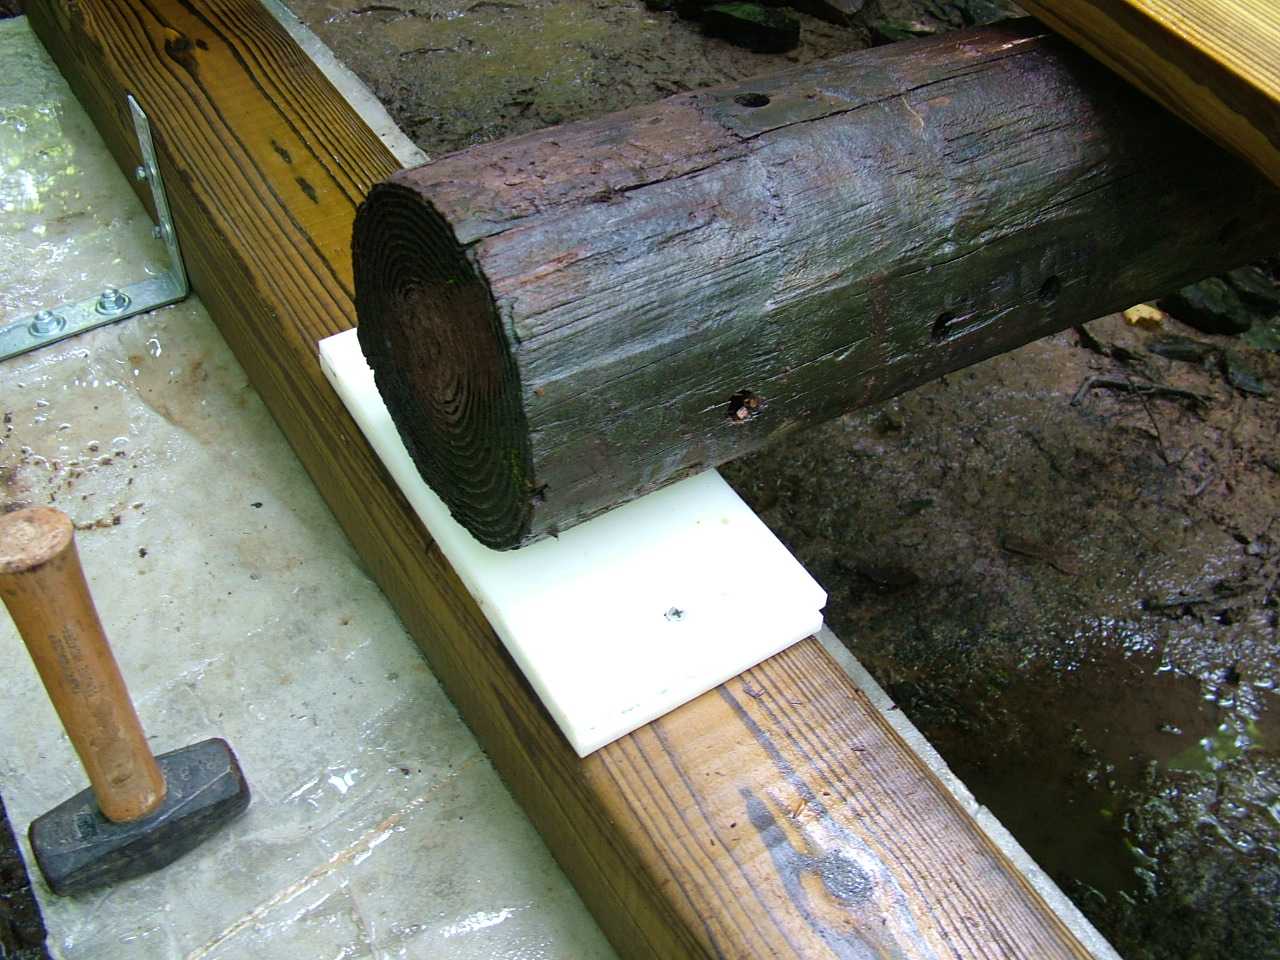
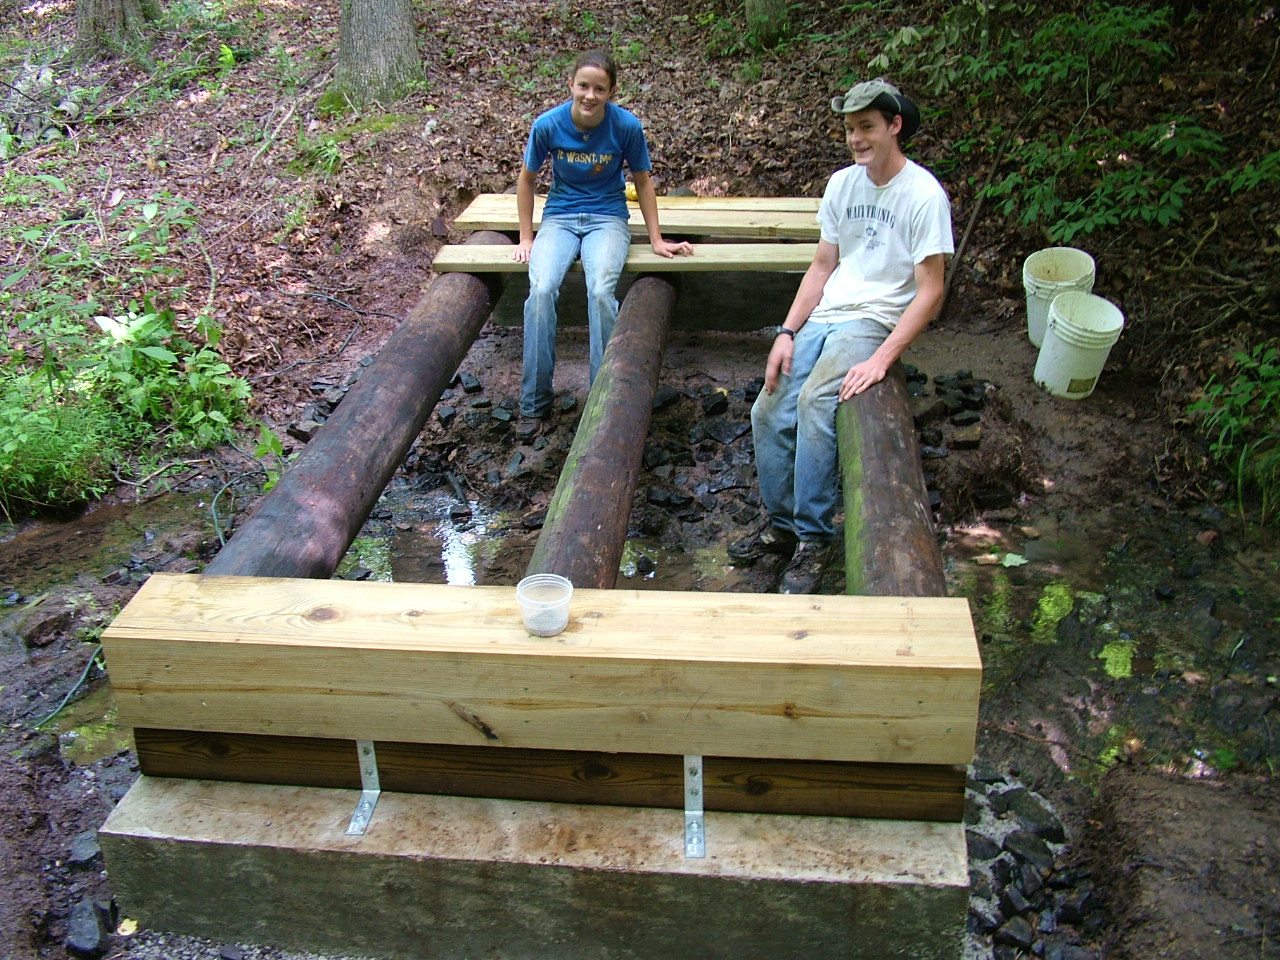
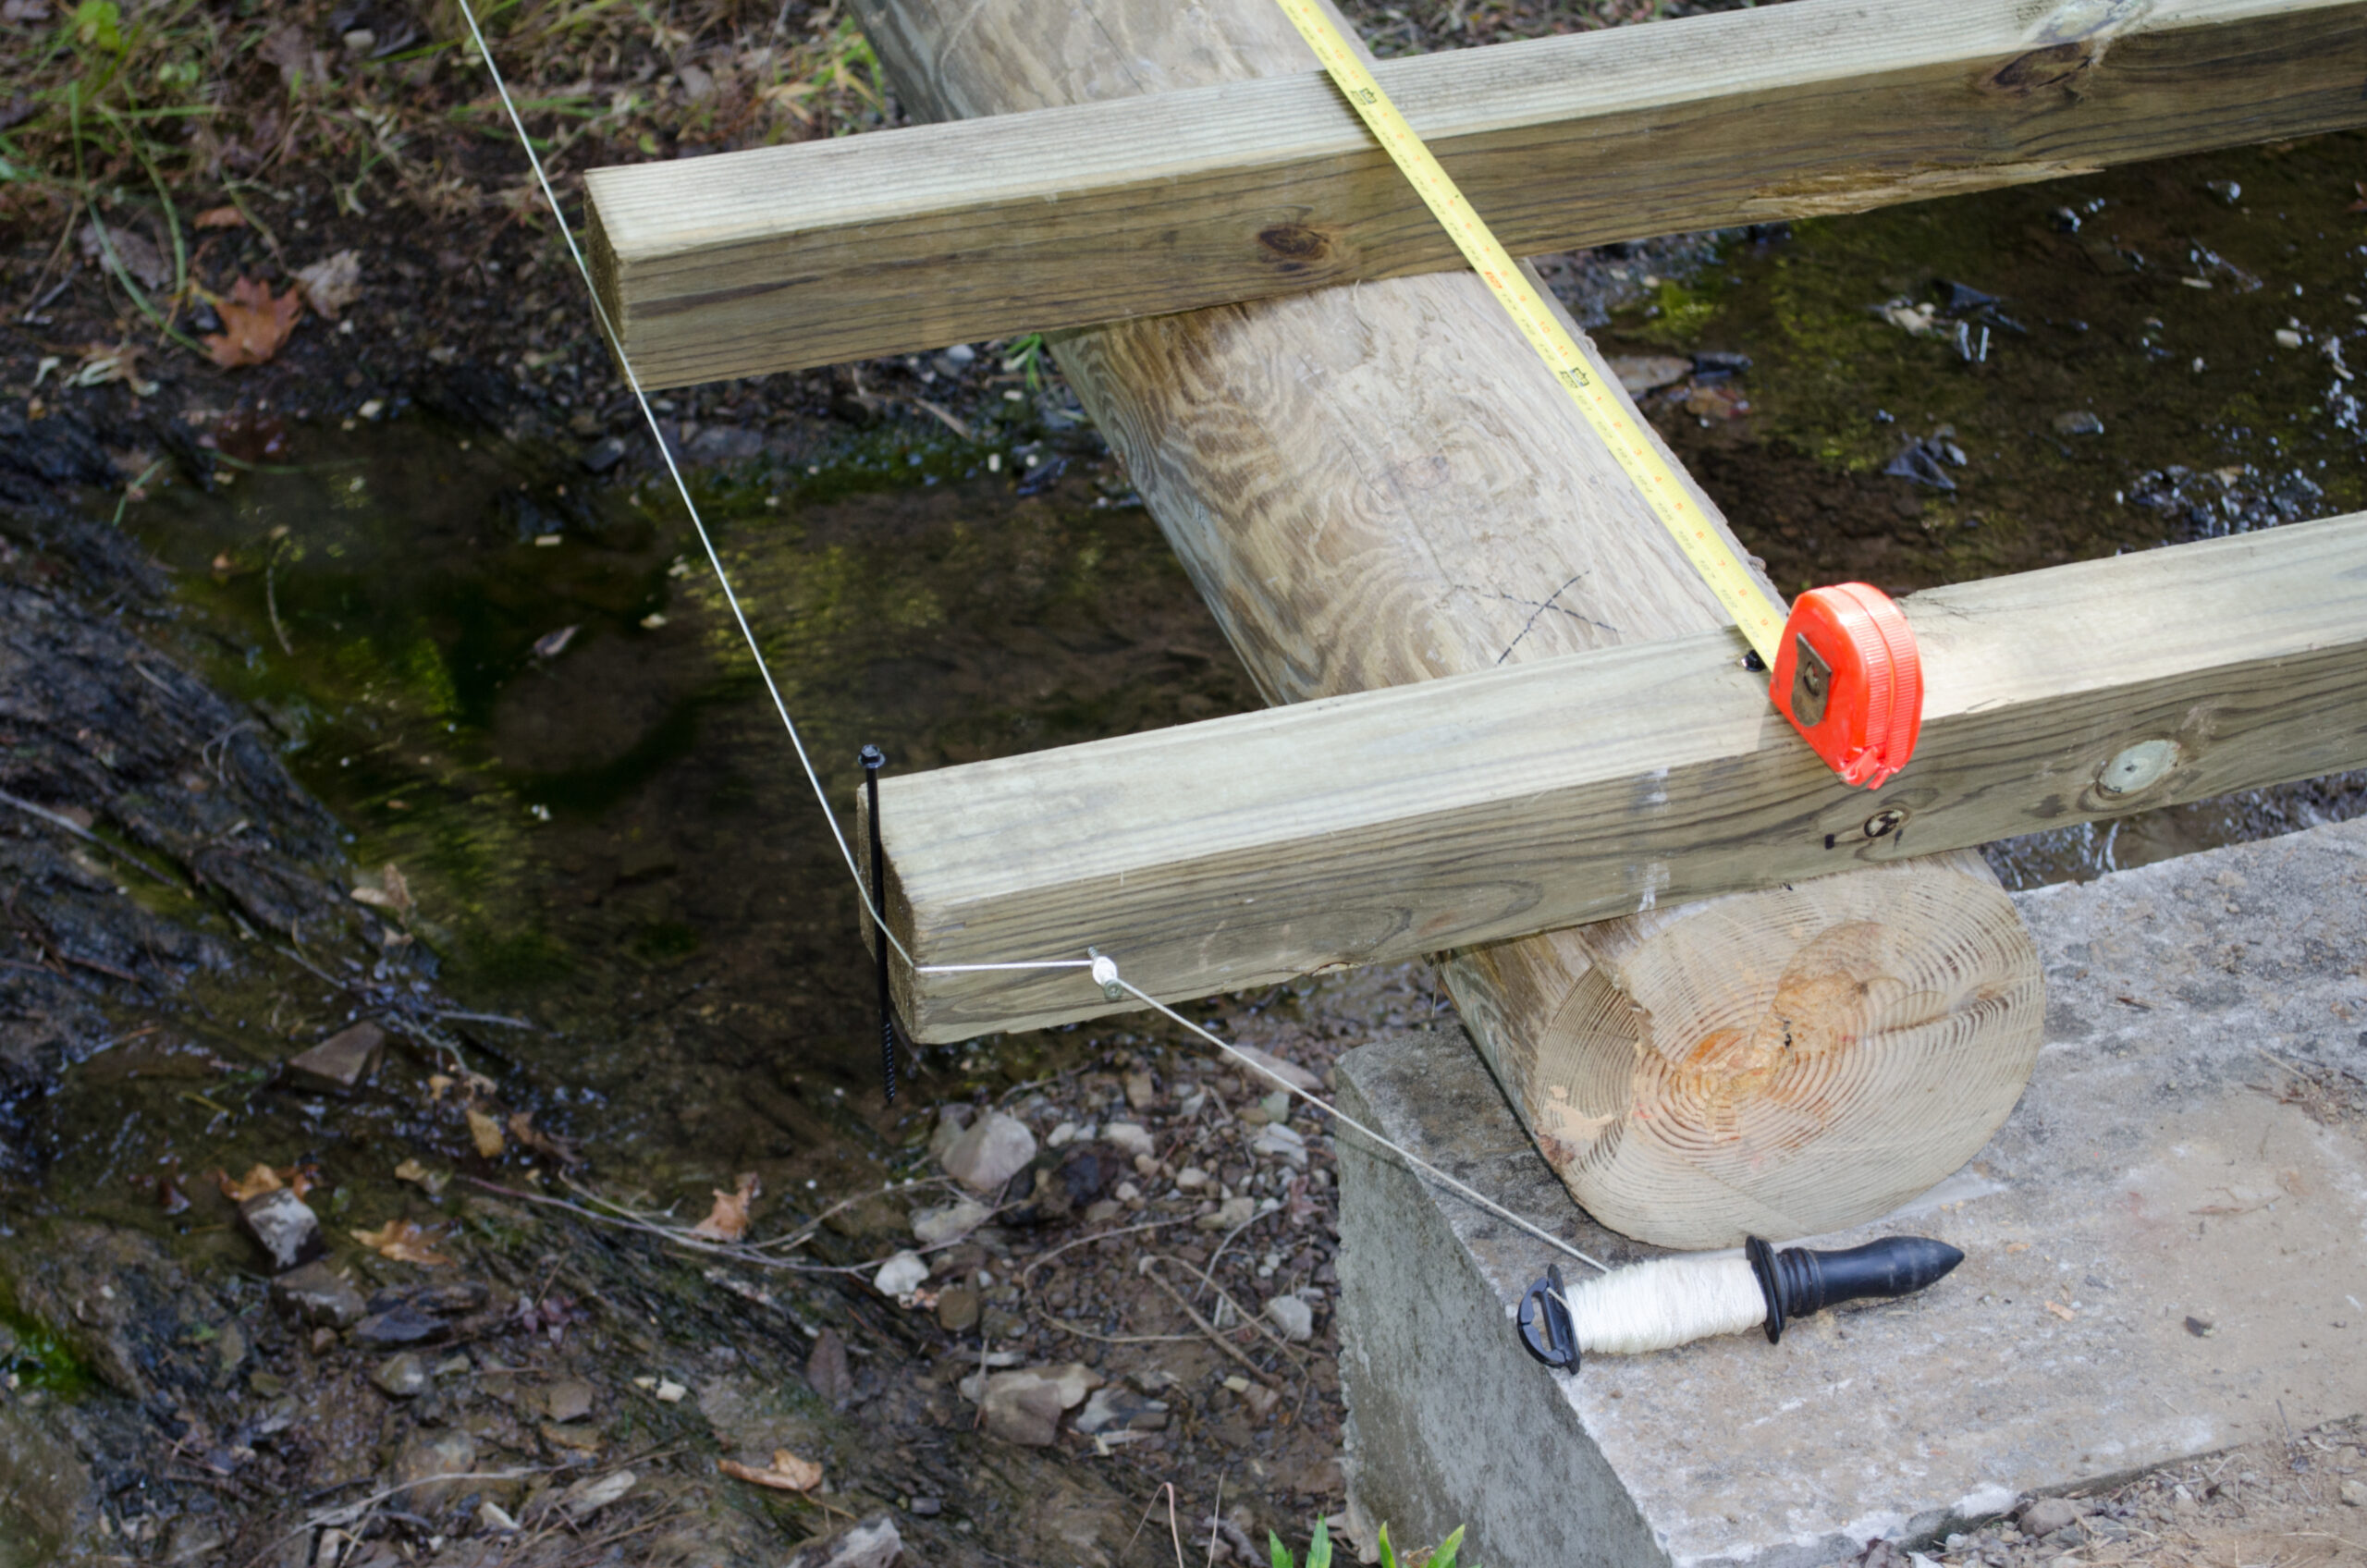
1. Bridge timbers are leveled and shimmed for bridge across Moonshine Creek
2. Bridge timbers are leveled and shimmed for bridge across Moonshine Creek
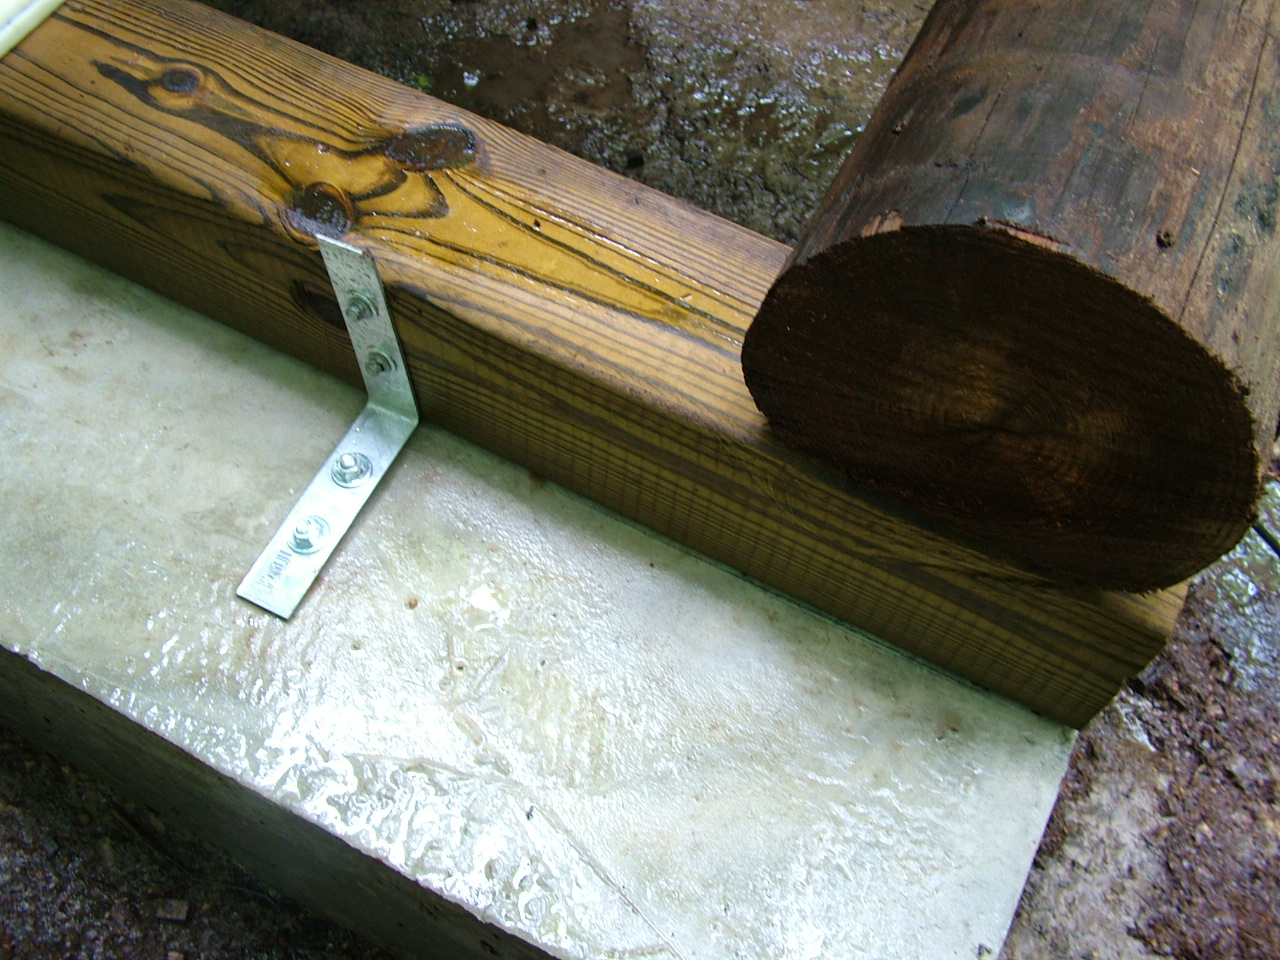
Anchoring timbers to the concrete abutment for crossing Moonshine Creek for George Wetland Area
Anchoring timbers and shimming them for crossing Moonshine Creek for George Wetland Area
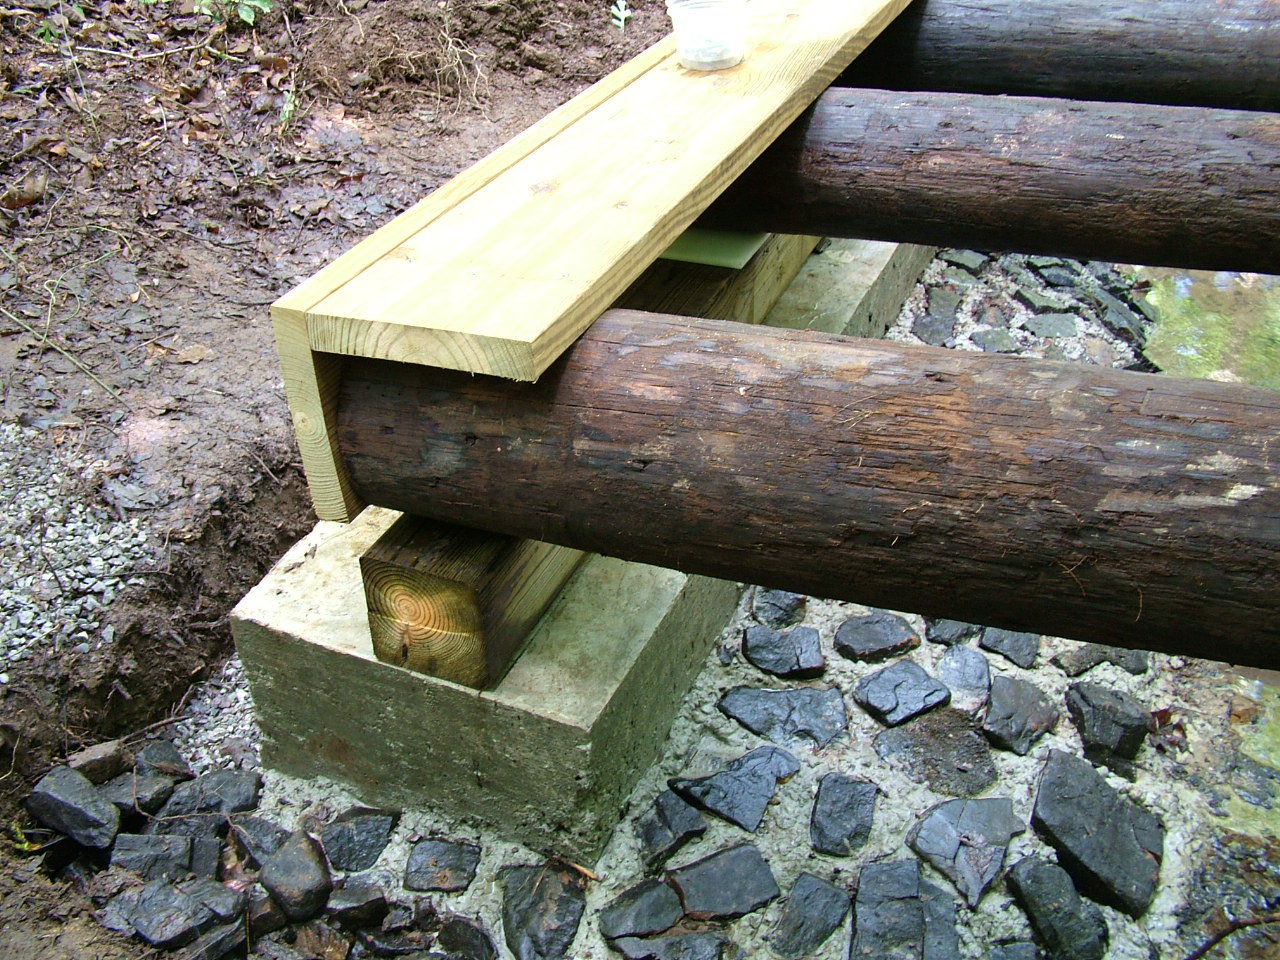
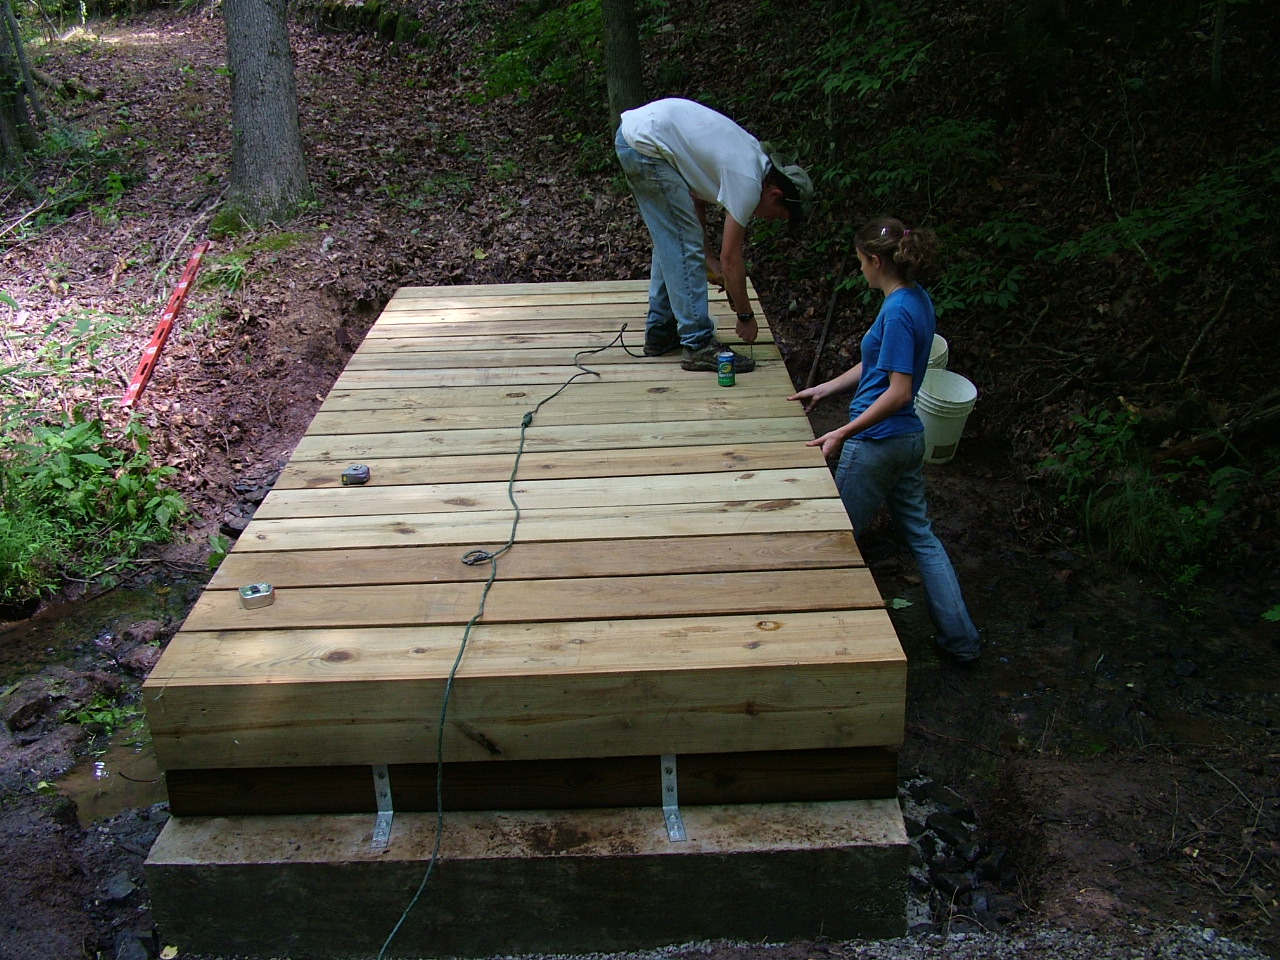
End caps are screwed into place to hold timbers and prevent dirt from contacting timbers for the bridge crossing Moonshine Creek for George Wetland Area
Our young employees taking a break from bridge work on the George Wetland Area
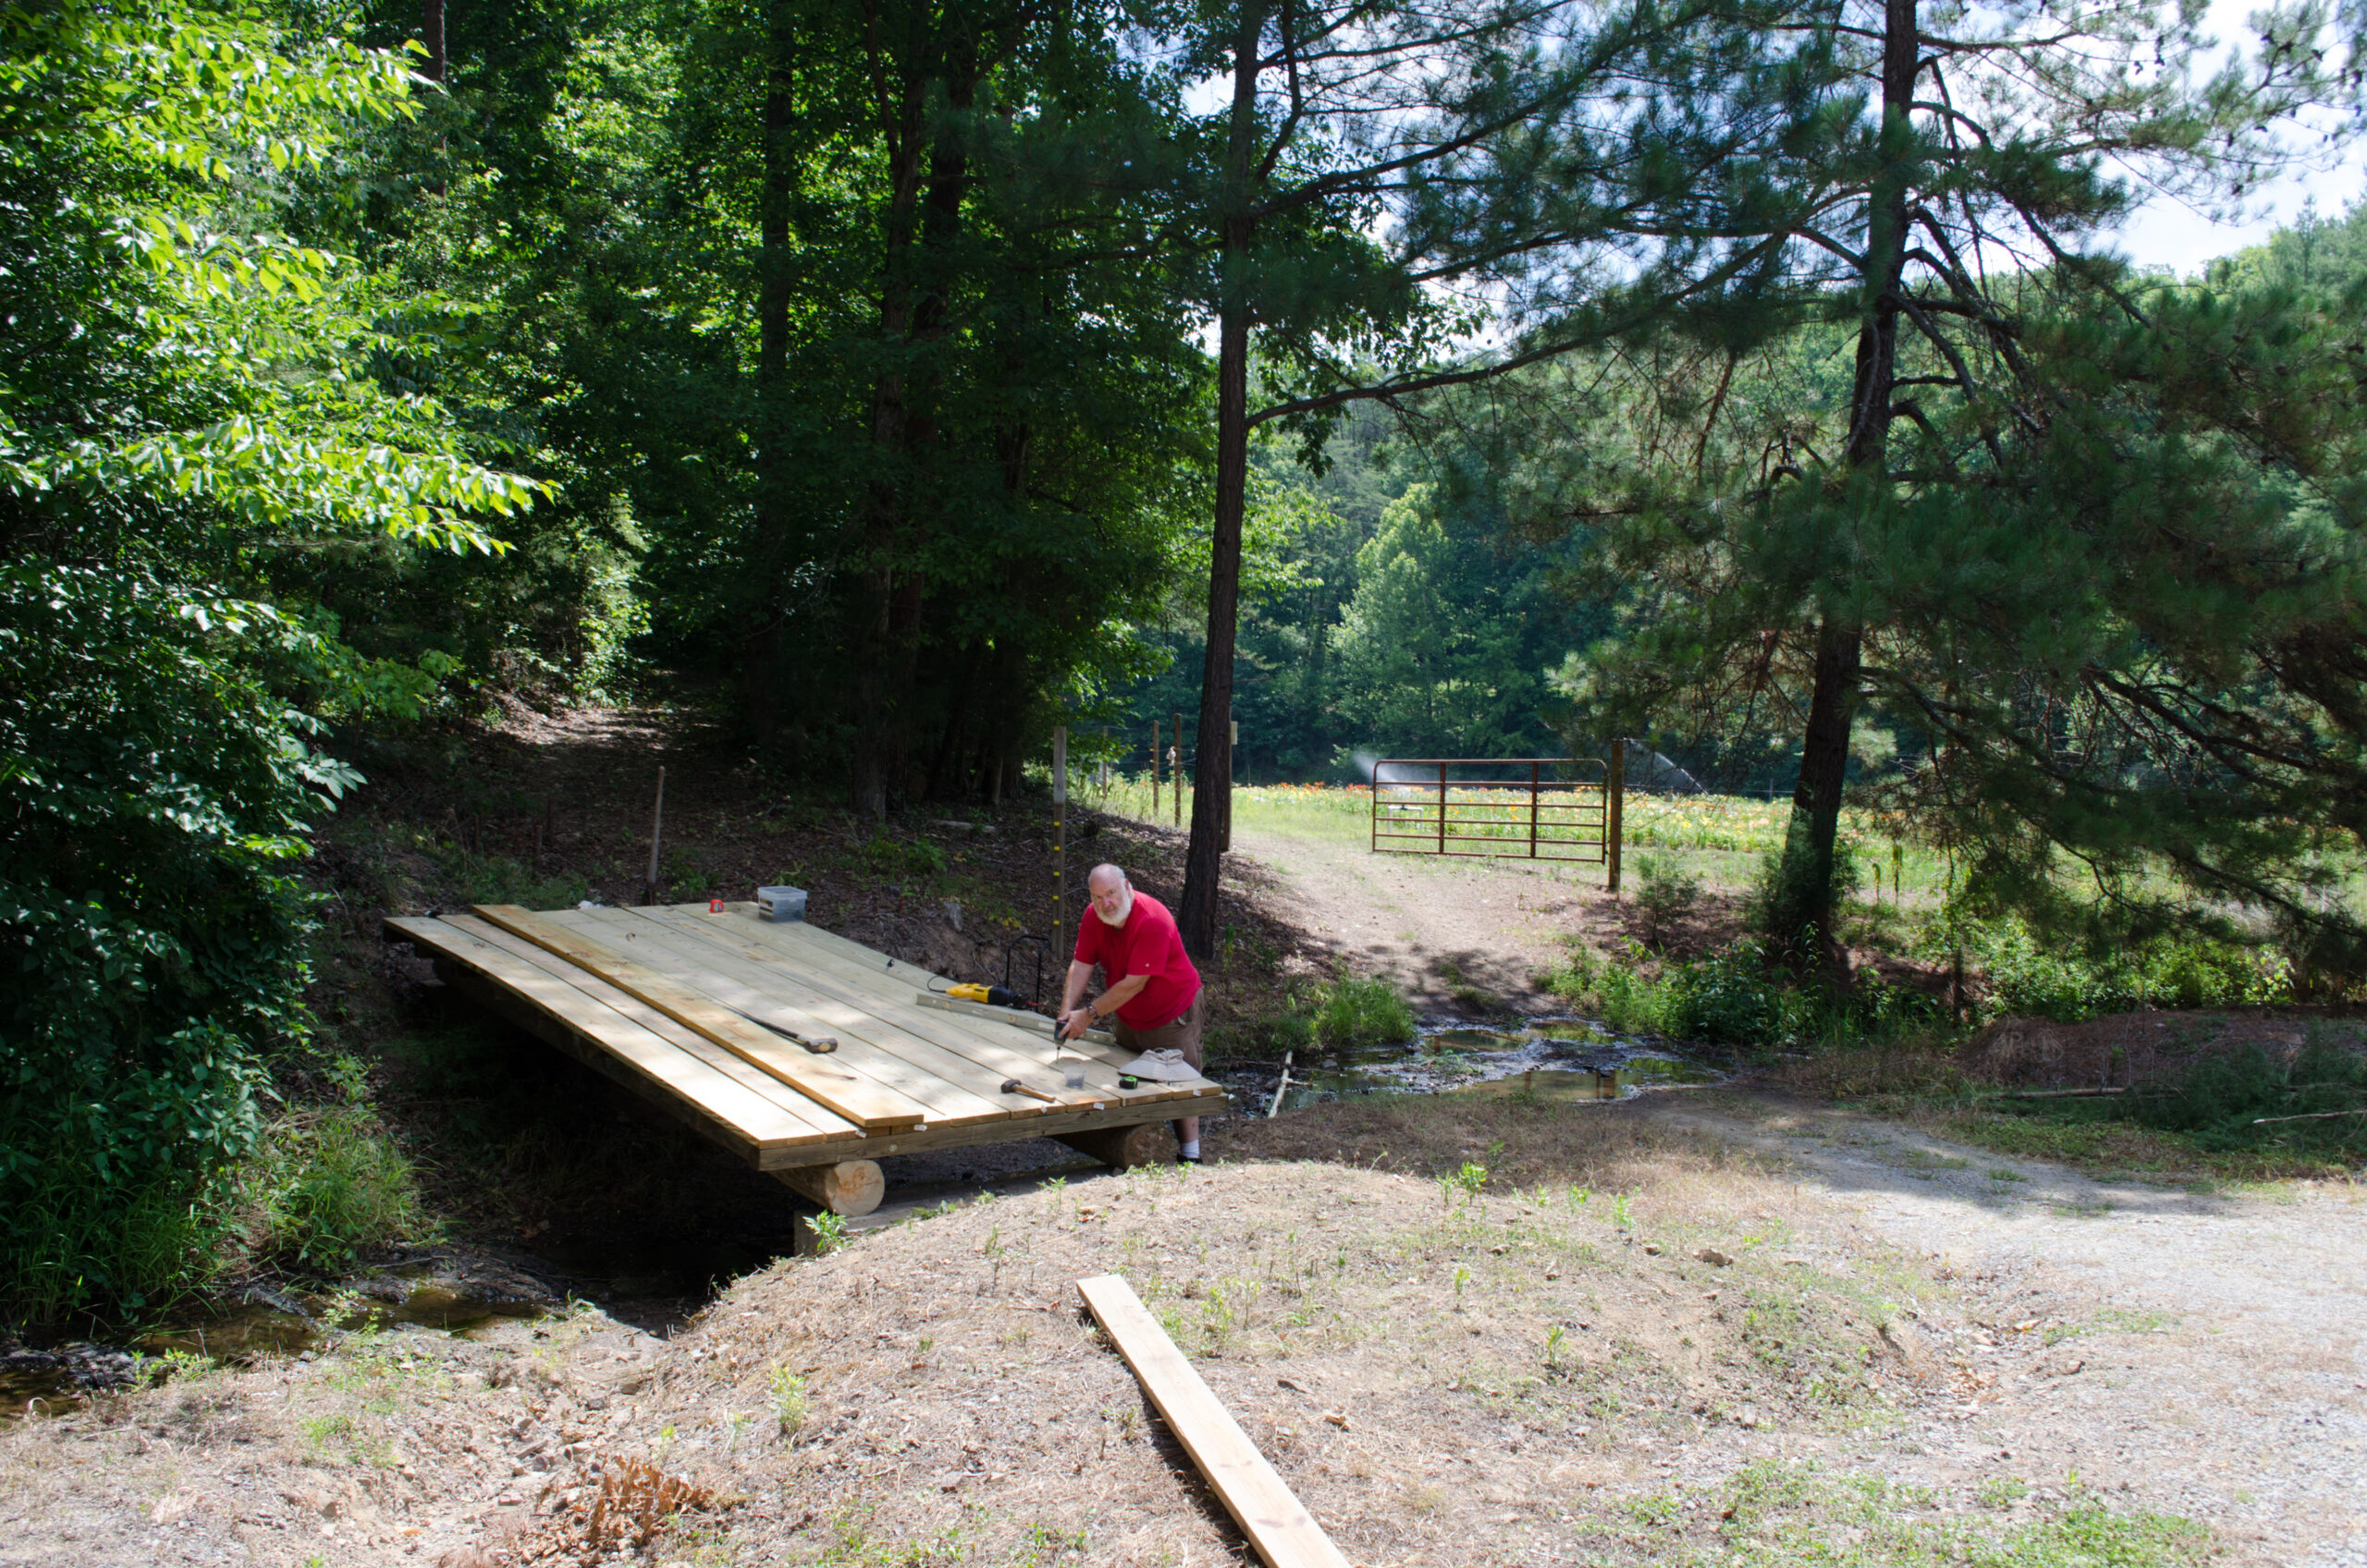
Finishing attaching the decking for bridge into George Wetland Area
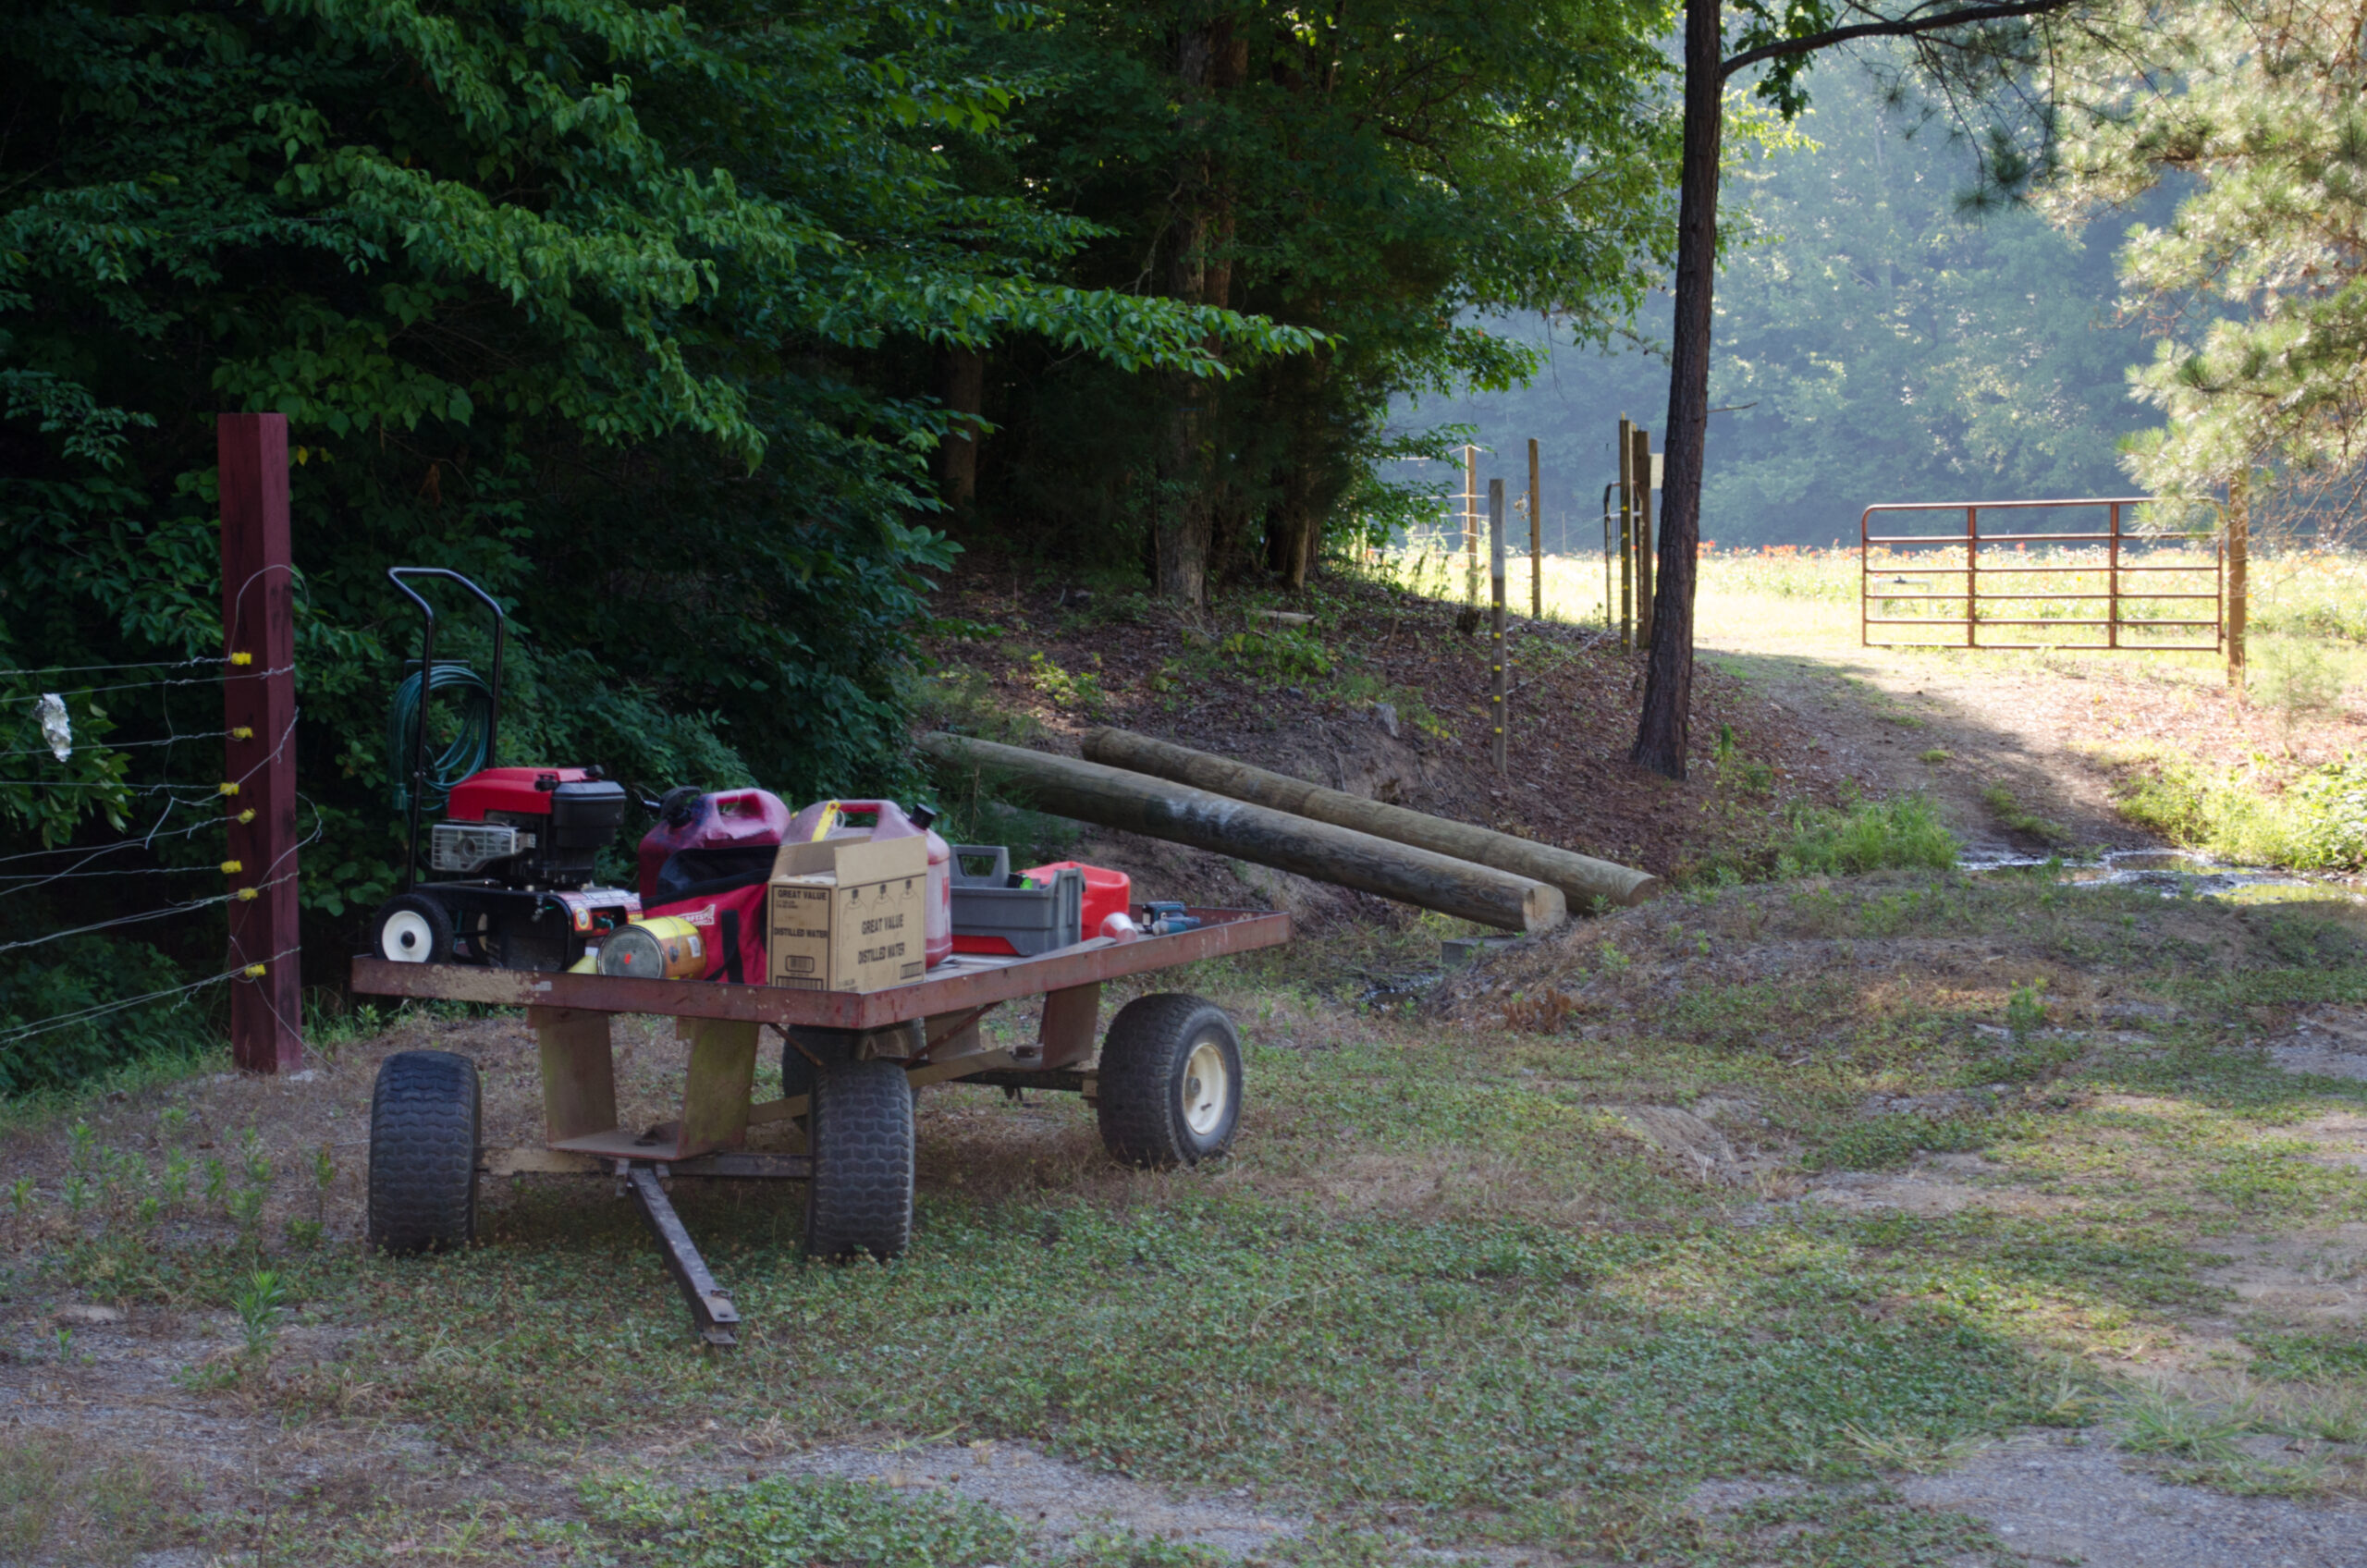
Bringing materials and tools to Azalea Trail creek crossing
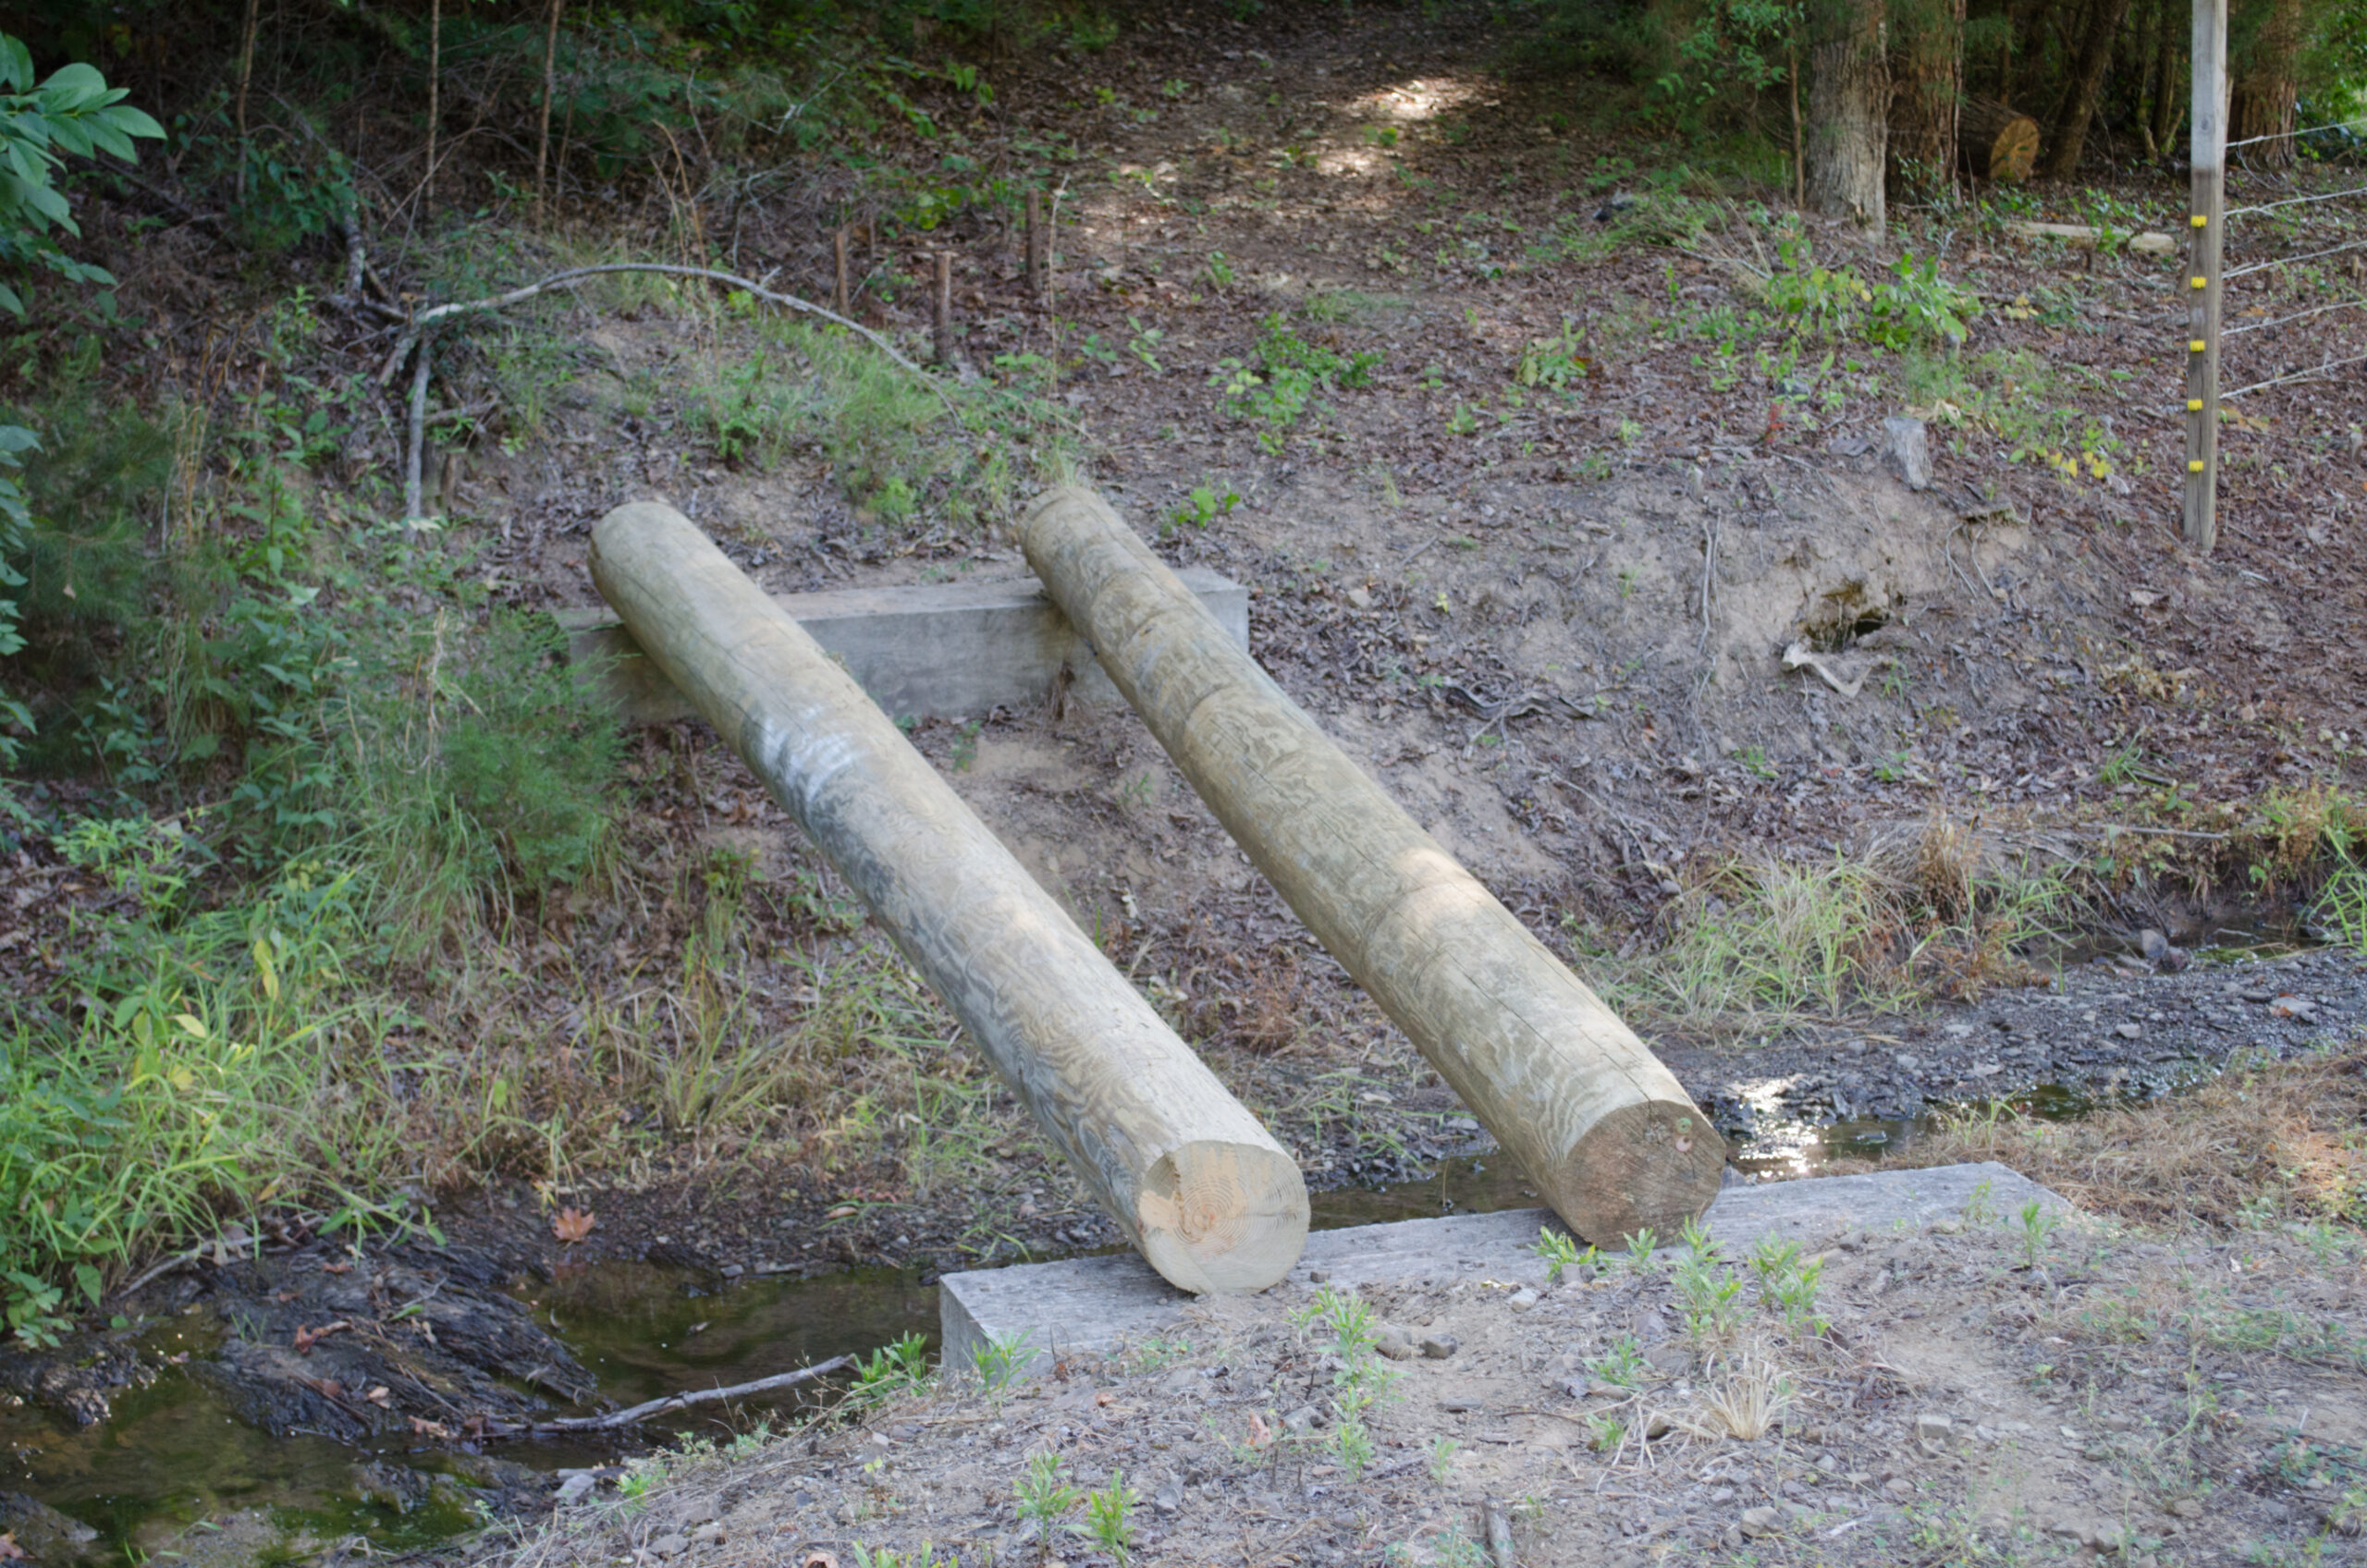
Bridge timbers for Azalea Trail bridge over Moonshine Creek
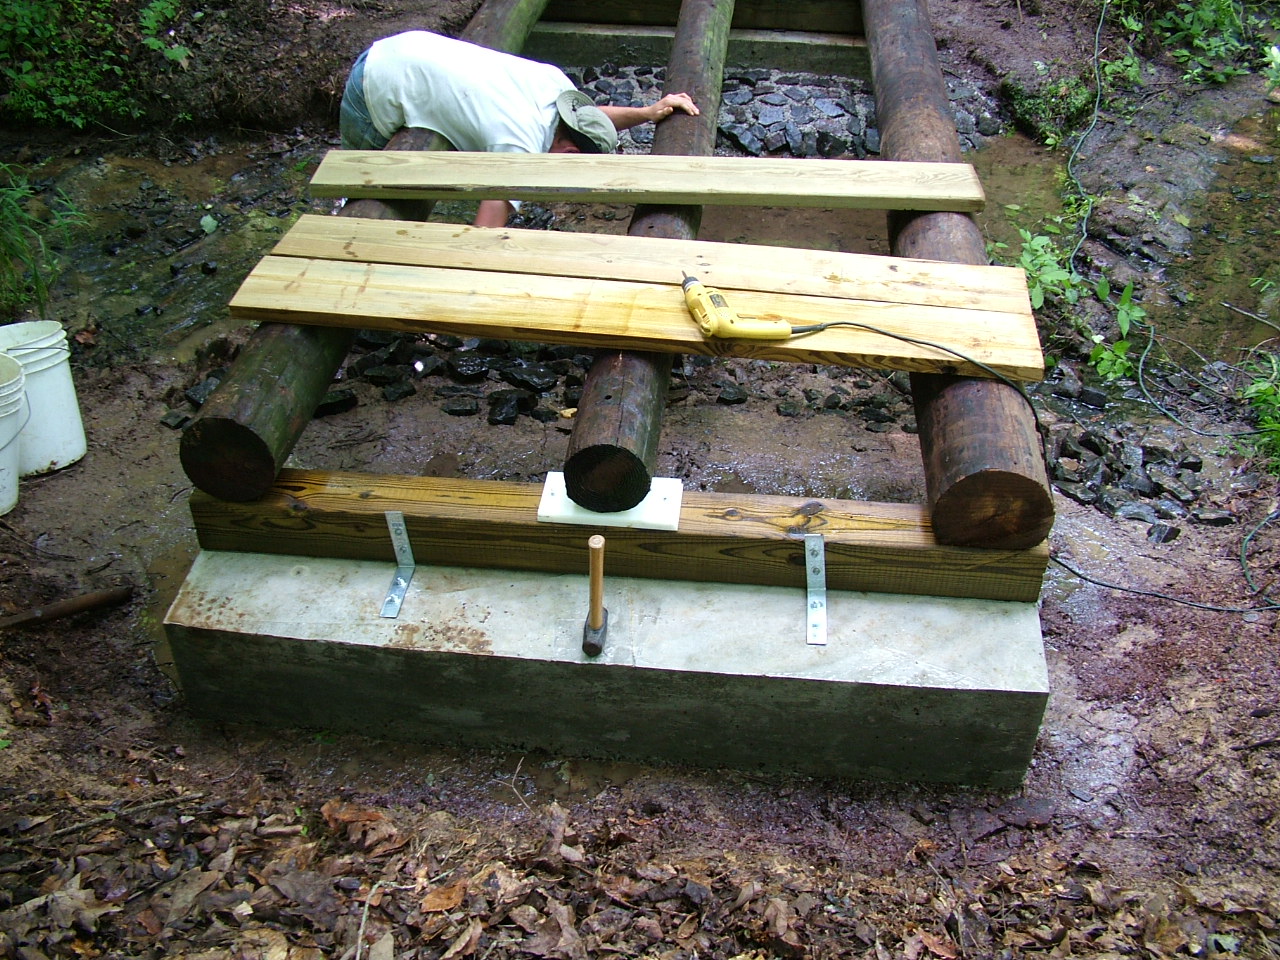
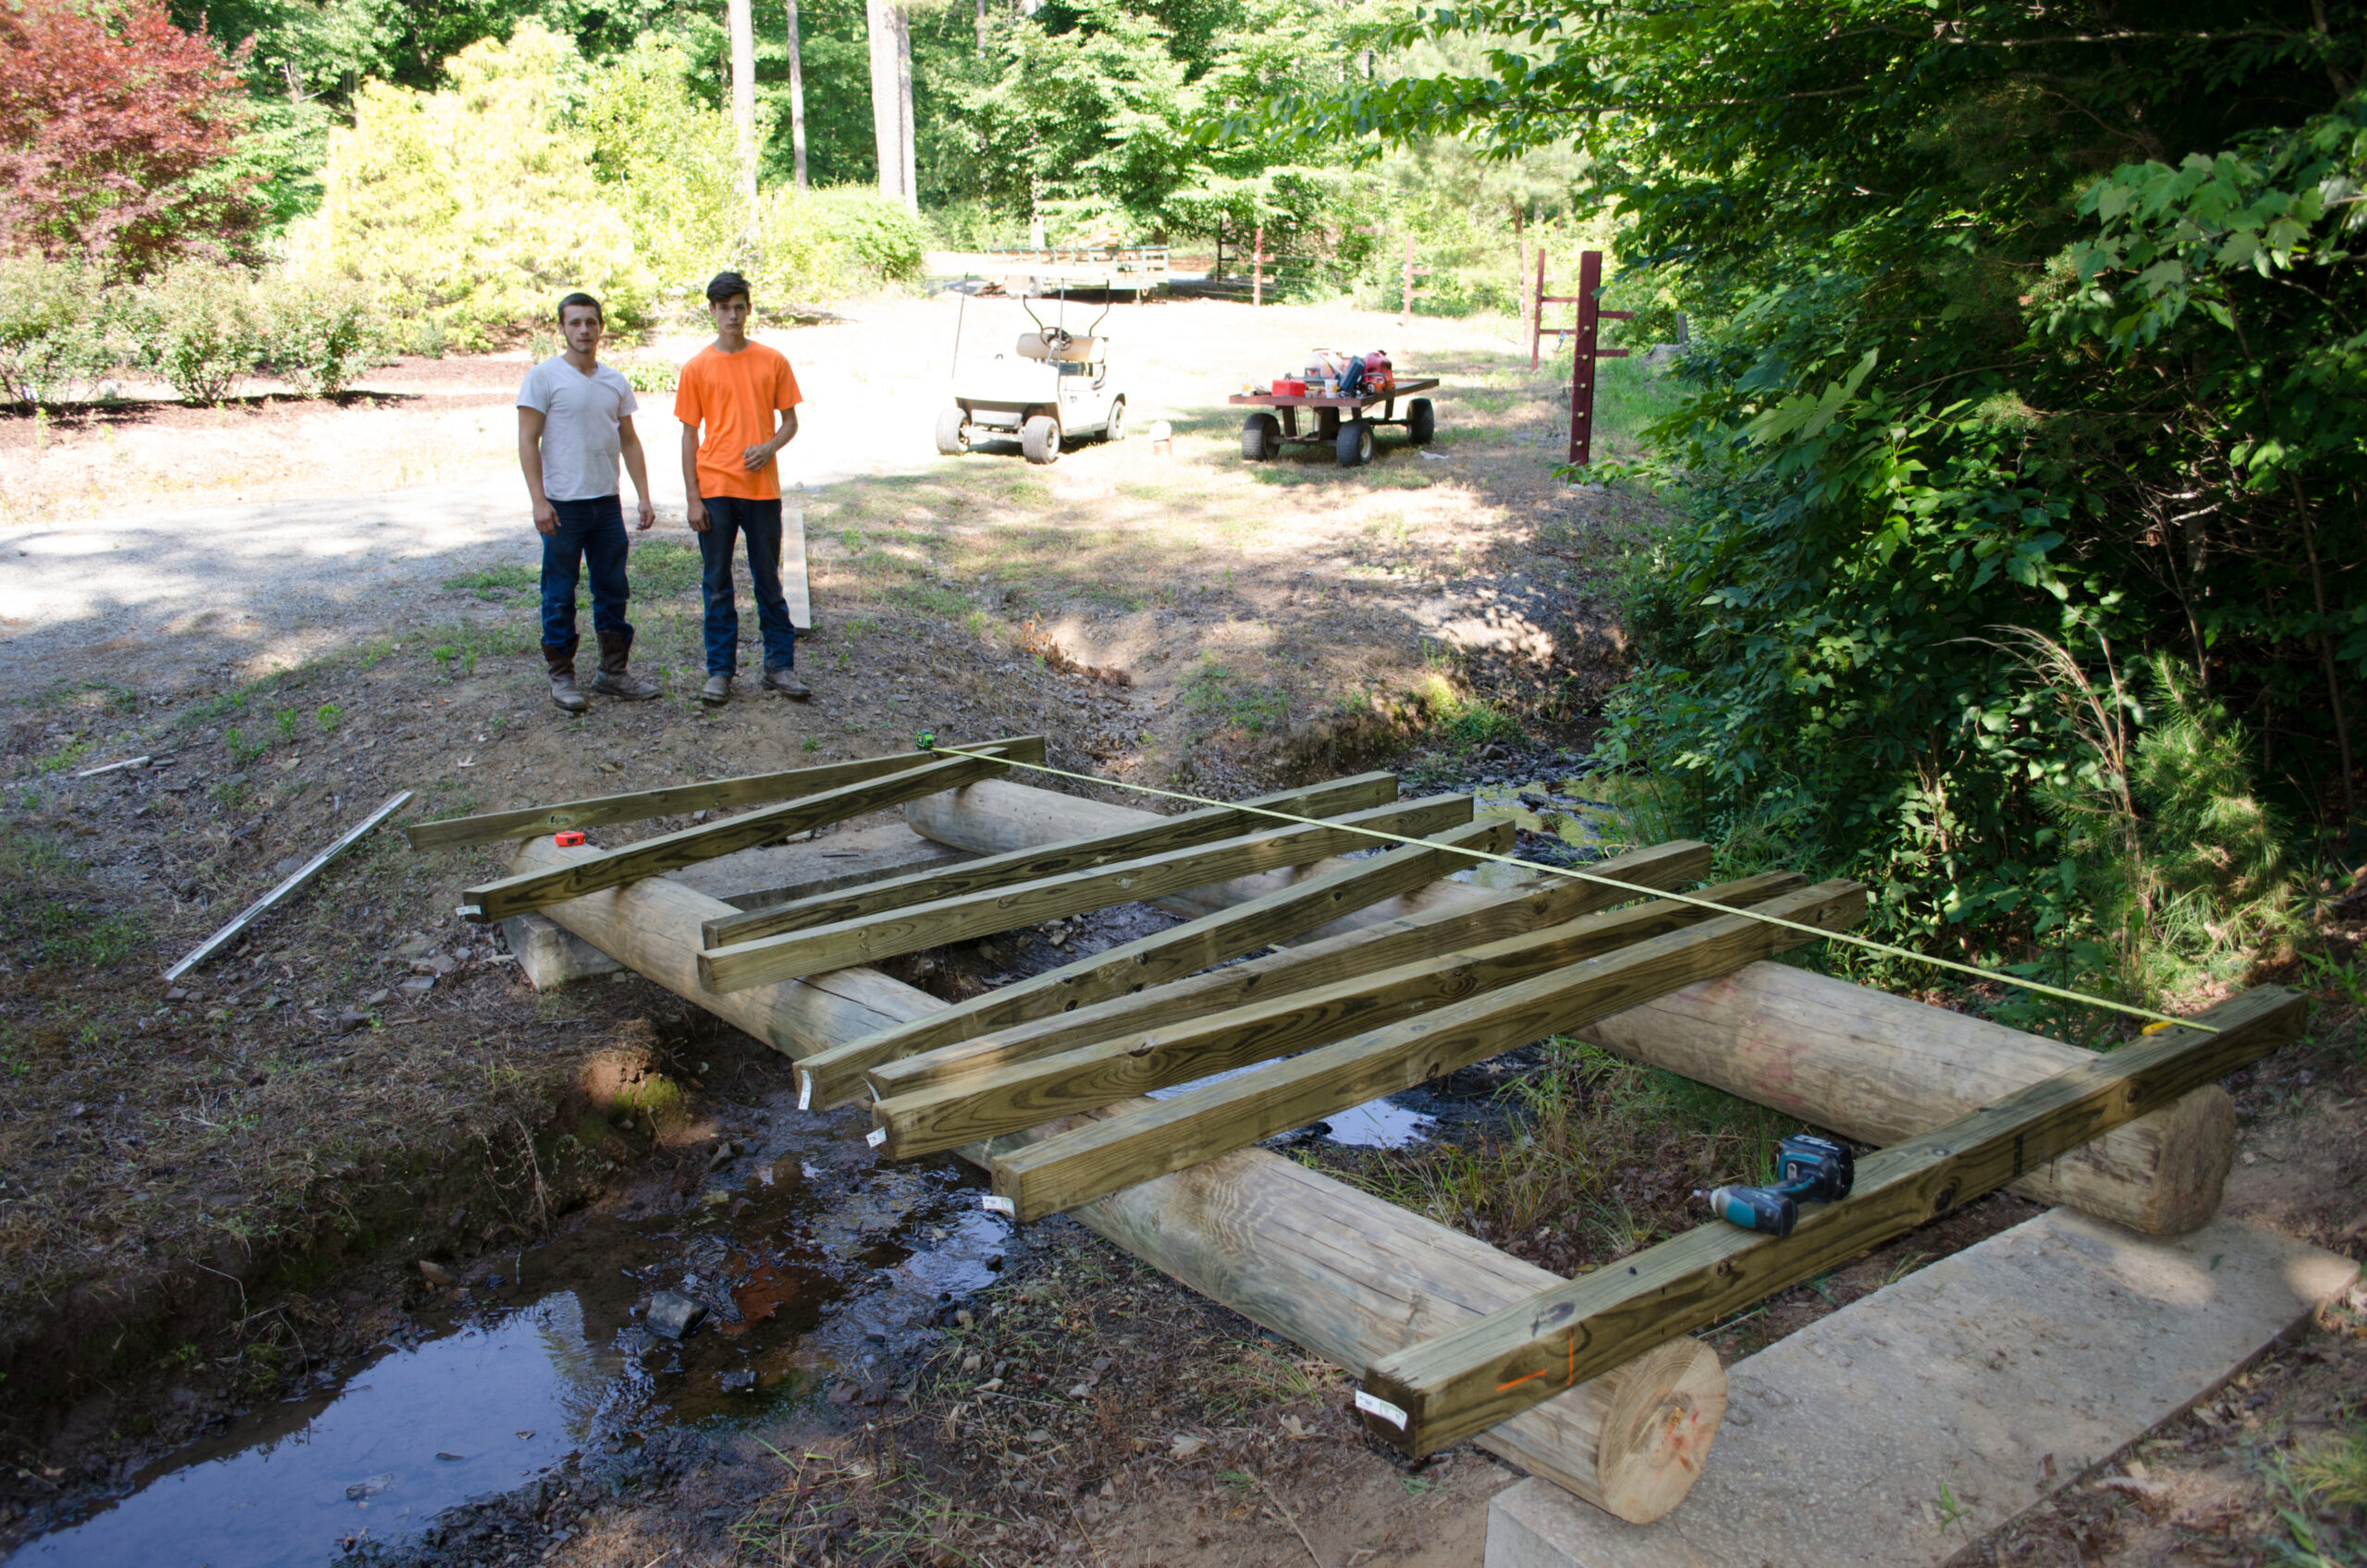
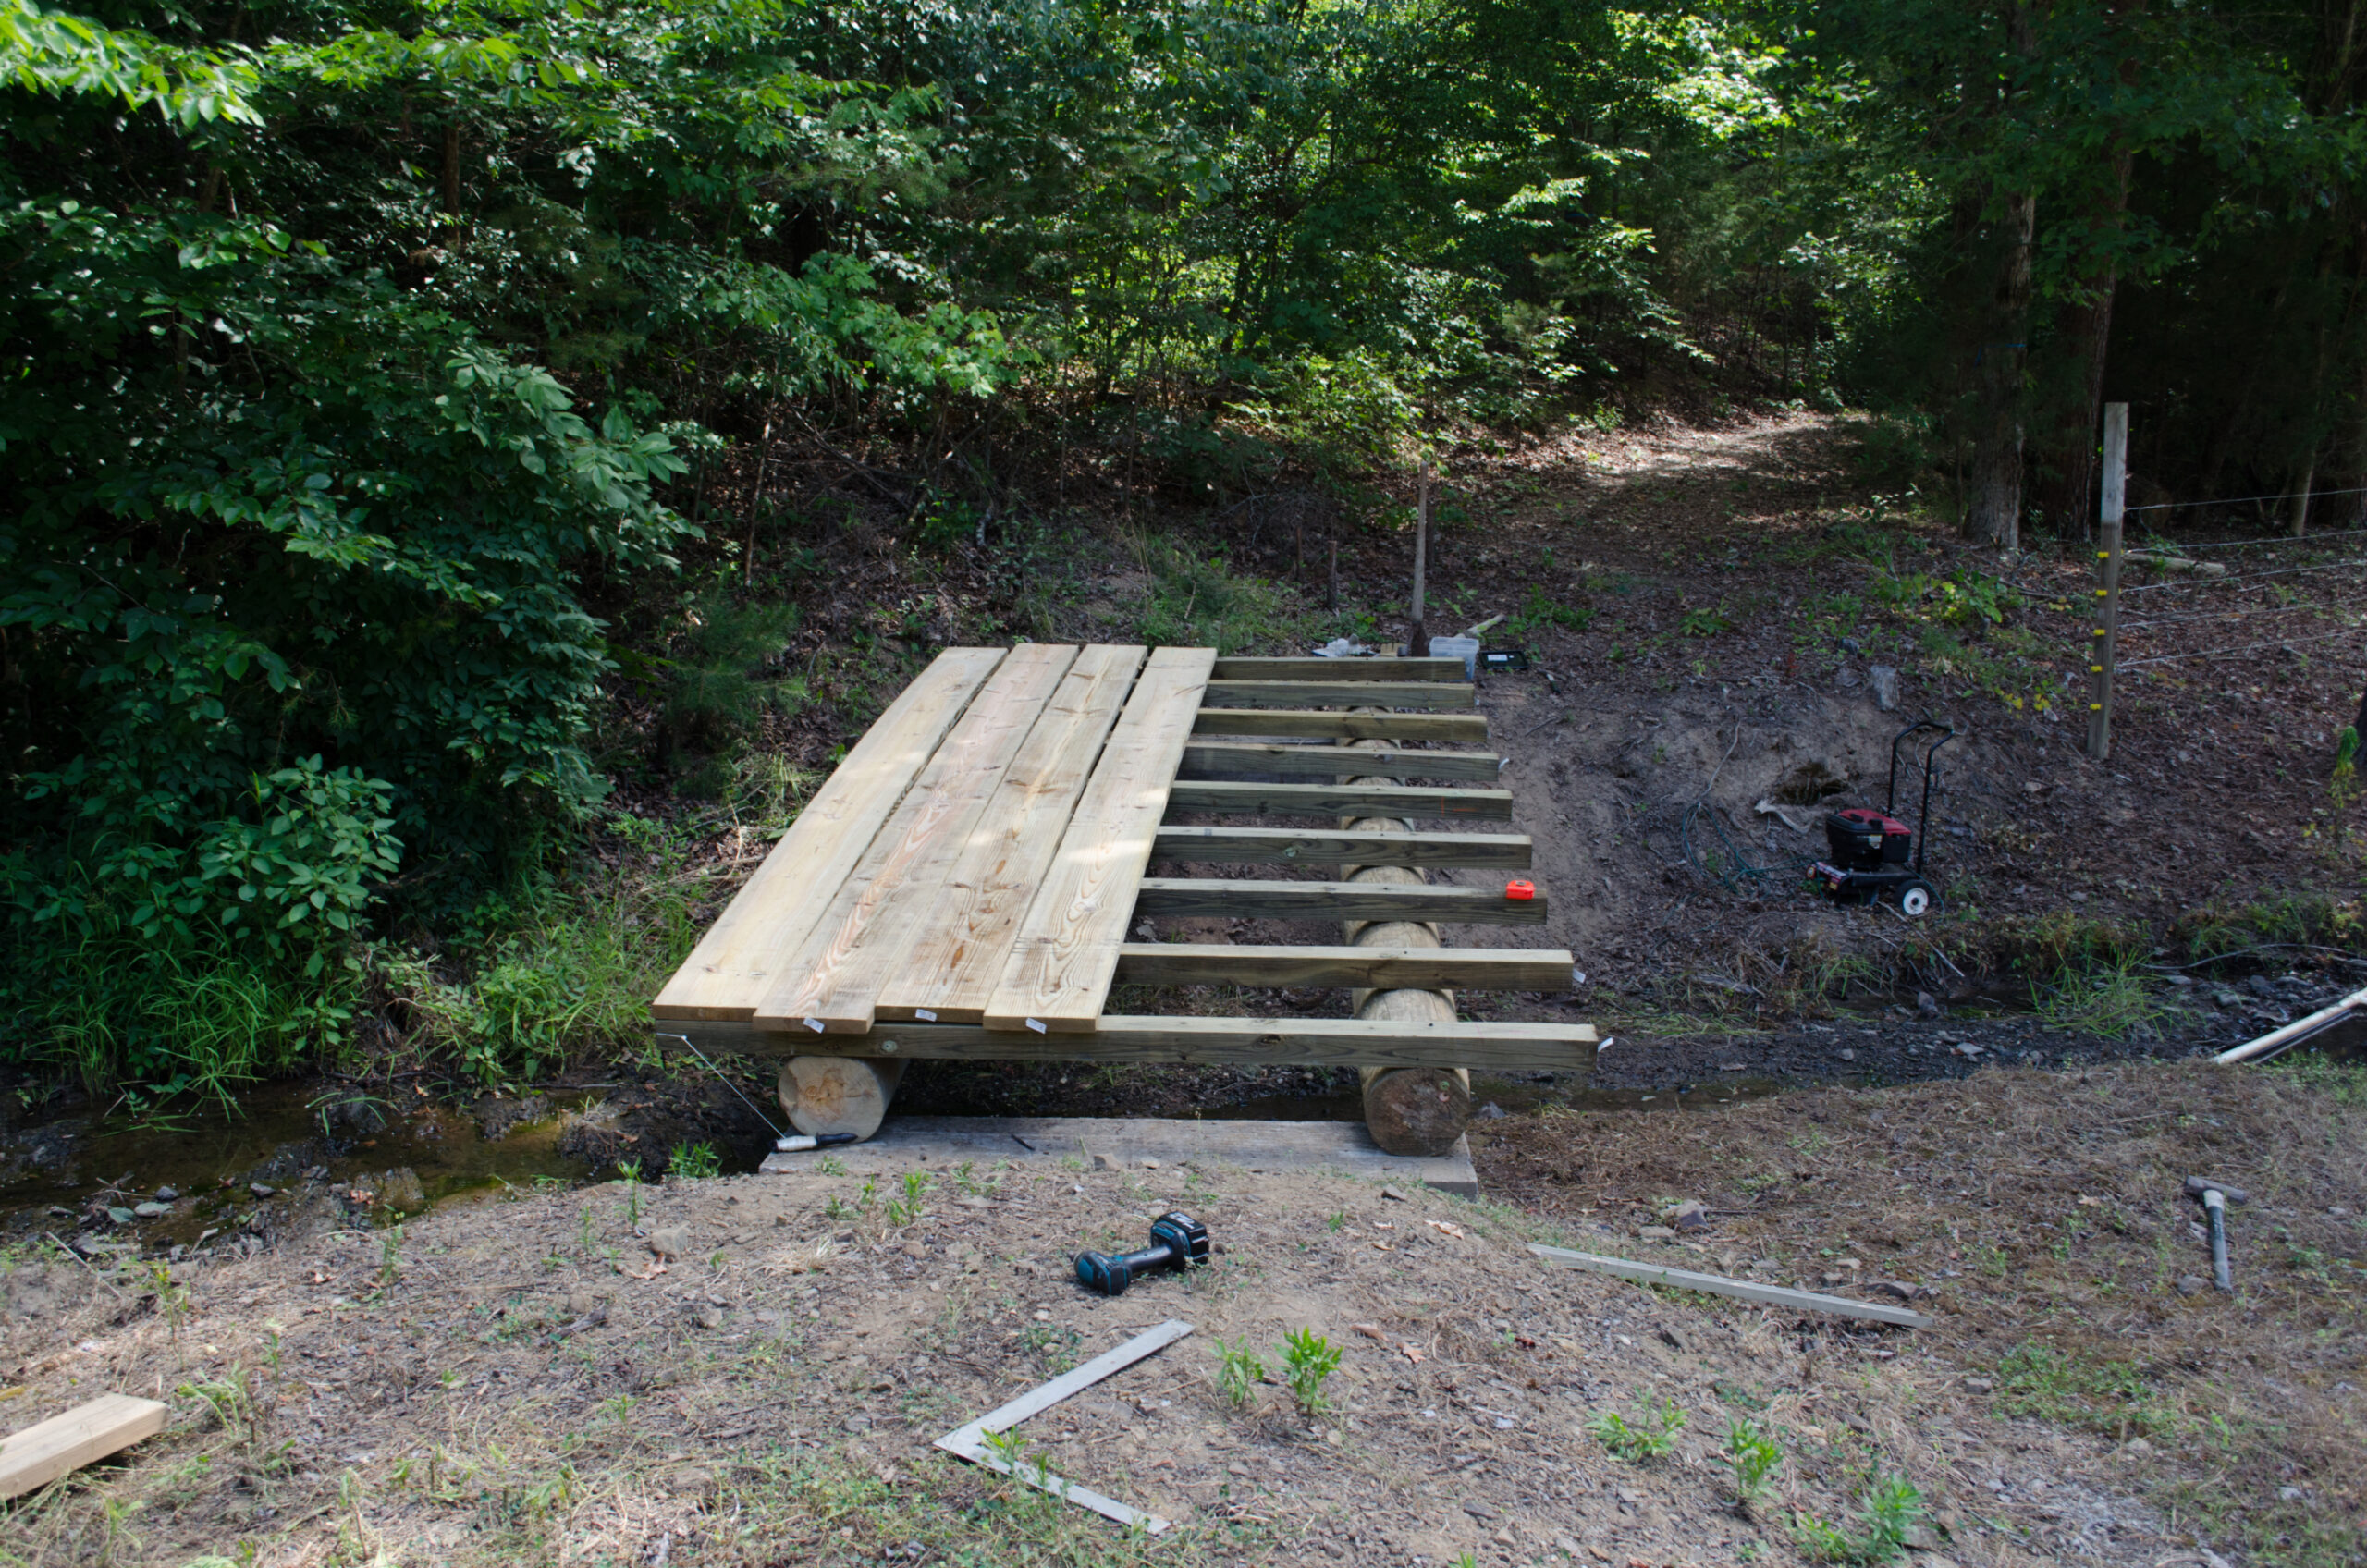
1. Bridge timbers in place on abutment and cross members measured and spaced
2. Bridge timbers in place on abutment and cross members ready to be measured and spaced
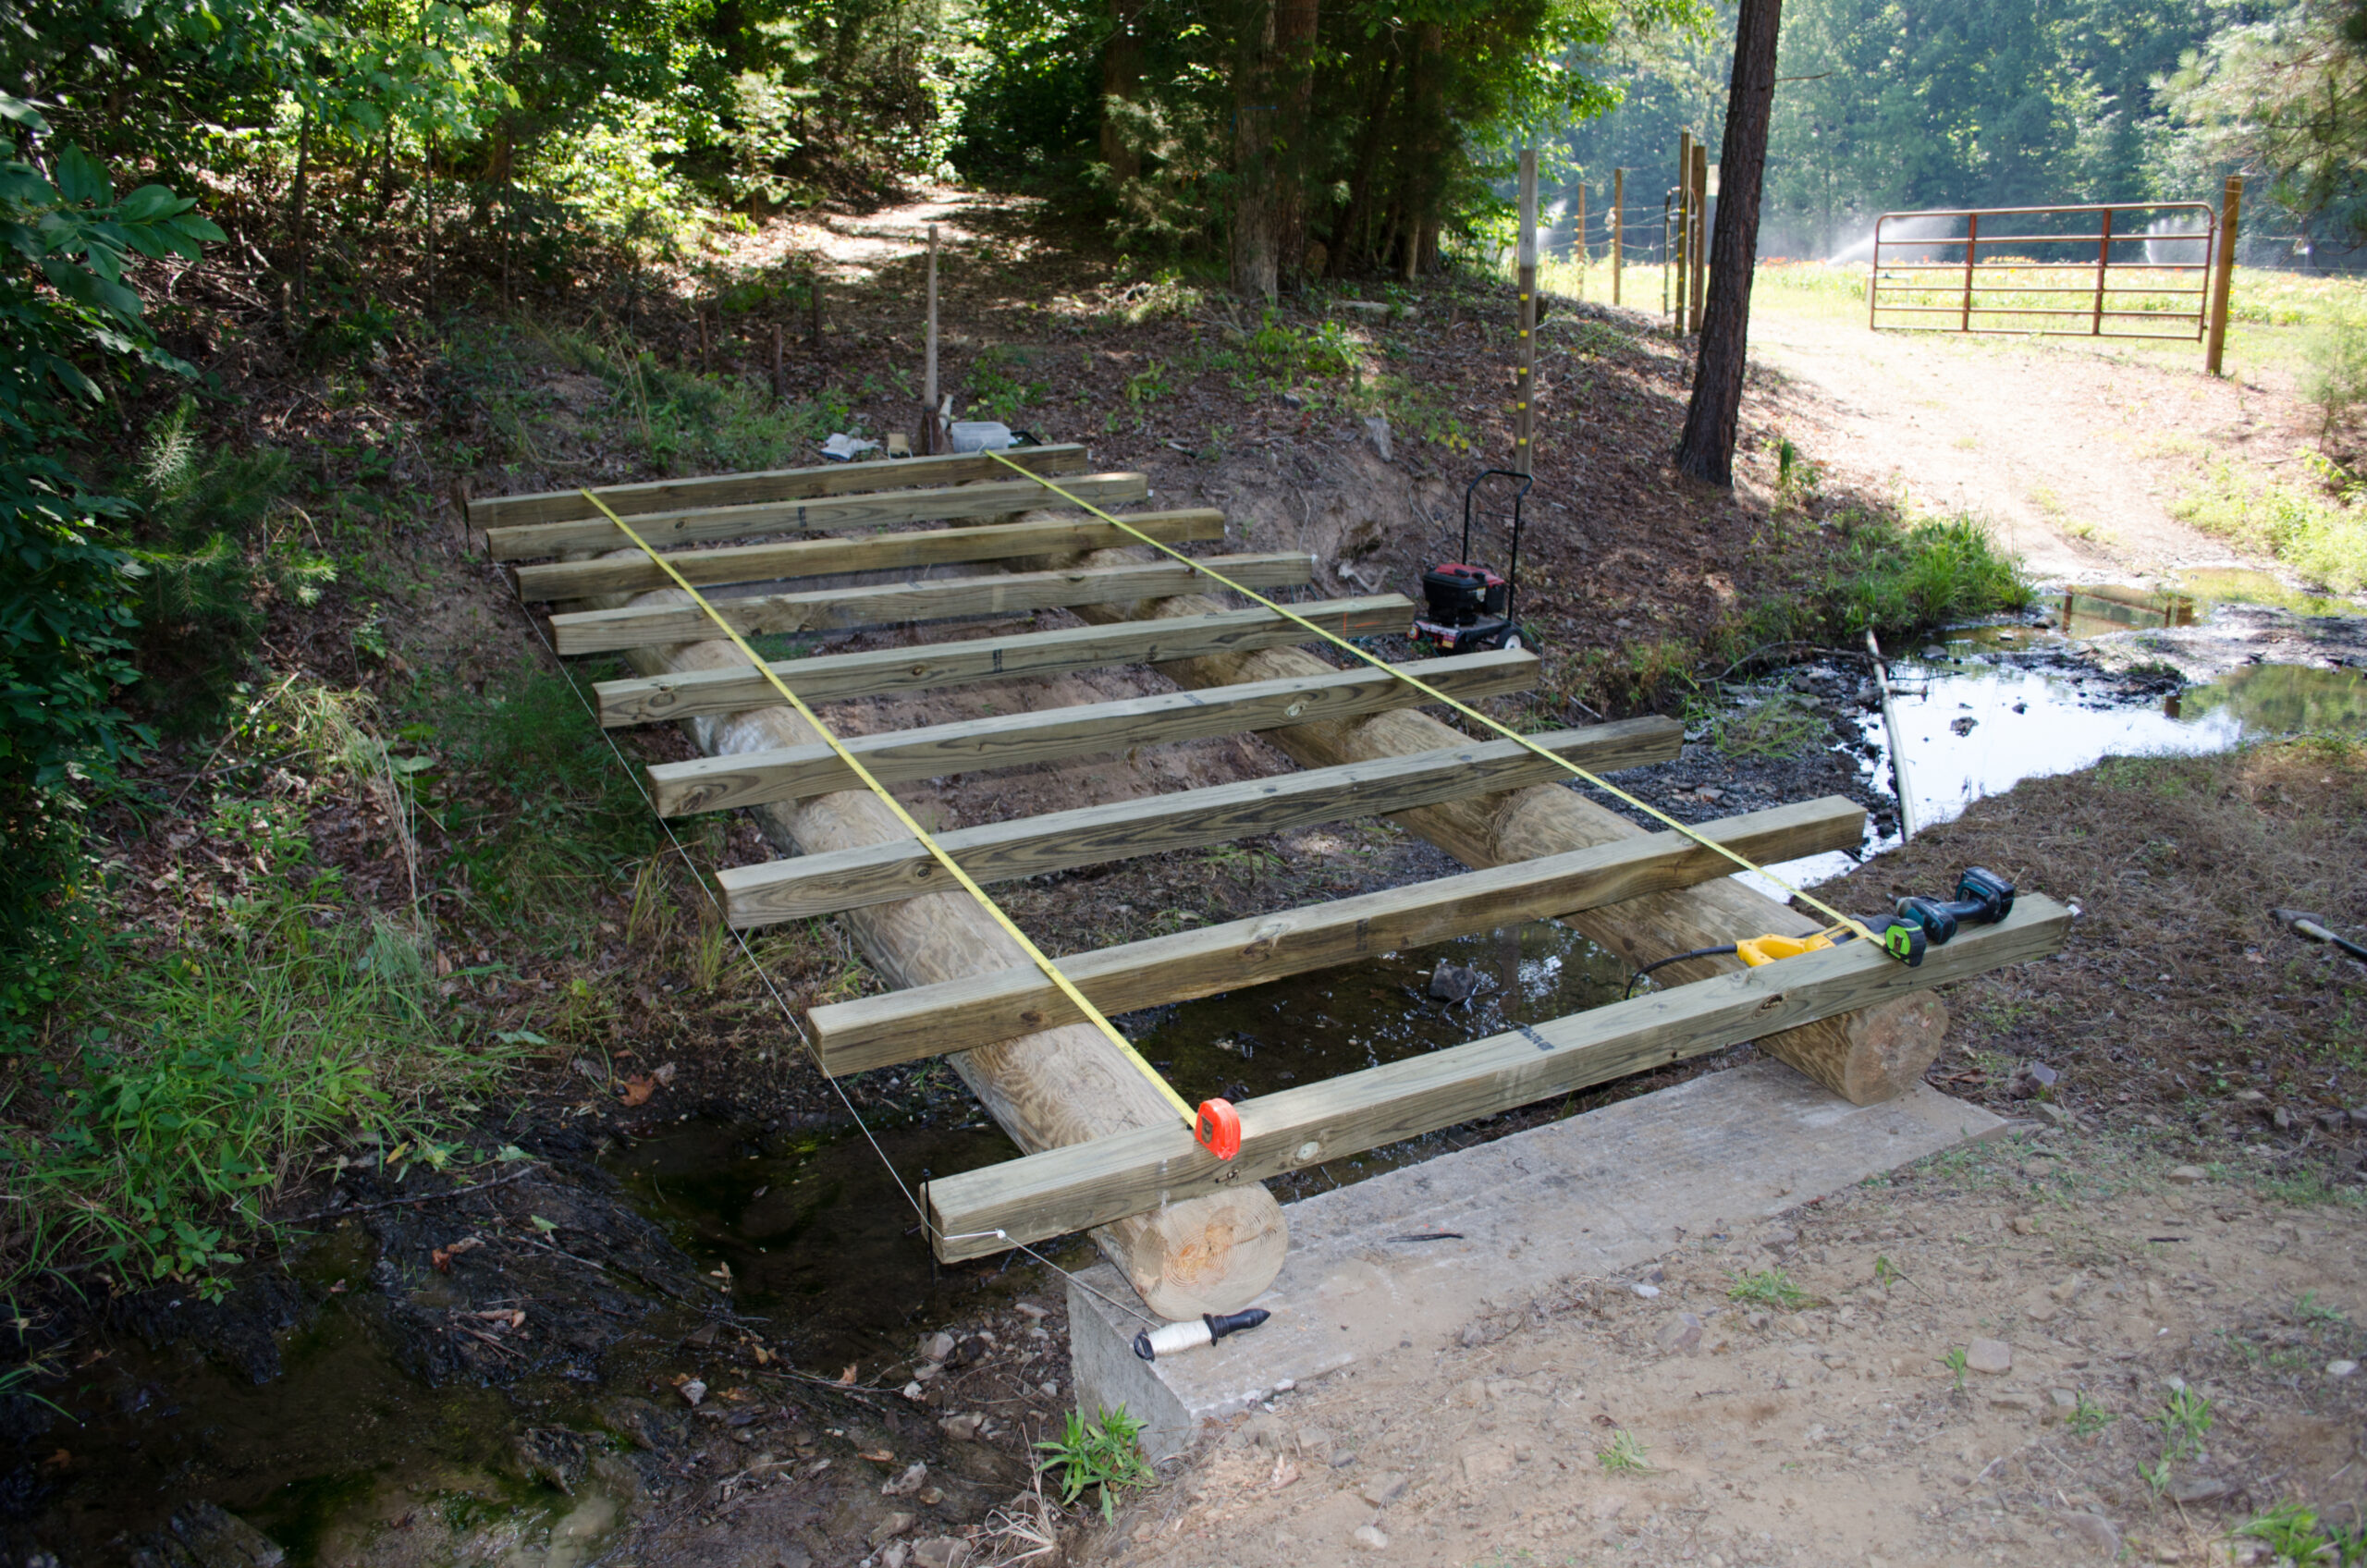
3. Bridge timbers in place on abutment and cross members in place
4. Bridge timbers in place on abutment and cross members drilled into place
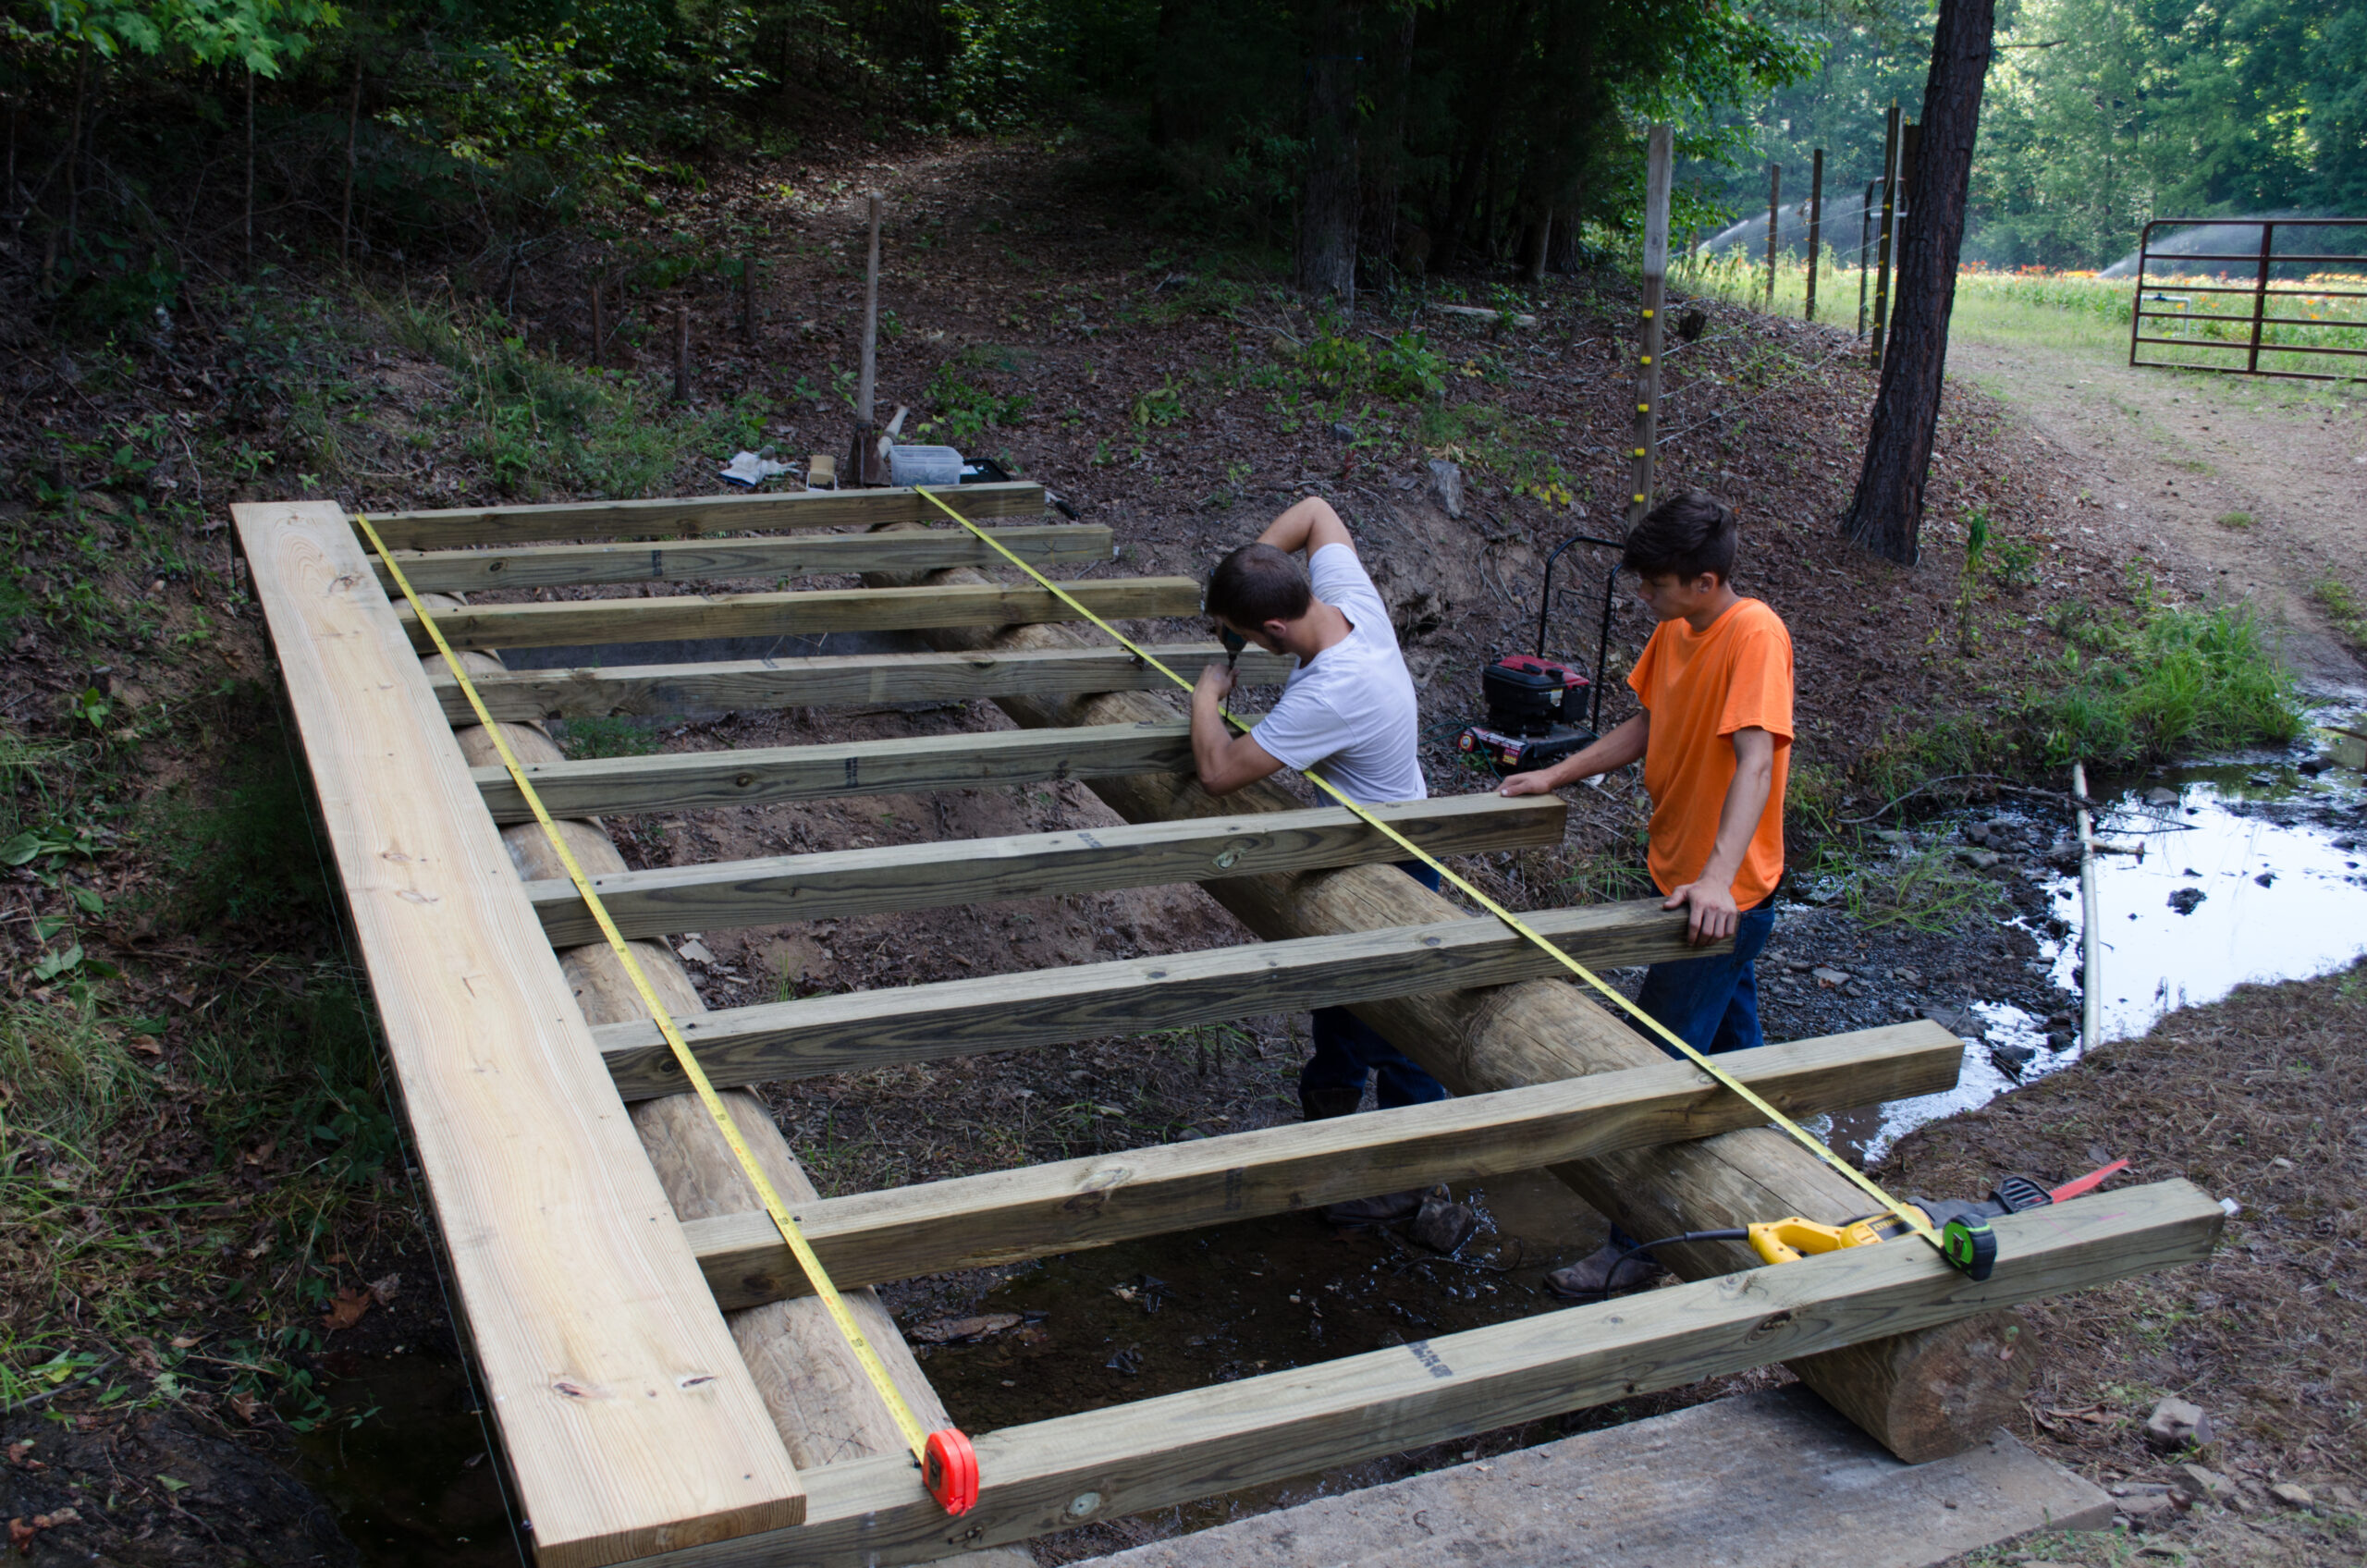
5. Decking being place prior to spacing and attachment
6. Decking being attached with screws

Tools of the Trade

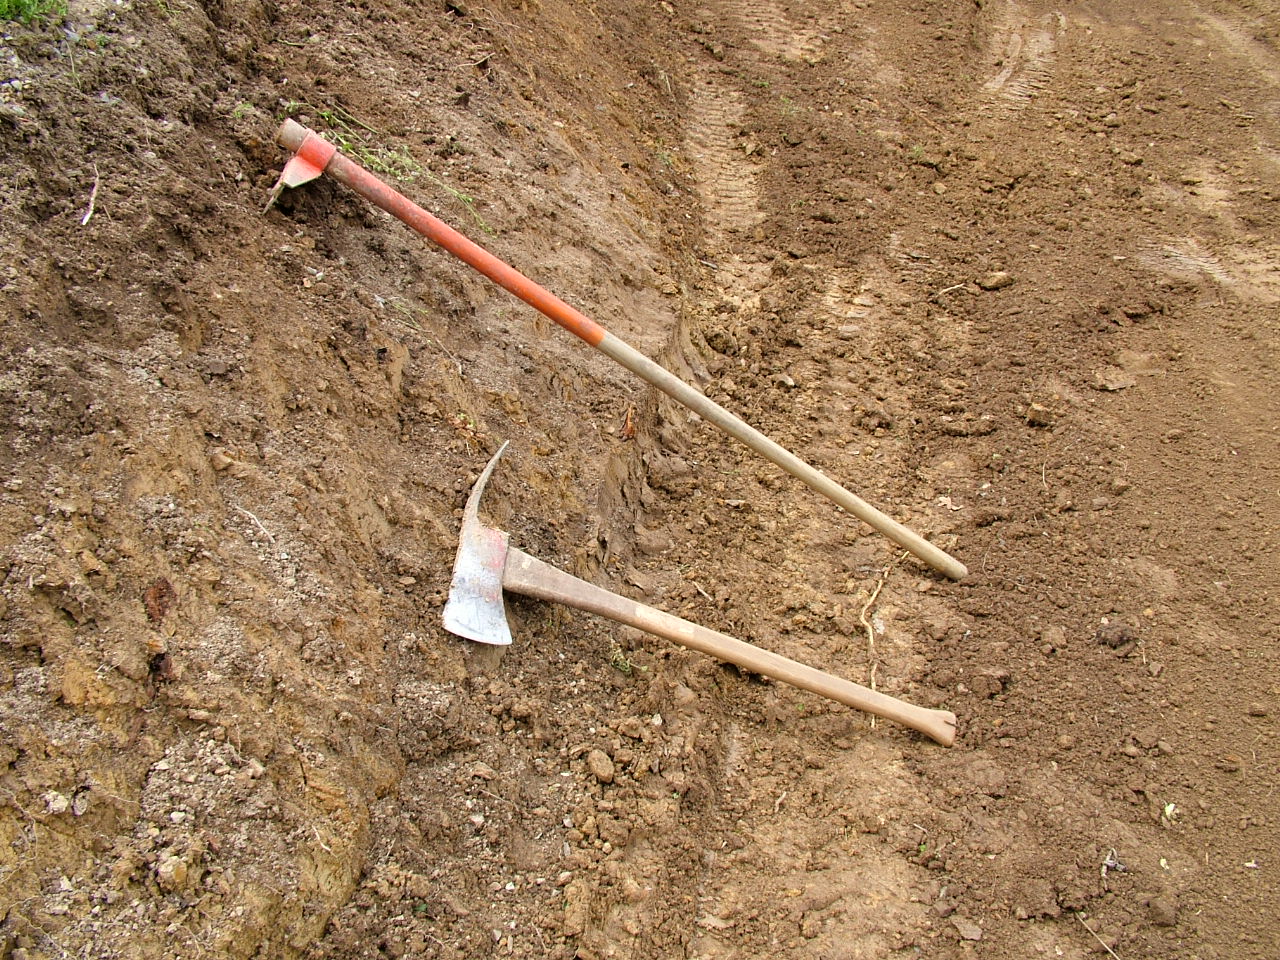
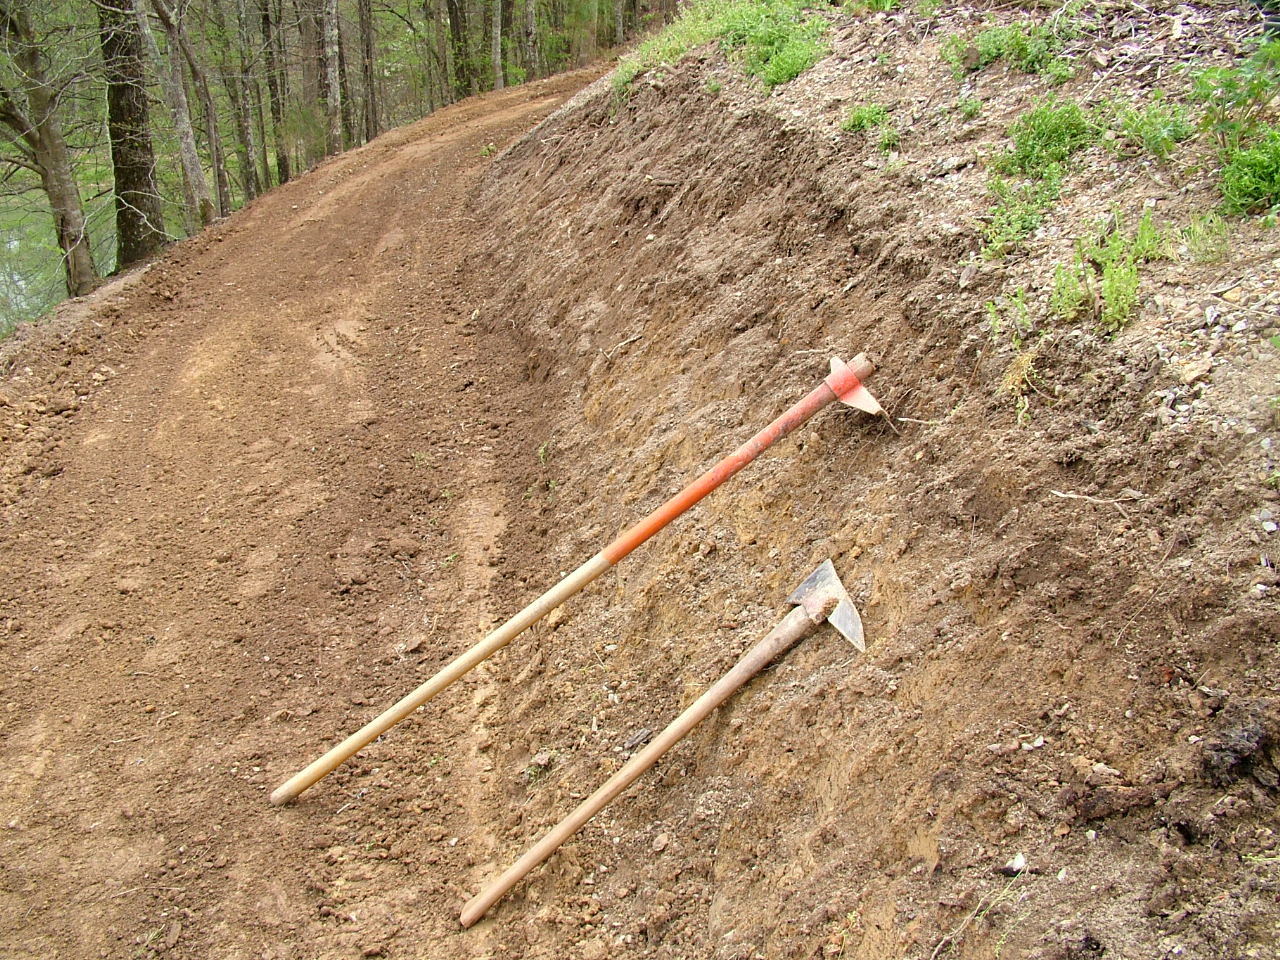
Trails were built several ways, by hand with a Pulaski and Fire Rake, with a Troybilt Tiller, with Skid Steer loaders, with HighLifts, with a small Dozer, and with a Backhoe.

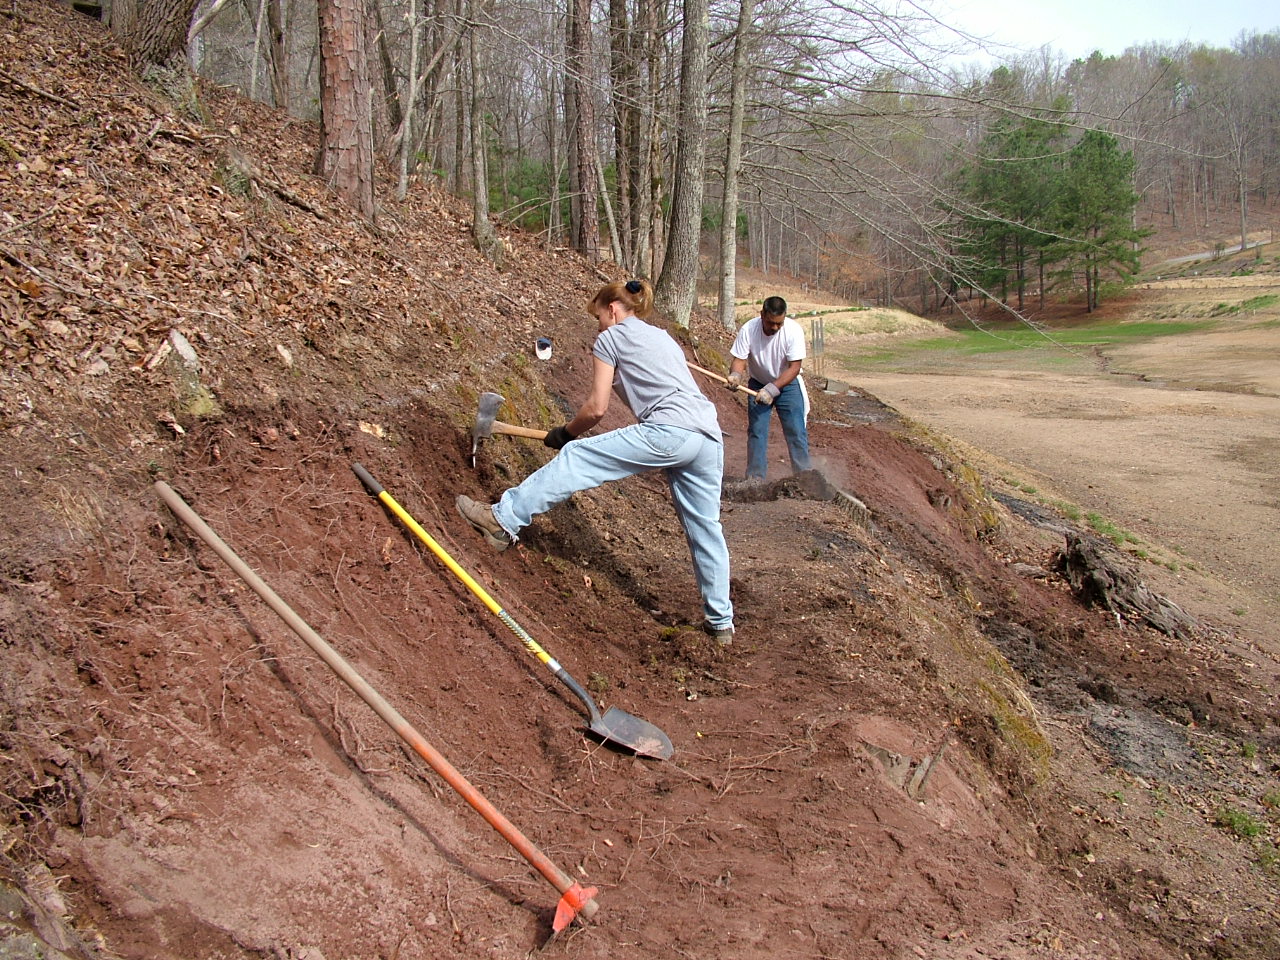
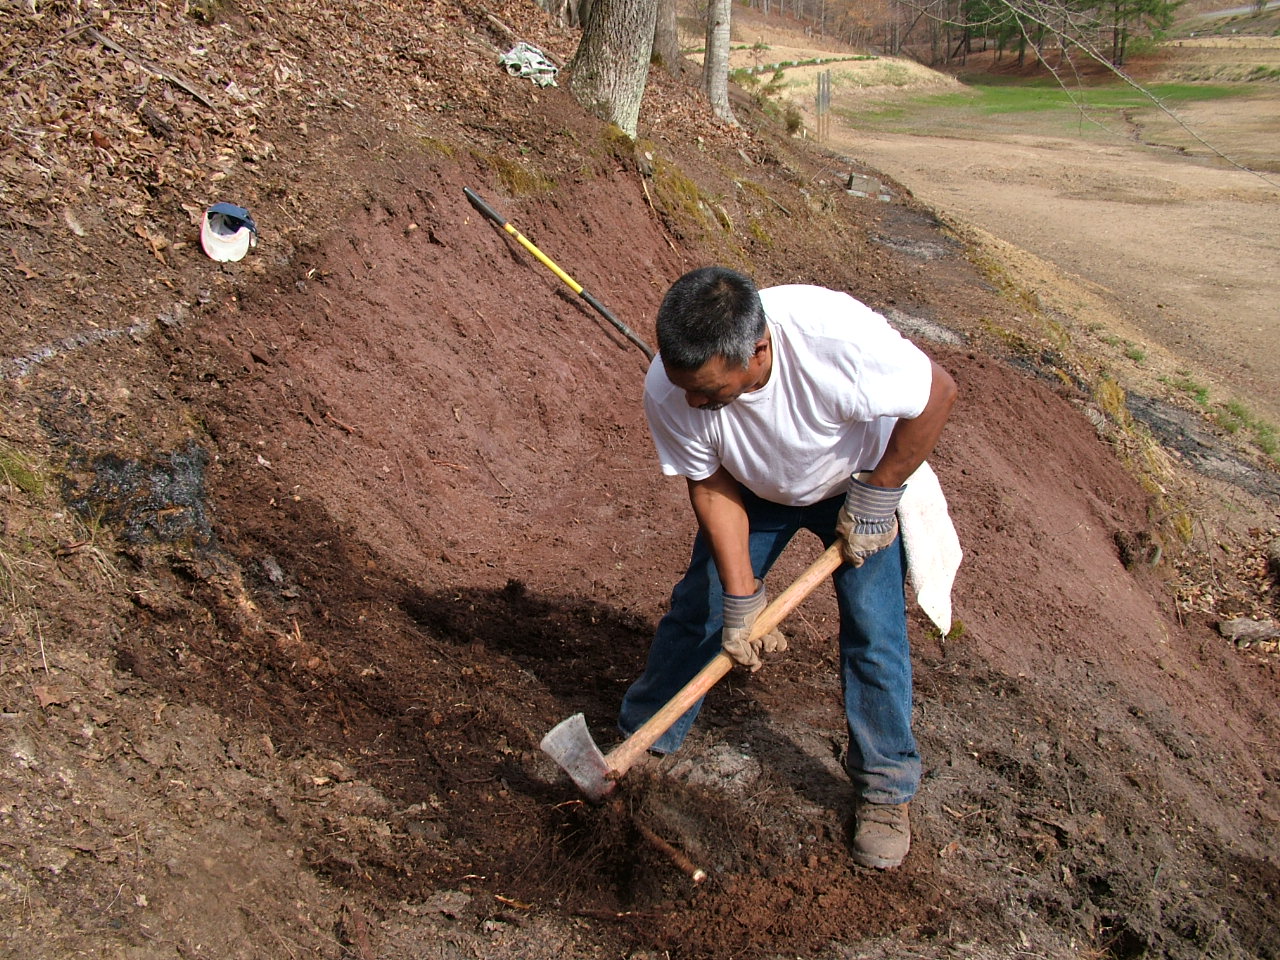
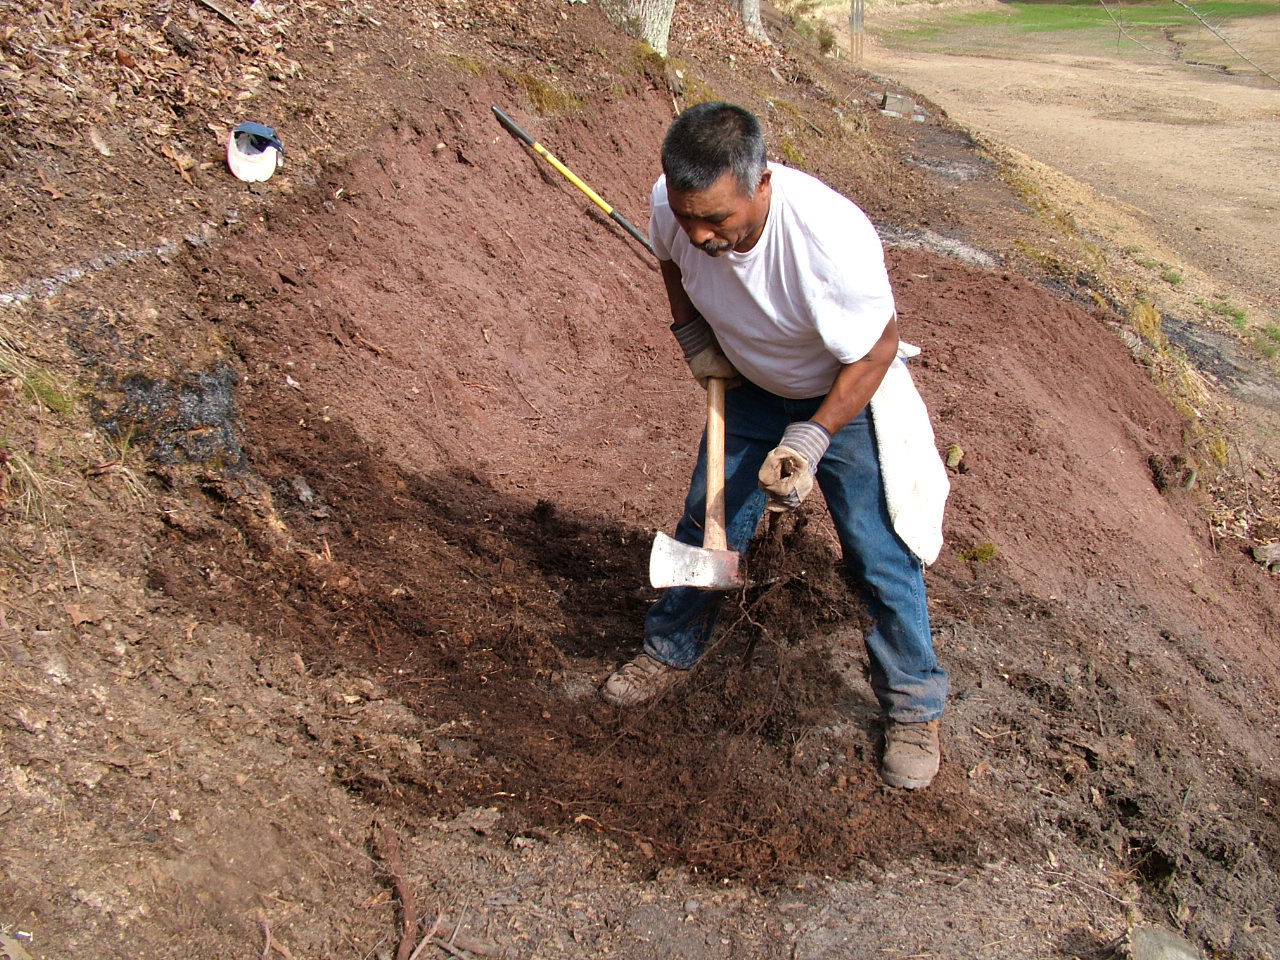
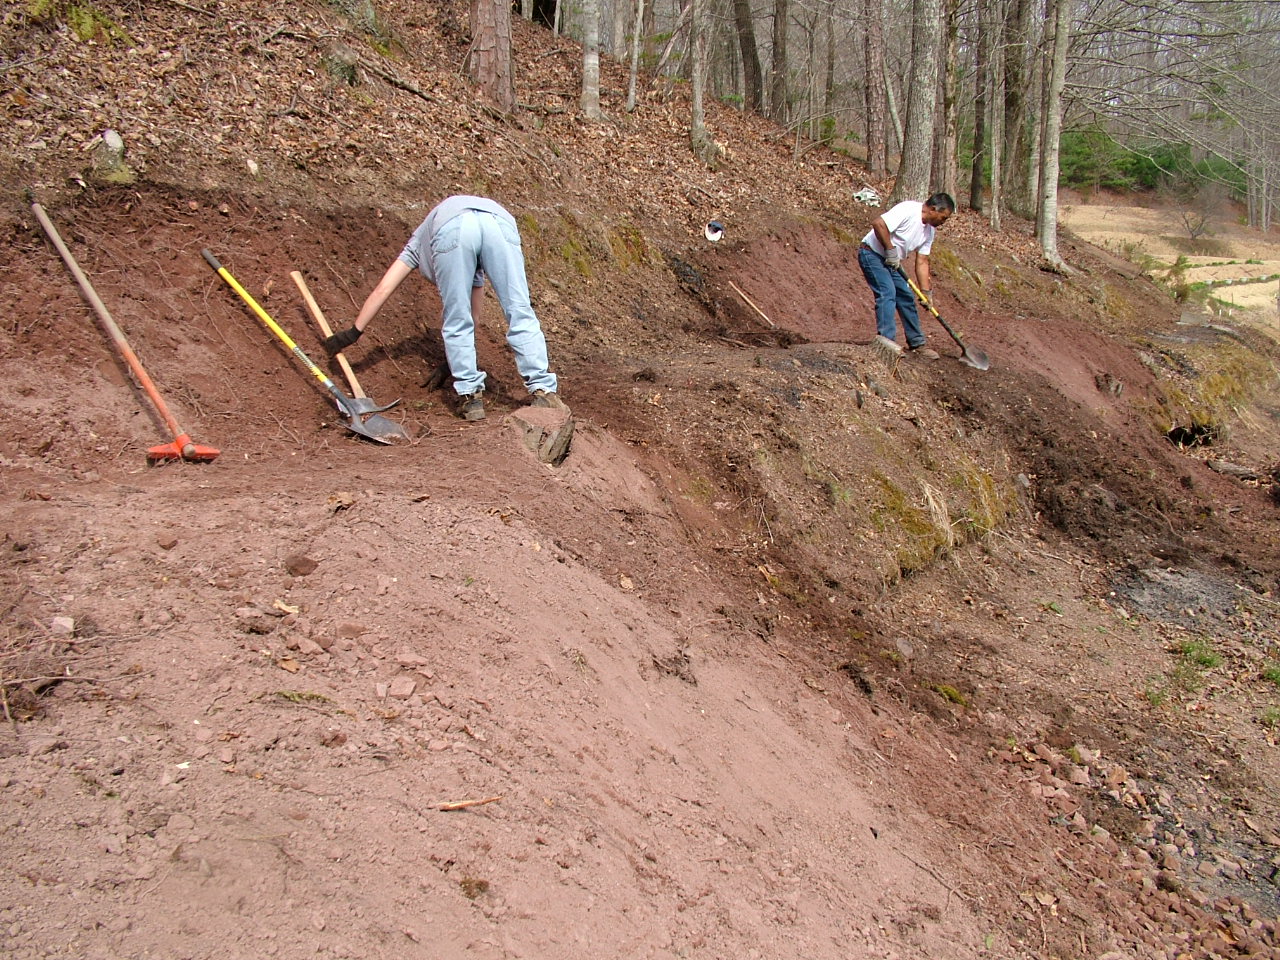
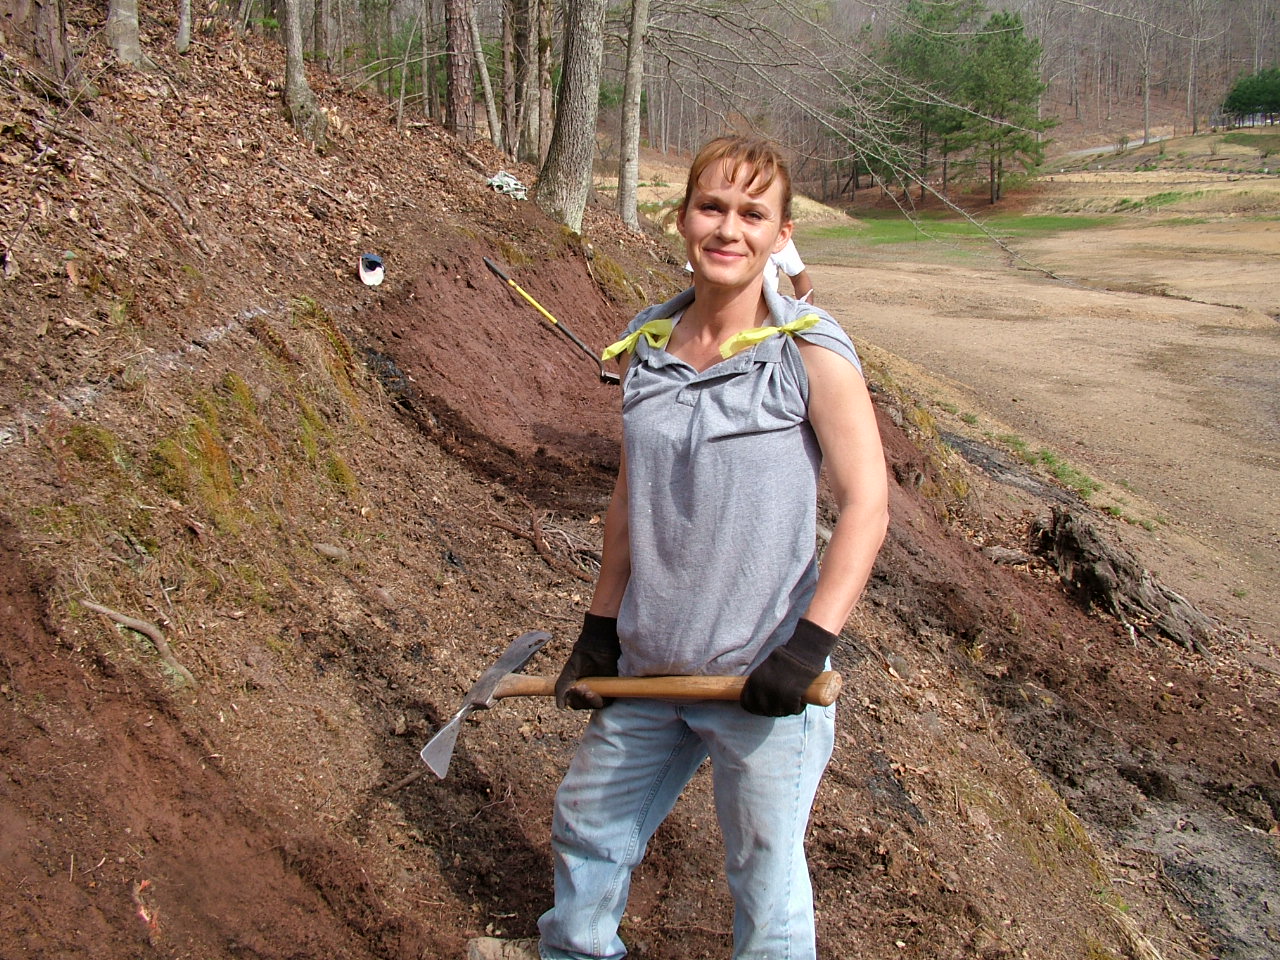
Hand construction.  In tighter environments, hand construction was necessary to avoid damage to the area.  This was a demanding task that required tough people and lots of muscle and sweat.

Trail constuction with hand tools on narrower trail around lake

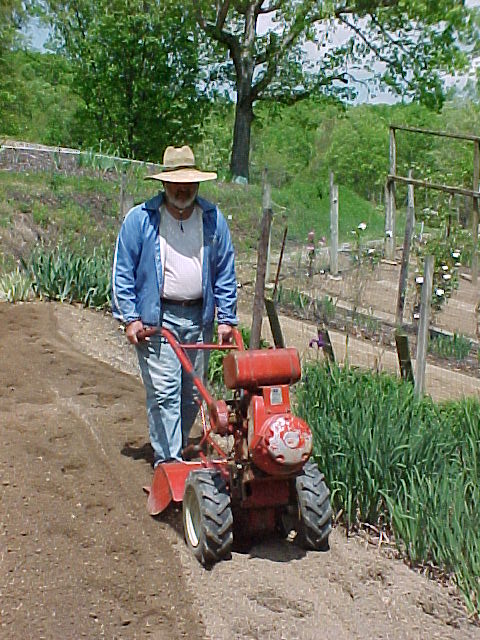
Troybilt Tiler:  We took advantage of this tiller to make some of our early trails by digging and loosening the soil which was then moved off the trail area by hand.  The foot trail to the lake was built with a Troybilt.

Using a Troybilt tiller to build trail

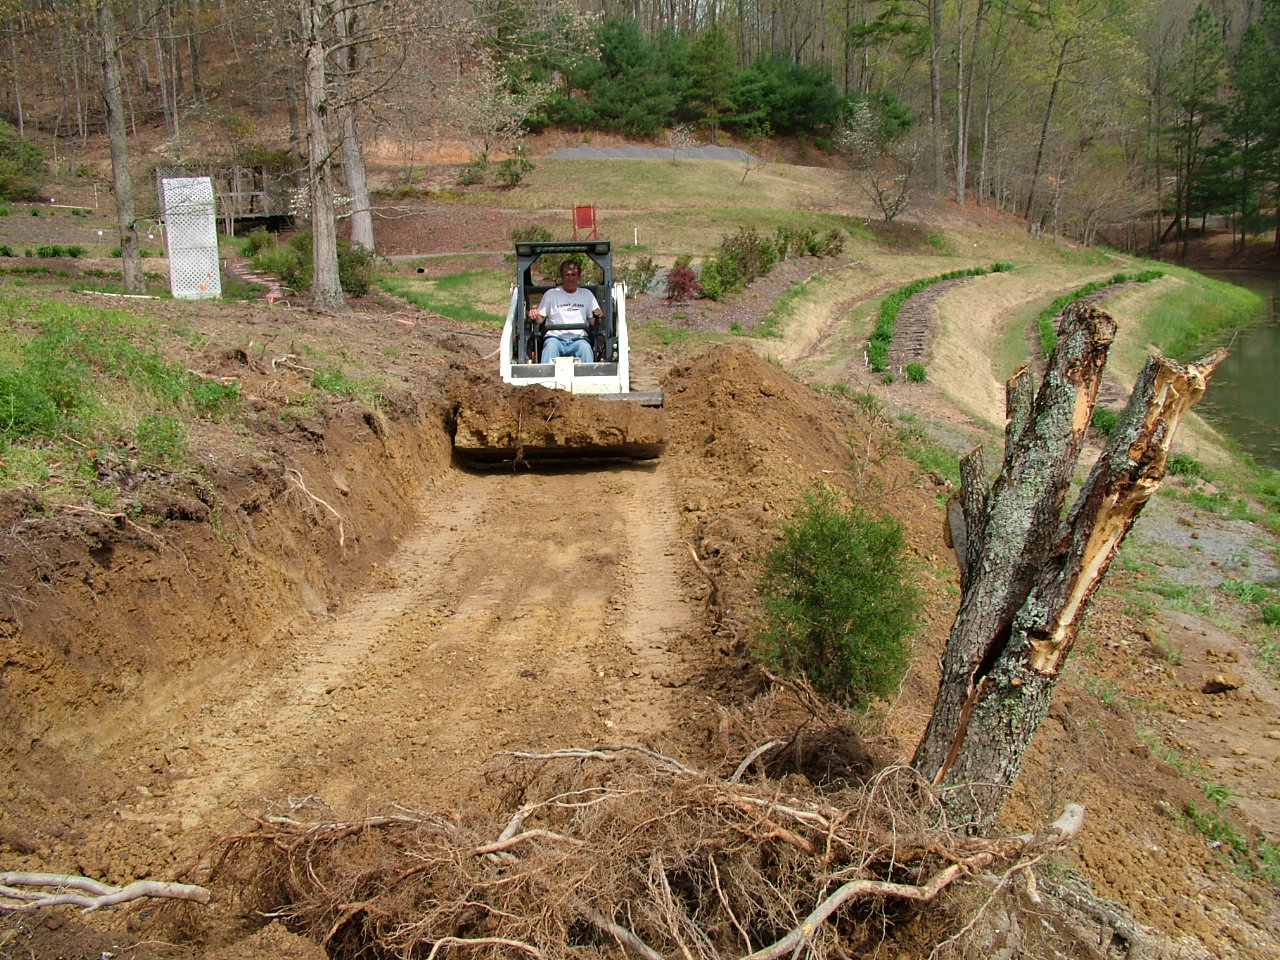
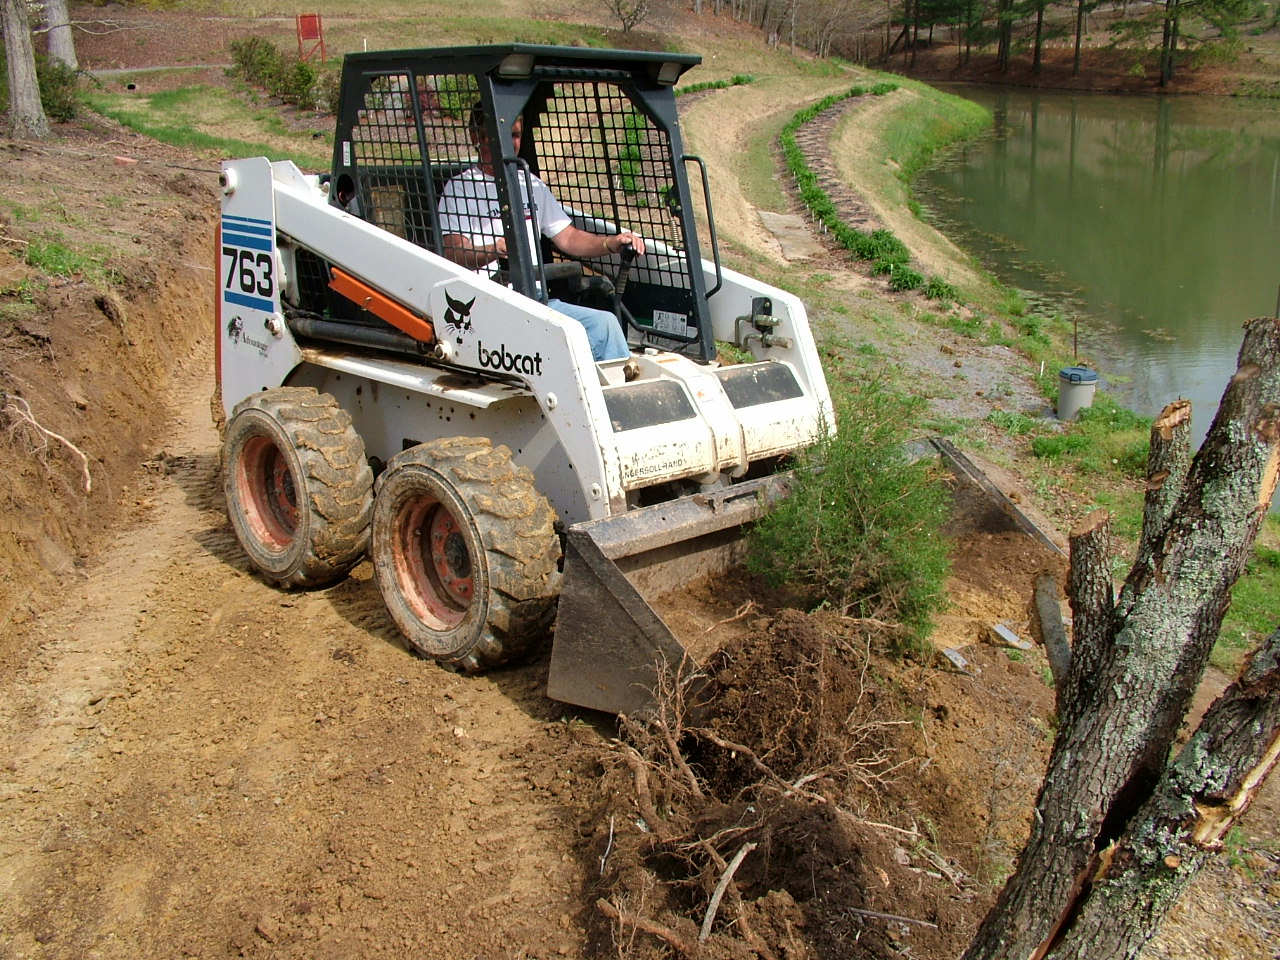
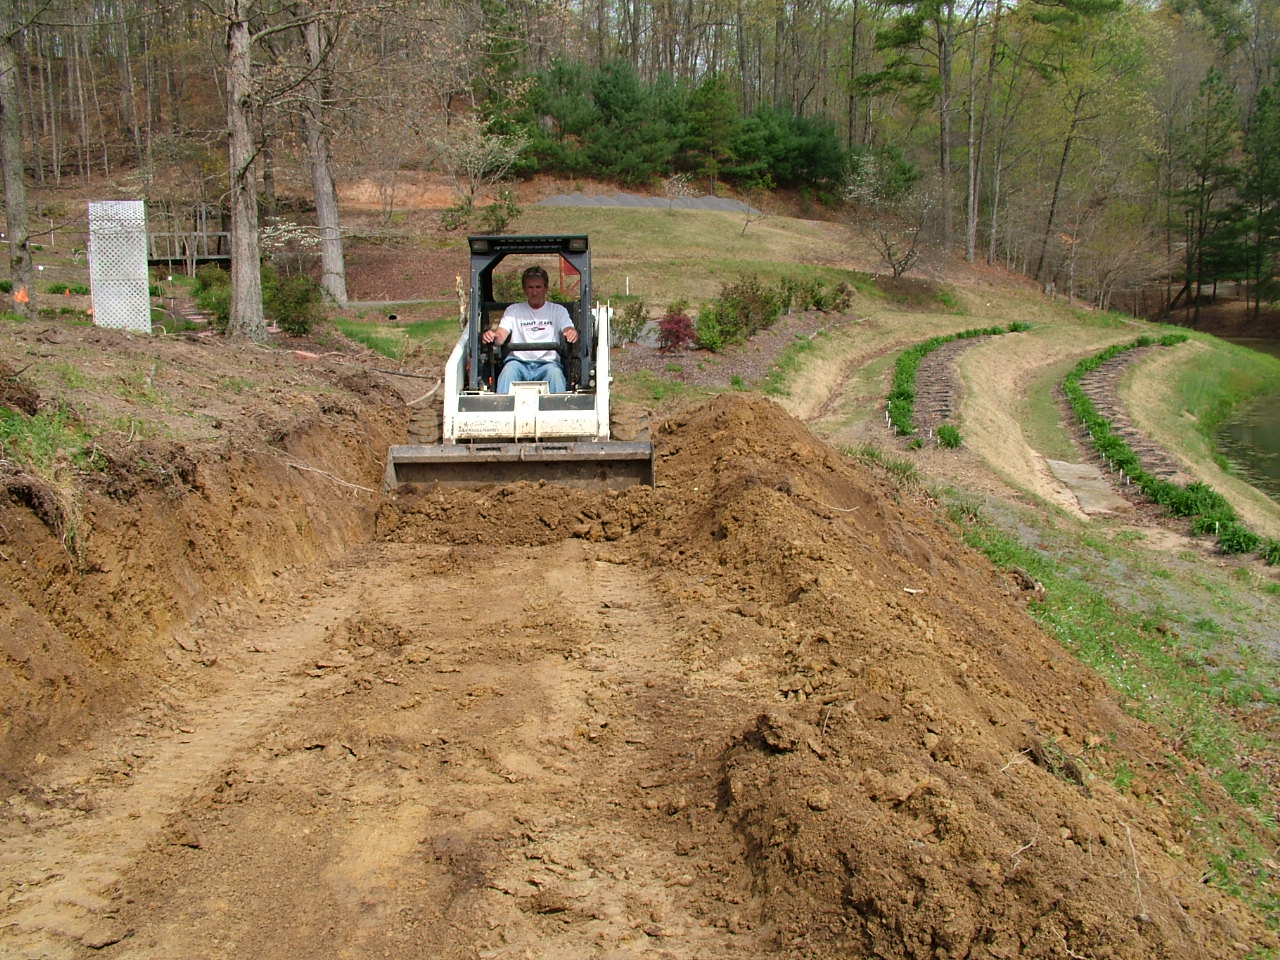
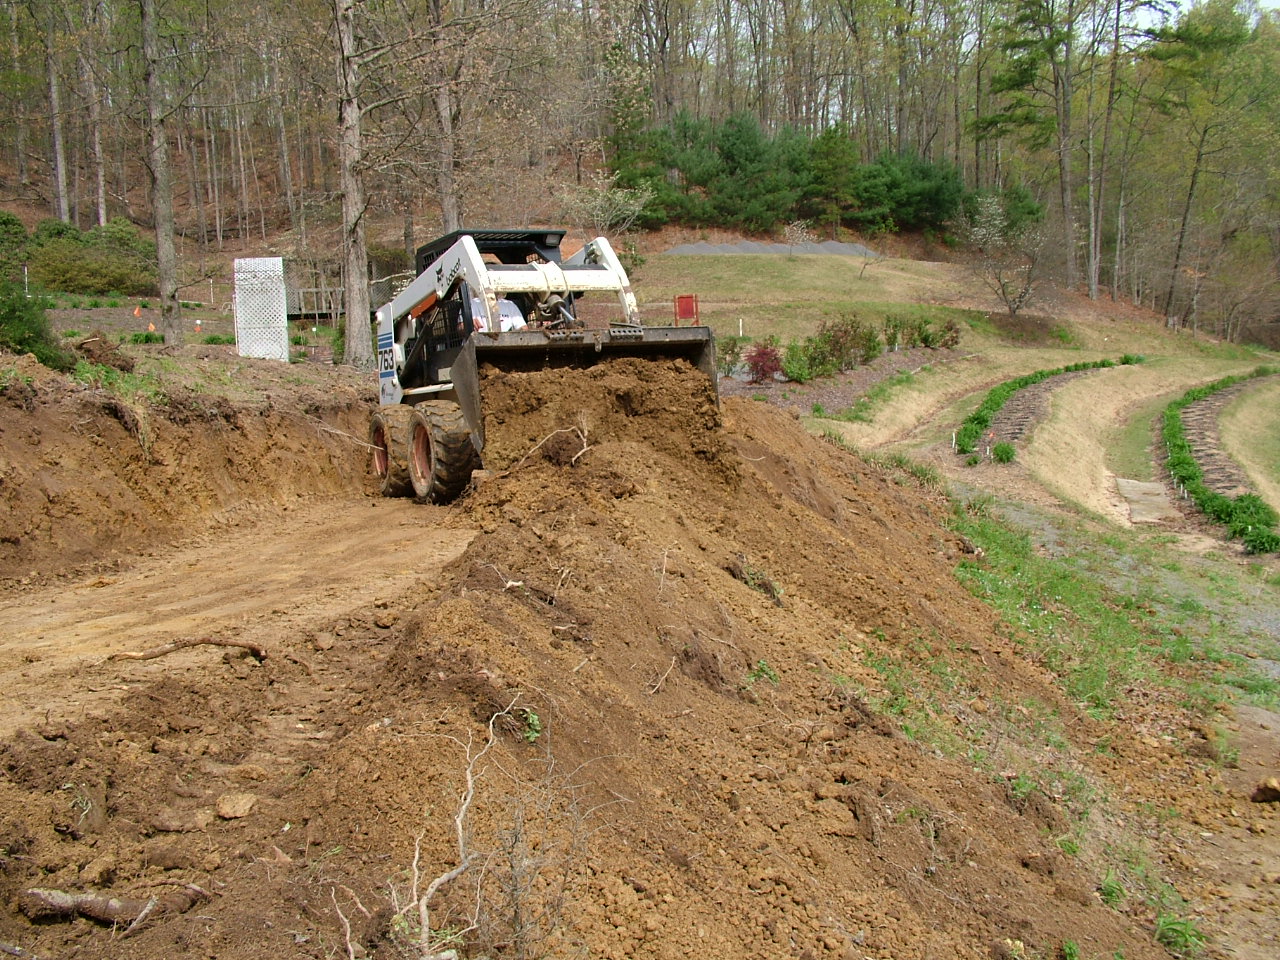
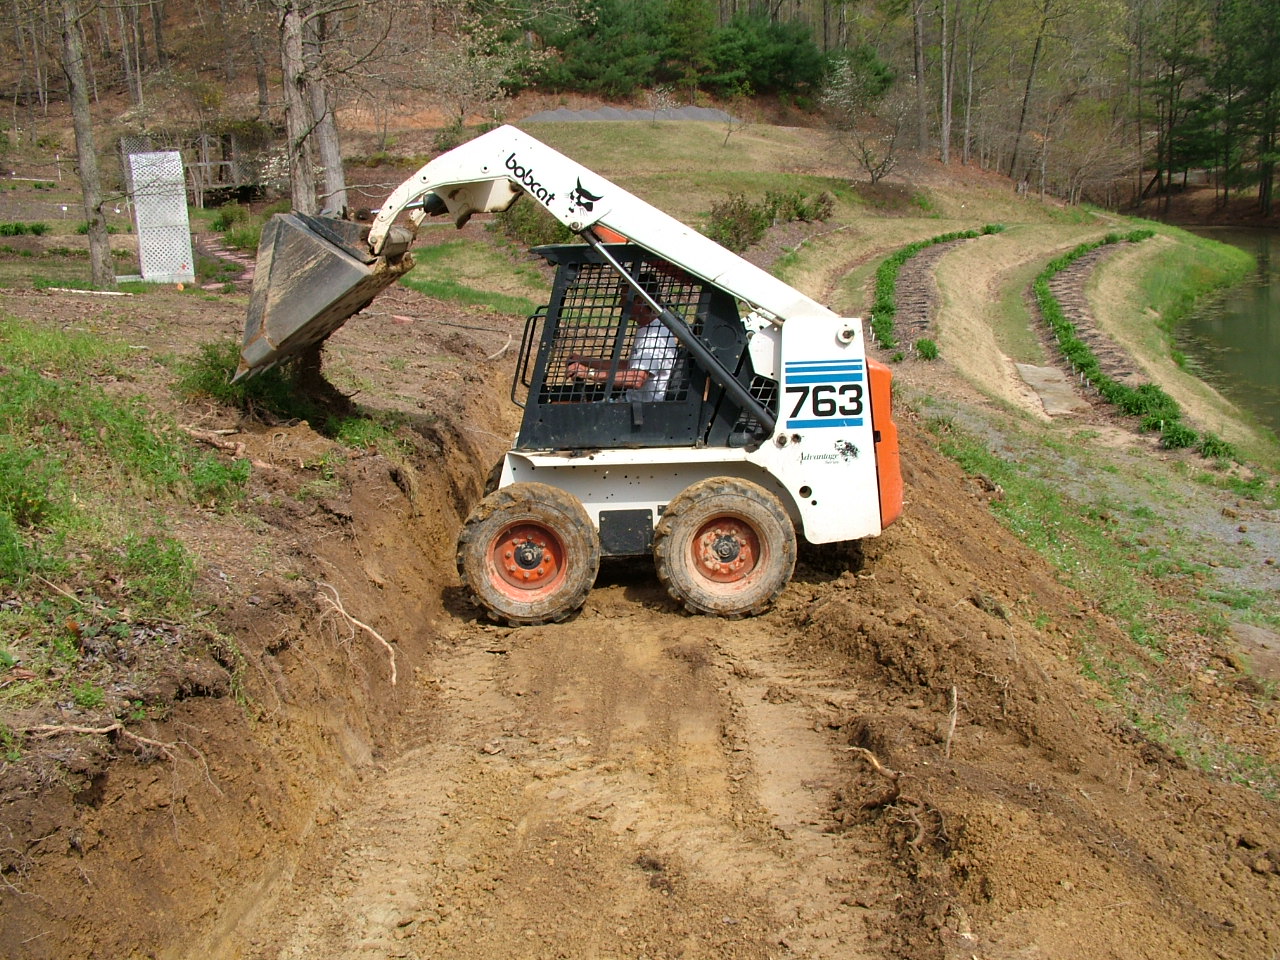
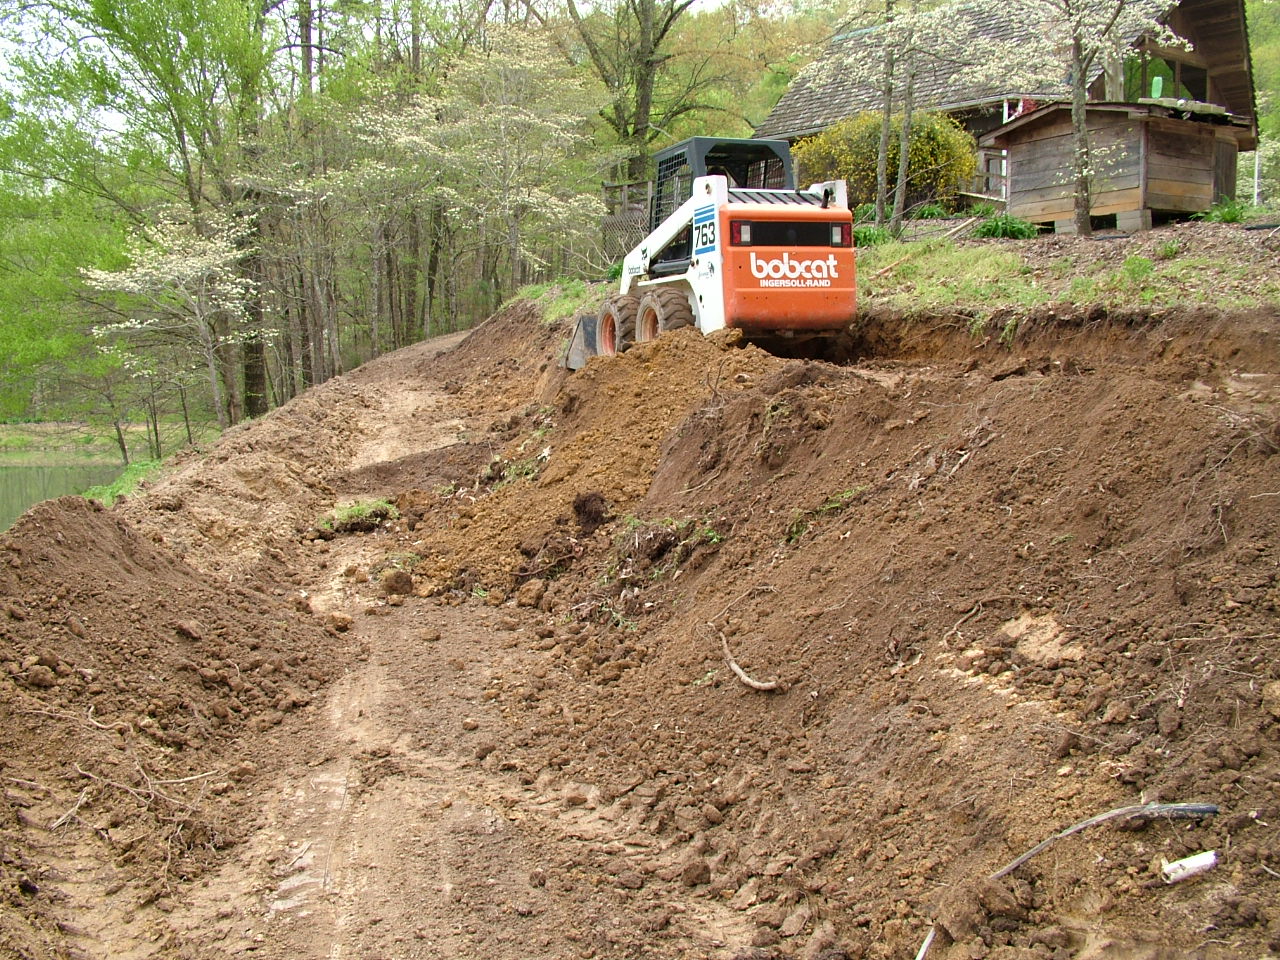
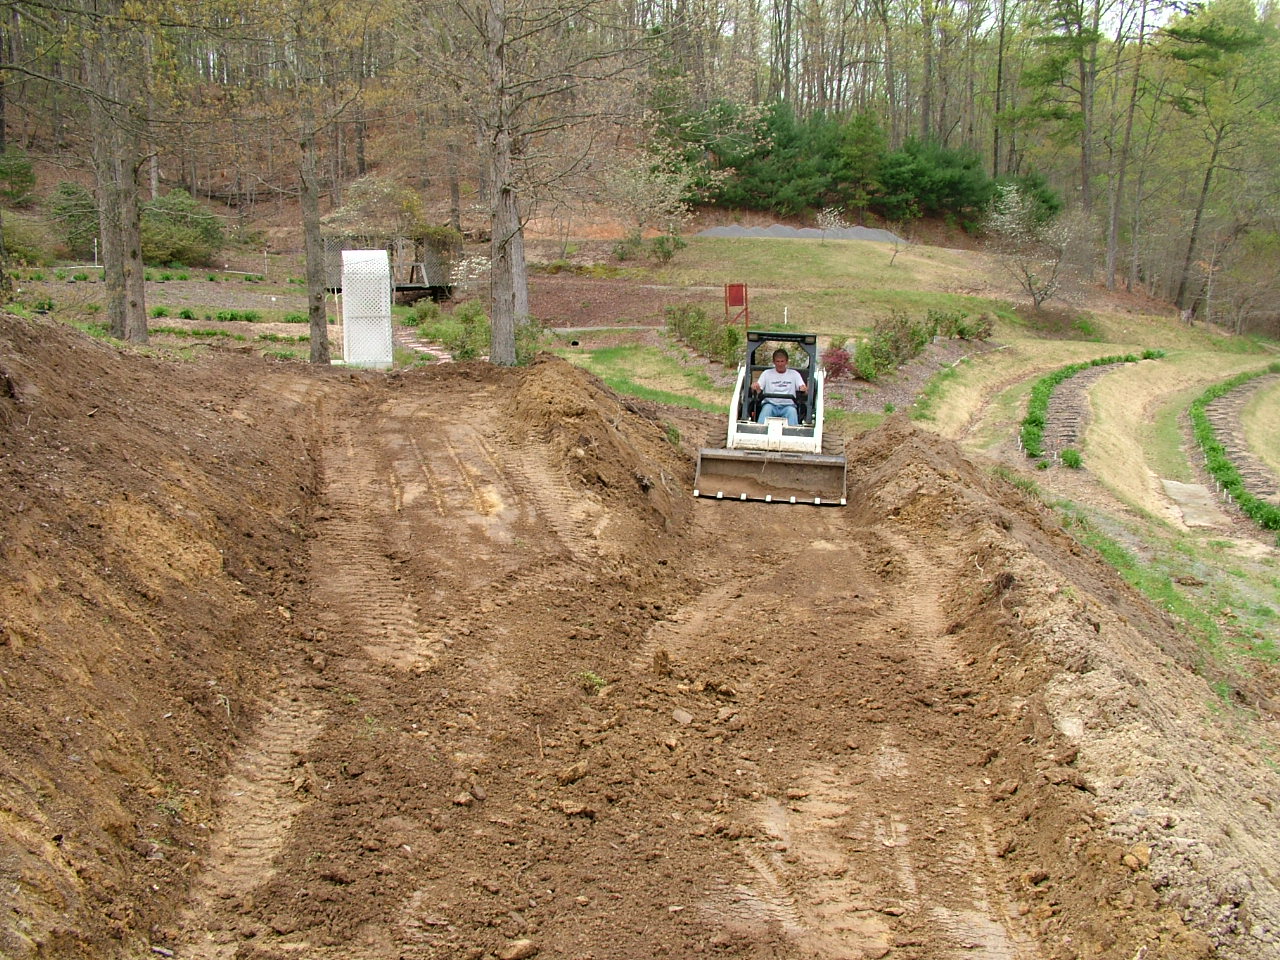
Skid Steer Loader:  This versatile equipment was ideal for creating trails in the Gardens and flower beds alongside the trails.  It was also used for back sloping trails that were built with Highlifts and Dozers.  We also moved the larger stumps that were taken out as trails were built leaving a finished look to all newly created trails.

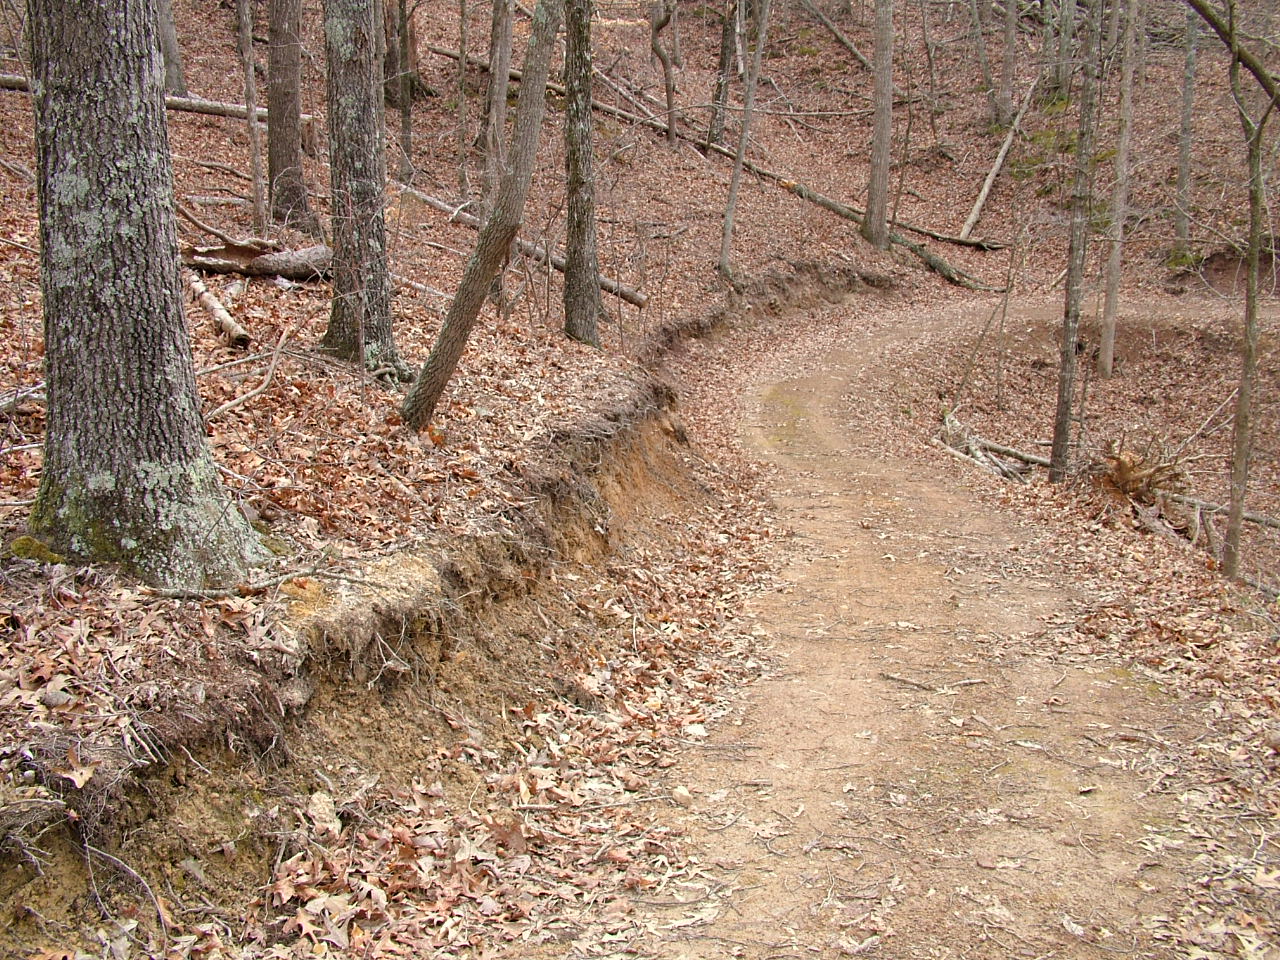
Raw finished trail before backsloping
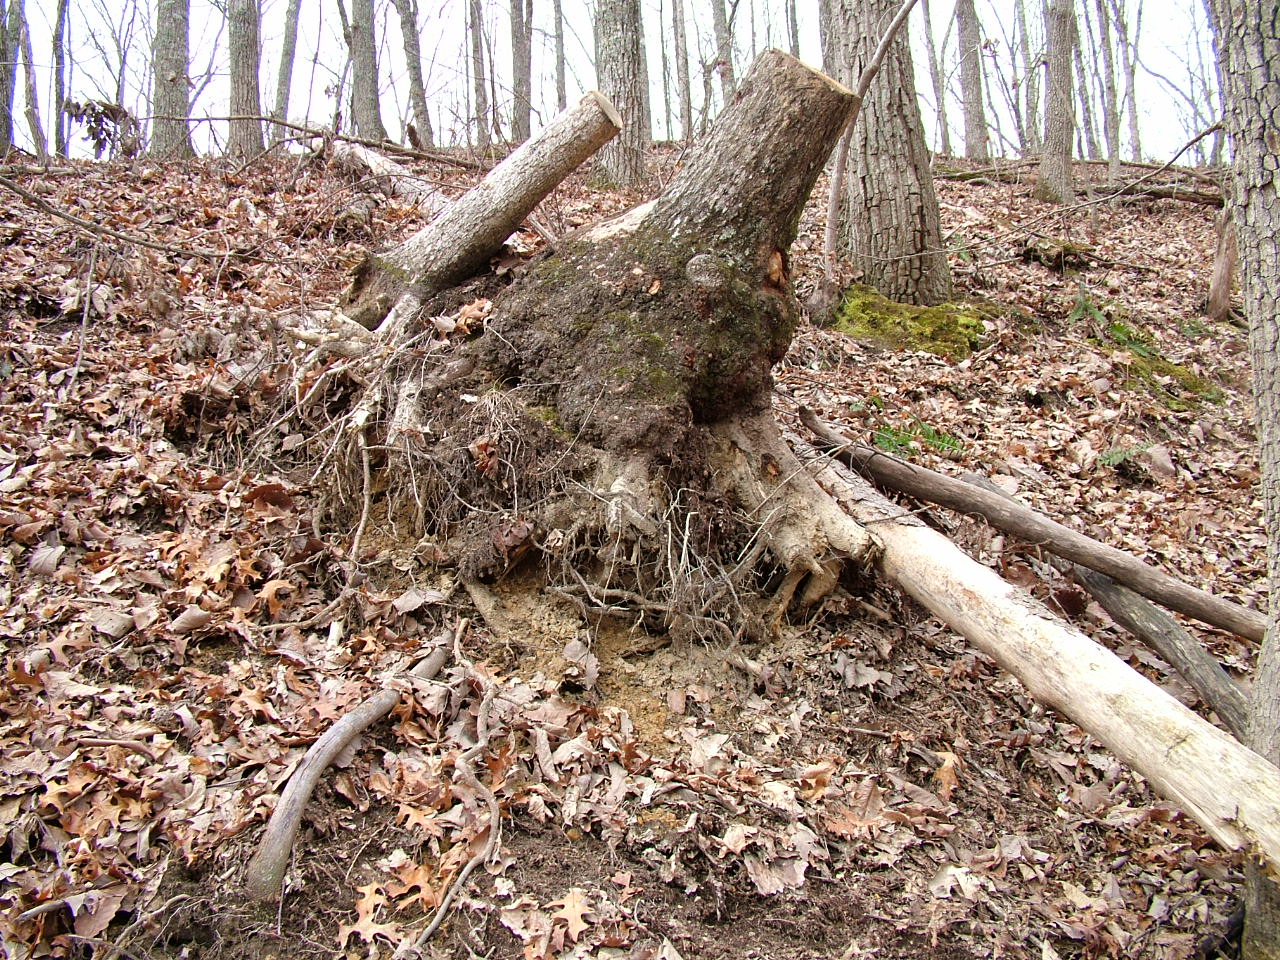
Removal and placement of larger stumps before being moved to burial
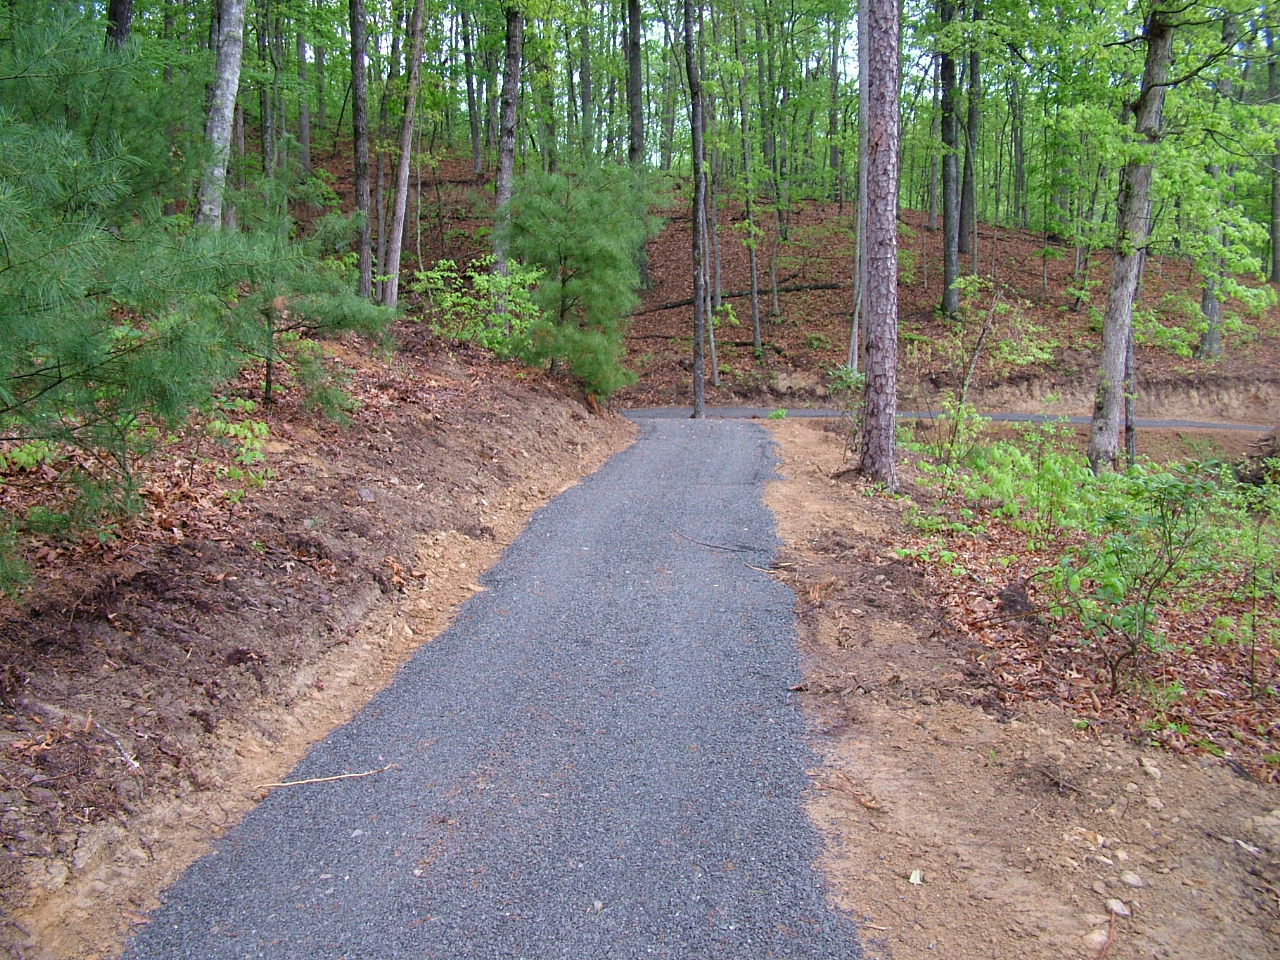
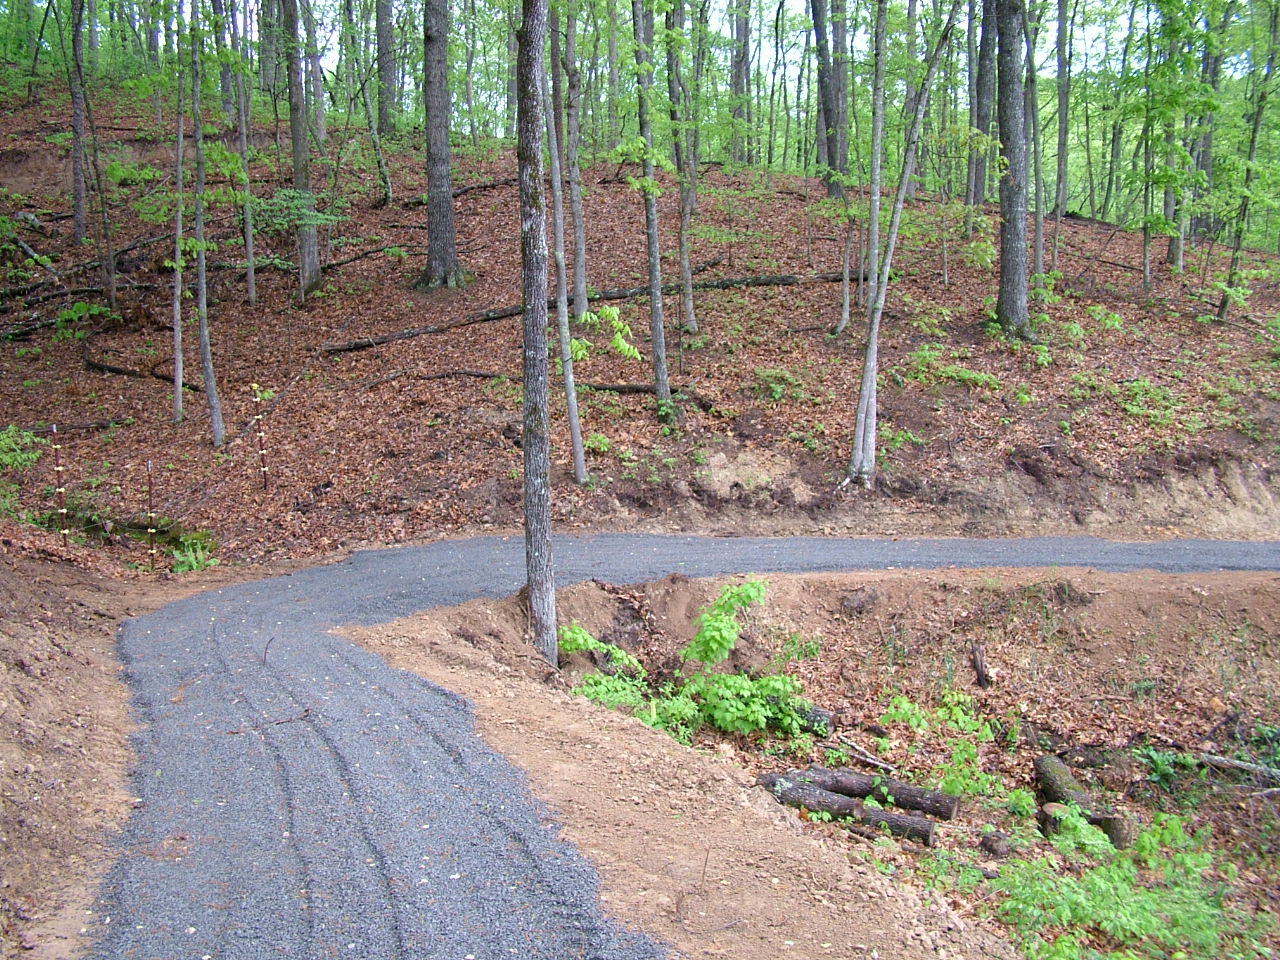
Finished trail after back-sloping and graveling
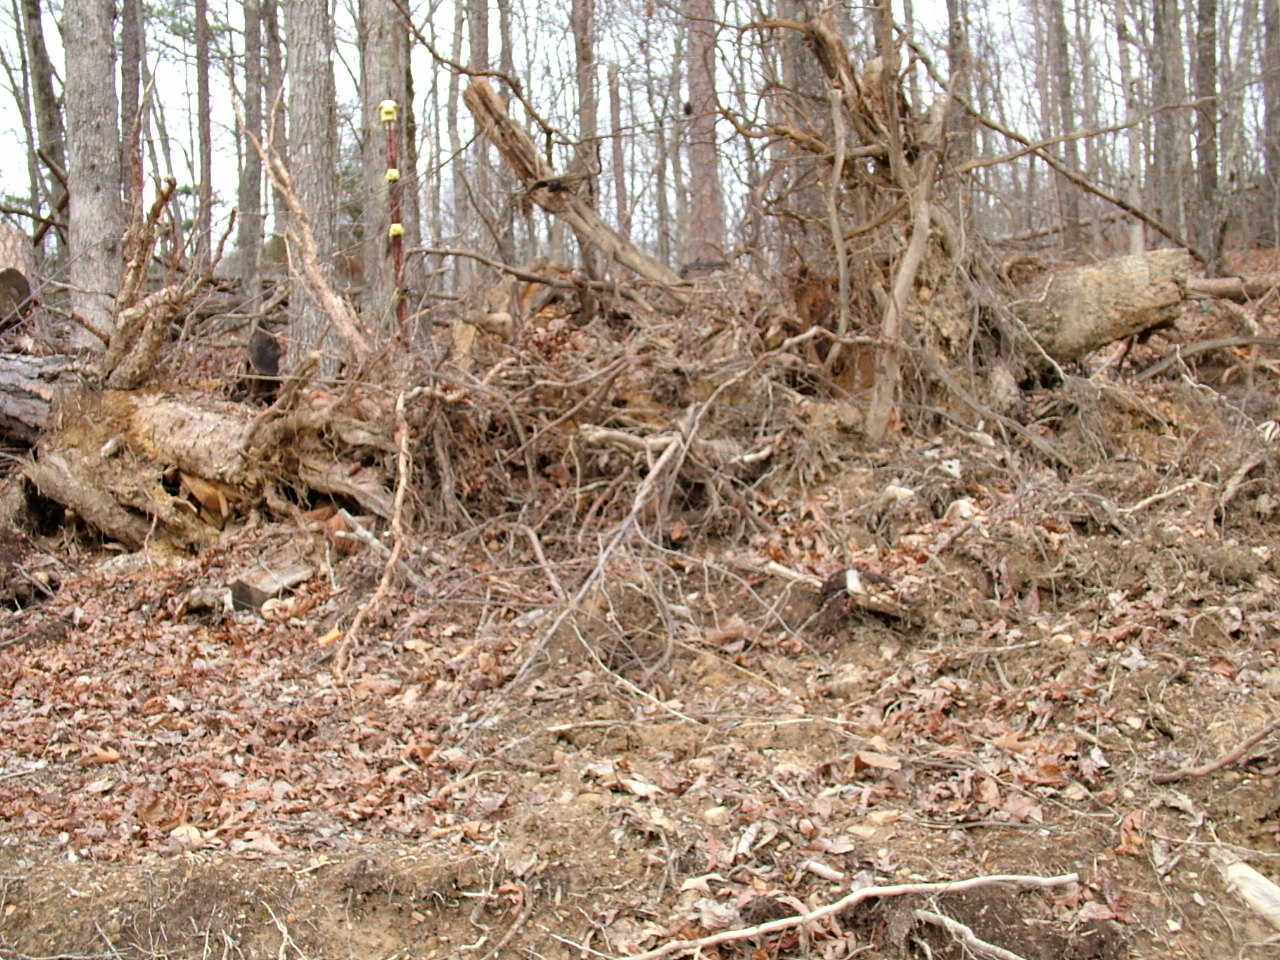
Stumps and debris was removed with Skid Steer loader
Flower beds on a 30 degree slope being constructed by Skid Steer loader
Flower beds on a 30 degree slope being construted by Skid Steer loader
Switchback being constructed by Skid Steer loader

A large amount of hand work also went into constructing the trails.  In many areas only hand tools would work due to tight spaces.  Also hand tools were used to build some of the trails around the lake due to restricted access:

All the trails here were backsloped by hand using Pulaski and Fire rake since the area was too tight for Skid Steer to turn

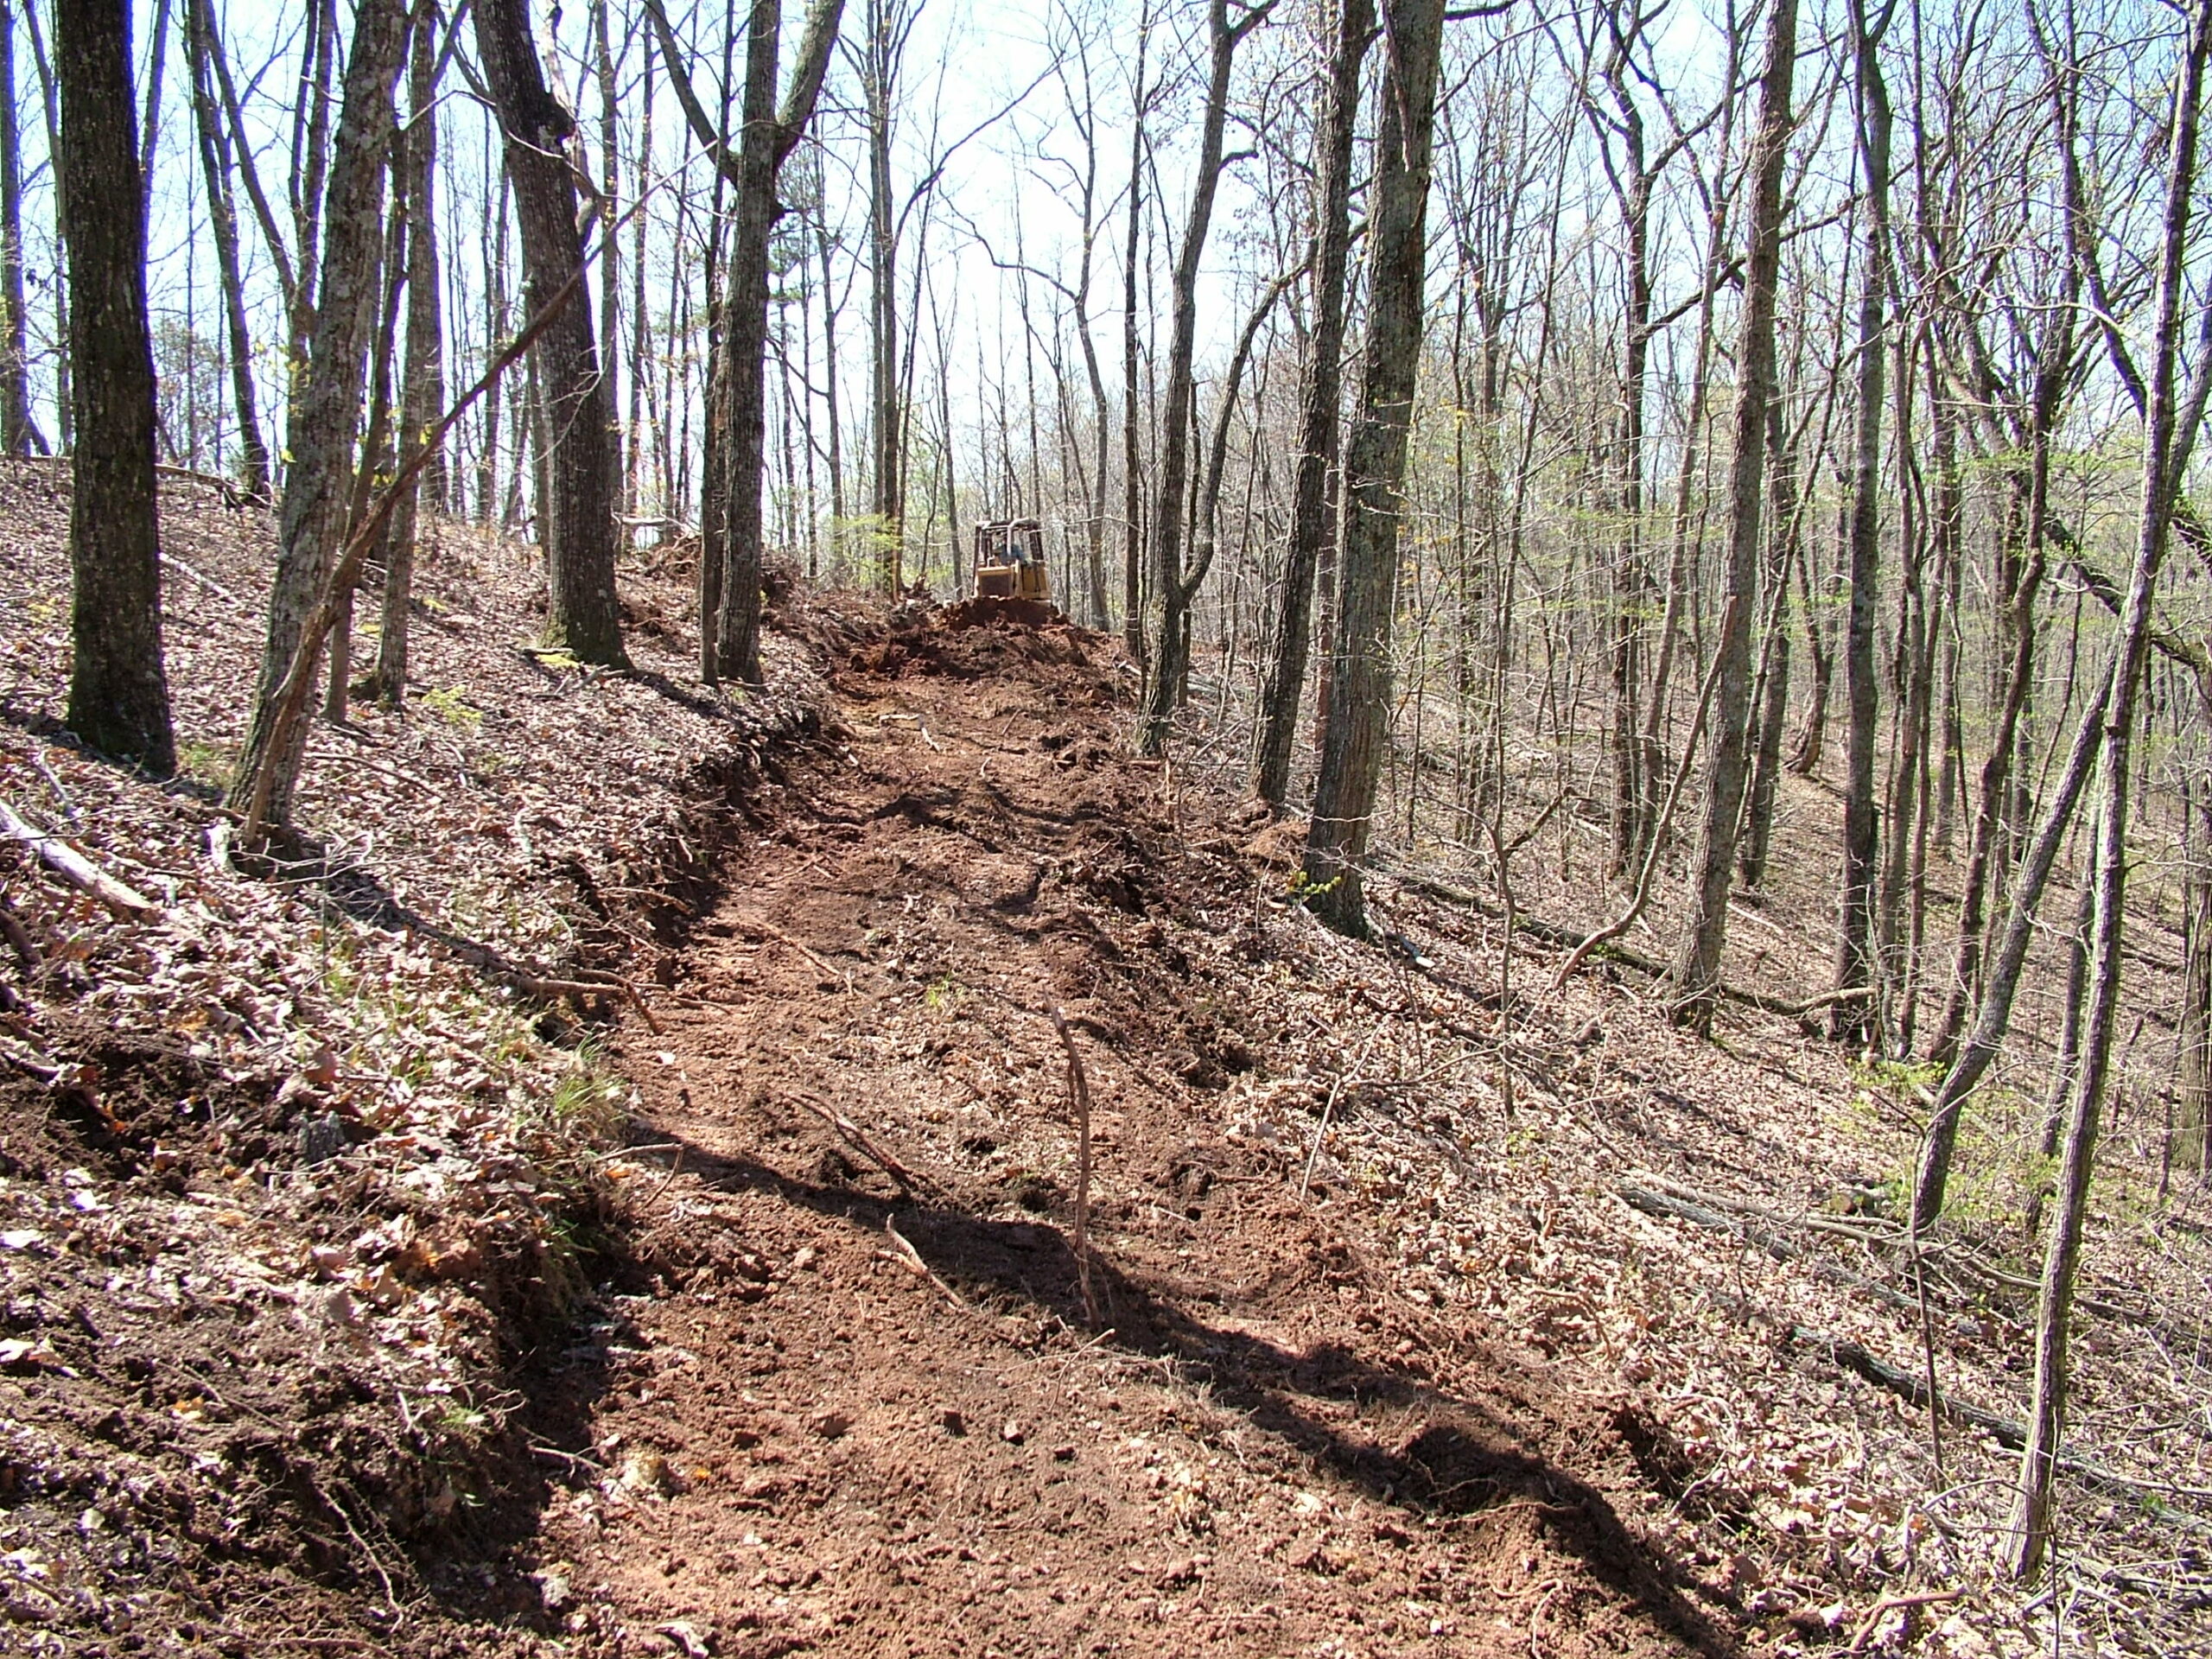
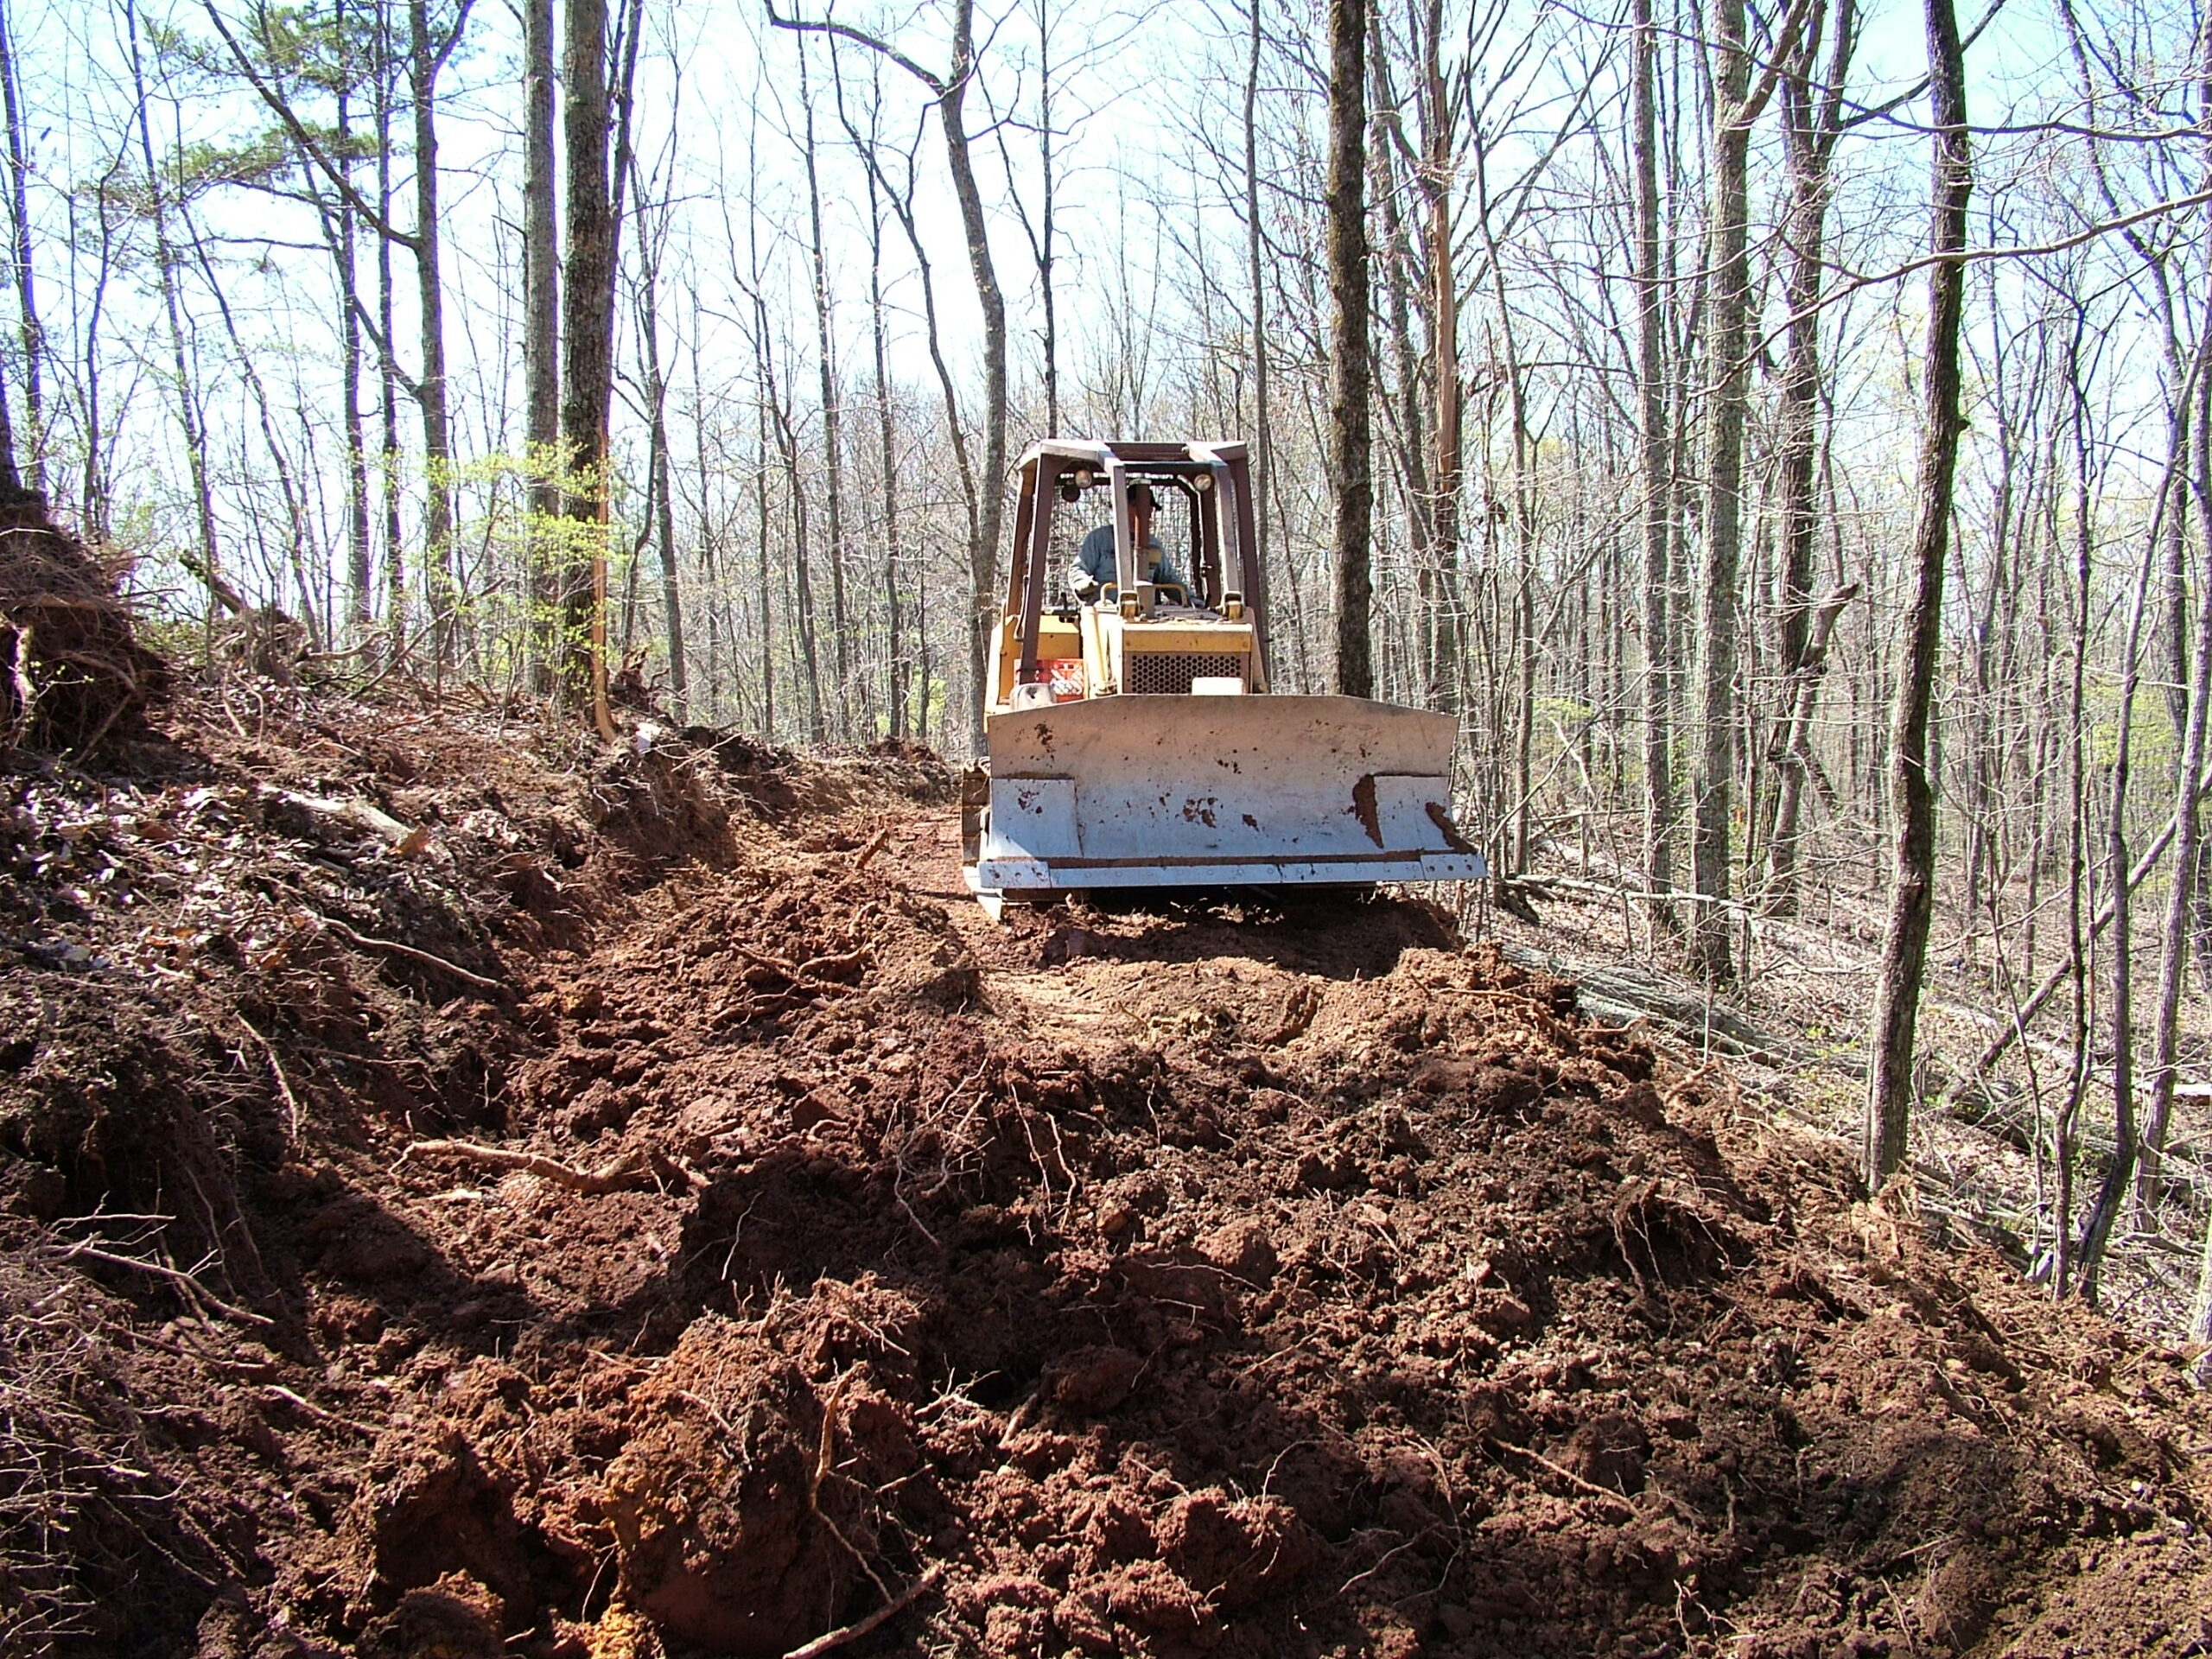
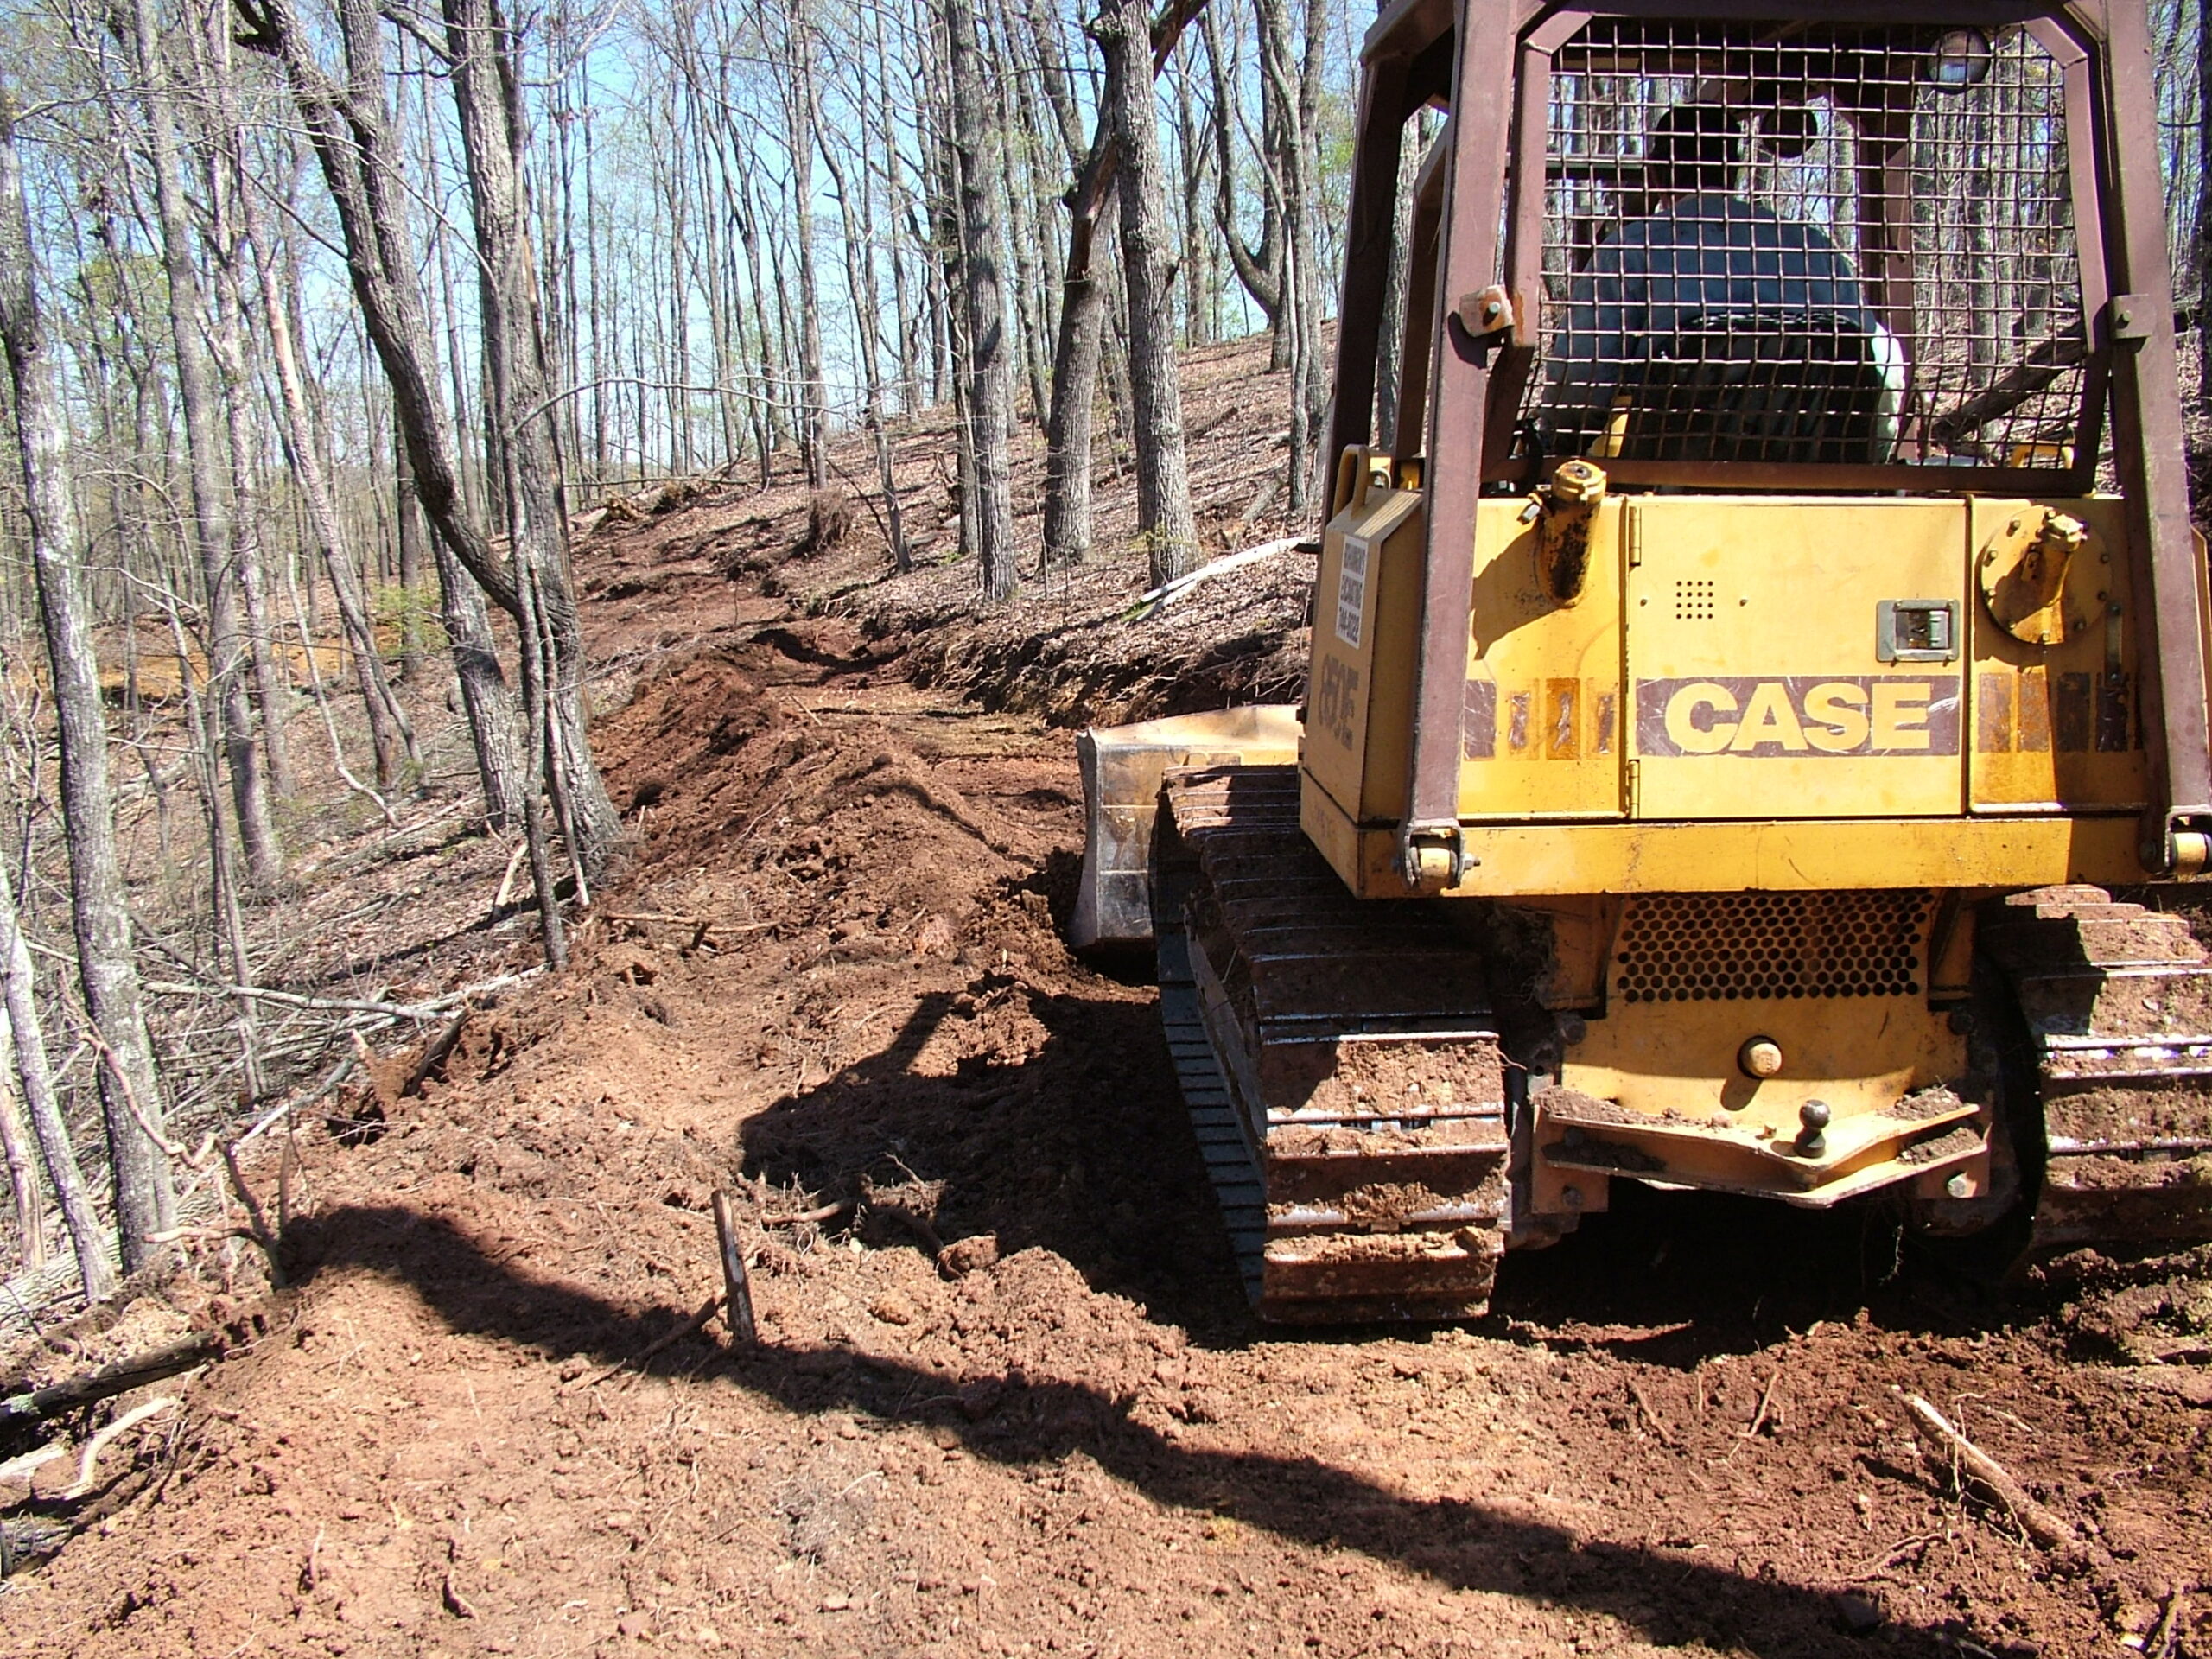
Small Dozer:  Part of the Hollow Ridge Trail and some of the other trails were built using a small dozer.  A skid steer loader was used to move stumps to burial and backslope the banks.

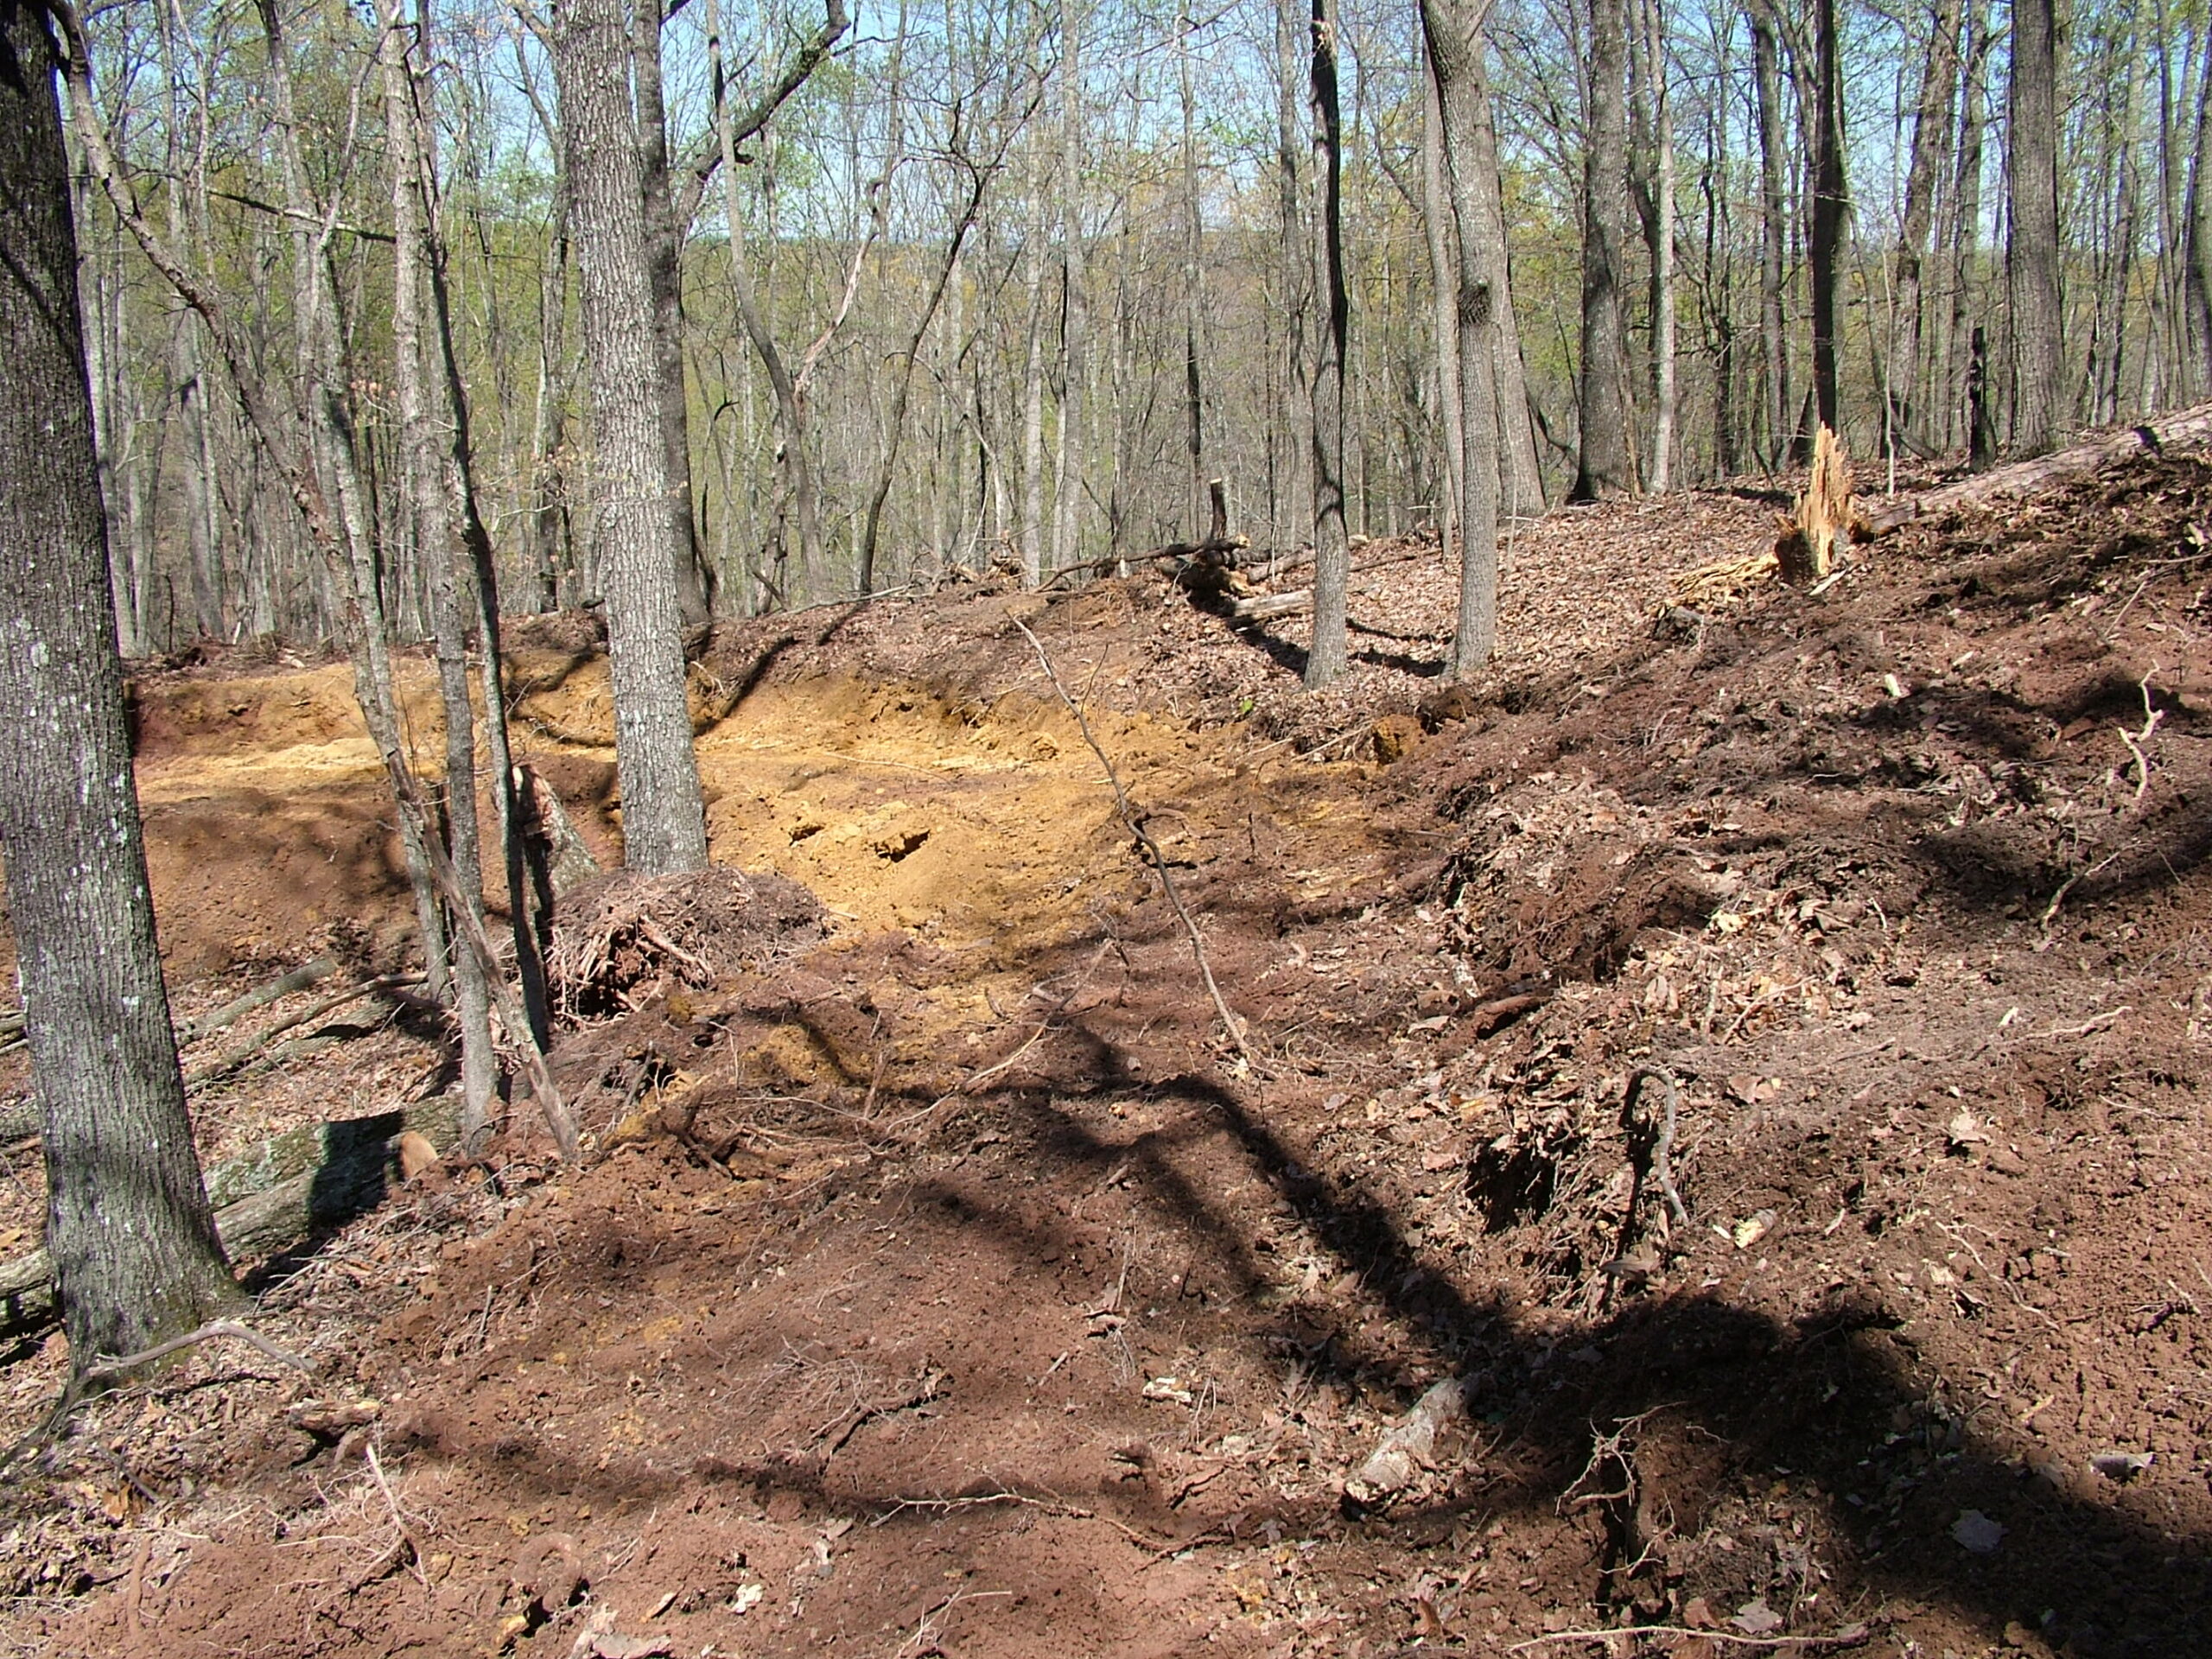
The Hollow Ridge Trail was roughed out first removing nessary small and larger trees without disturbing the rest.
Smoothing the finished grade on the Hollow Ridge Trail

High Lift:  Much of the Hollow Ridge Trail was built with a small High lift dozer.  The ability to move earth, remove stumps, and easily build a finished trail made it an ideal machine for the job.

The Hollow Ridge Trail was built with a small High-Lift to avoid damage to the environment
The Hollow Ridge Trail was built with a small High-Lift to avoid damage to the environment and blend in wiht the ridges and contours
The Hollow Ridge Trail was built with a small High-Lift to avoid damage to the environment and follows the ridges and contours